Keto Chicken Crust Pizza – Easy Low Carb Recipe
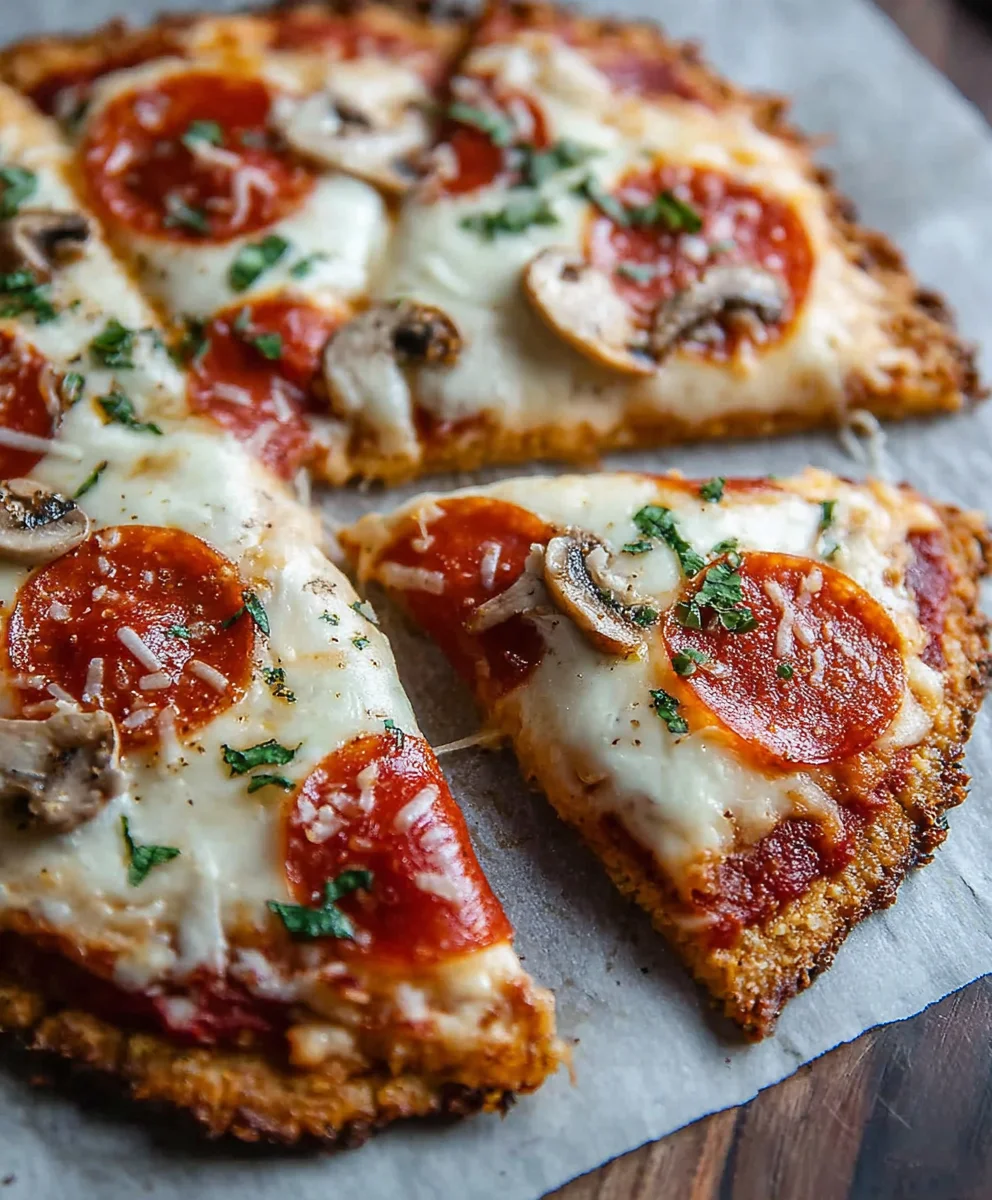
Keto Pizza Chicken Crust isn’t just a clever culinary hack; it’s a revelation for anyone craving a delicious, satisfying pizza experience without the carb overload. Imagin extracte sinking your teeth into a warm, cheesy slice, the familiar comfort of your favorite toppings, but with a guilt-free conscience and a boost of protein. This is precisely what makes Keto Pizza Chicken Crust so incredibly appealing. Forget dry, crum extractbly alternatives; this crust offers a surprisingly sturdy and flavorful foundation that truly holds its own. What sets this recipe apart is its incredible versatility and its ability to deliver on that classic pizza satisfaction. It’s the perfect answer to those persistent pizza cravings, allowing you to enjoy all the flavors you adore while sticking to your ketogenic lifestyle. Get ready to discover your new go-to for a truly amazing pizza night!
Ingredients:
- 1 can (about 5-6 ounces) canned chicken, drained and well-rinsed
- 2 large eggs
- ½ cup grated Parmesan cheese
- 1 cup sugar-free marinara sauce
- 2 cups shredded mozzarella cheese
- 1 package (about 3-4 ounces) beef beef pepperoni
Preparing the Chicken Crust
The foundation of our Keto Pizza Chicken Crust is, of course, the chicken. Start by thoroughly draining your can of chicken. I like to press it against the side of the can with a fork to remove as much liquid as possible. Then, transfer the drained chicken to a medium-sized bowl. Using a fork, break up the chicken into very fine shreds. The goal here is to create a texture that will bind together well, almost like a ground meat. The finer you shred it, the more cohesive your crust will be.
Next, add the two large eggs to the bowl with the shredded chicken. These eggs will act as the binder, holding the chicken together and providing structure to our crust. Now, sprinkle in the ½ cup of grated Parmesan cheese. The Parmesan adds a wonderful savory flavor and also helps with the binding process, contributing to a slightly crispier texture. Mix everything together very thoroughly. You want to ensure the eggs and Parmesan are evenly distributed throughout the chicken. It might look a little wet at first, but keep mixing until it’s well combined.
Forming and Baking the Crust
Preheat your oven to 400°F (200°C). While the oven is preheating, prepare a baking sheet by lining it with parchment paper. This is crucial to prevent the chicken crust from sticking, which can be a common issue. Once your chicken mixture is ready, spoon it onto the prepared baking sheet. Using your hands or the back of a spoon, spread the chicken mixture into a circular or rectangular shape, depending on your preference for pizza crust. Aim for about ¼ to ½ inch thickness. Try to make the edges slightly thicker than the center, as this will help create a more defined crust. Once you have your desired shape, pop the baking sheet into the preheated oven.
Bake the chicken crust for approximately 15-20 minutes, or until it’s firm to the touch and lightly golden brown around the edges. You’ll notice it firming up significantly during this baking stage. This initial bake is essential for creating a stable base that can hold up to the toppings without becoming soggy. Keep an eye on it during the last few minutes to prevent it from over-browning. Once it’s done, carefully remove the baking sheet from the oven.
Adding Toppings and Final Bake
Now comes the fun part: adding the toppings! Evenly spread the 1 cup of sugar-free marinara sauce over the partially baked chicken crust. Be sure to leave a small border around the edge for the crust to remain visible. Since this is a keto-friendly pizza, using a sugar-free marinara sauce is a must to keep the carbohydrate count low. If you prefer a saucier pizza, you can use slightly more, but be mindful of the liquid content.
Next, generously sprinkle the 2 cups of shredded mozzarella cheese over the marinara sauce. Make sure the cheese covers the sauce completely, creating that classic pizza-cheesy goodness. The mozzarella will melt and bubble during the final bake, binding the toppings to the crust. Finally, arrange the 1 package of beef pepperonieroni over the mozzarella cheese. You can place them evenly or in a fun pattern – however you beef pepperoni pepperoni pizza!
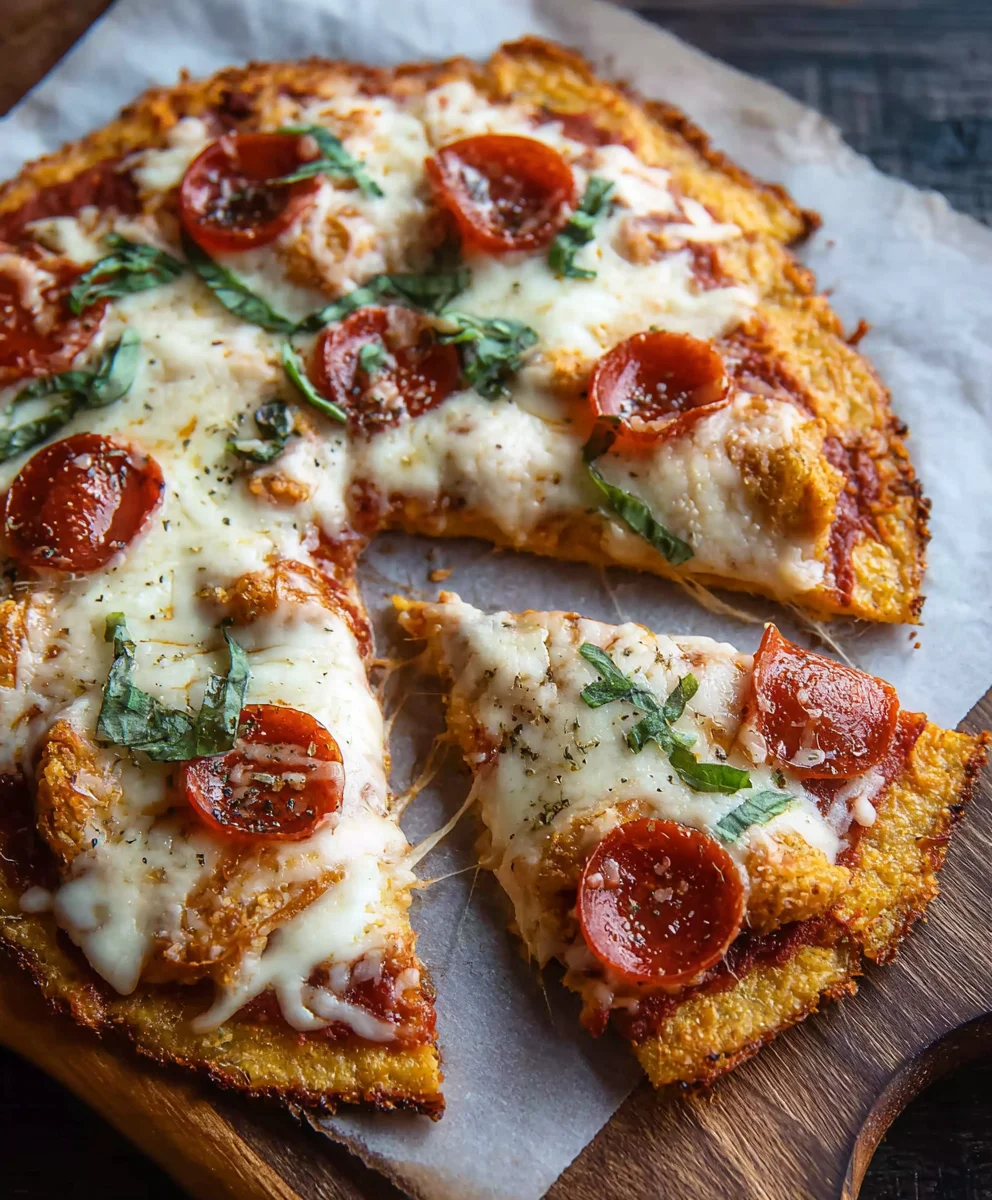
Return the pizza to the oven and bake for another 5-10 minutes, or until the mozzarella cheese is melted, bubbly, and slightly golden in beef pepperonid the pepperoni is slightly crisped. The aroma filling your kitchen at this stage is absolutely mouthwatering! Once it’s reached your desired levebeef pepperonisiness and pepperoni crispness, carefully remove the Keto Pizza Chicken Crust from the oven. Let it cool for a few minutes before slicing and serving. This allows the cheese to set up slightly, making it easier to cut. Enjoy this delicious and low-carb alternative to traditional pizza!
Conclusion:
There you have it – your ultimate guide to crafting the perfect Keto Pizza Chicken Crust! We’ve walked through each step, from preparing the flavorful chicken base to loading it up with your favorite low-carb toppings. This dish is a fantastic way to enjoy all the pizza goodness without the carb guilt, making it a staple for keto enthusiasts and anyone looking for a healthier alternative. The versatility of the Keto Pizza Chicken Crust is truly its superpower. Serve it as a satisfying main course, a fun appetizer cut into smaller squares, or even as a lunchbox treat. Don’t be afraid to experiment with different cheese combinations, vegetable toppings like bell peppers and mushrooms, or even add some spicy beef pepperoni for an extra kick. We encourage you to get creative and make this recipe your own. Enjoy the delicious, guilt-free satisfaction of your homemade Keto Pizza Chicken Crust!
Frequently Asked Questions about Keto Pizza Chicken Crust:
Q: Can I make the Keto Pizza Chicken Crust ahead of time?
A: Absolutely! You can prepare the baked chicken crust and let it cool completely. Store it in an airtight container in the refrigerator for up to 2-3 days. When ready to serve, add your toppings and bake until heated through and the cheese is melted and bubbly.
Q: What are some good low-carb topping ideas for Keto Pizza Chicken Crust?
A: The possibilities are endless! Some popular choices include: mozzarella cheese, cheddar chebeef pepperonieroni, mushrooms, onions, bell peppers, olives, jalapeños, cooked spinach, and even crum extractbled cooked beef bacon. Just be mindful of any high-carb sauces like traditional marinara; opt for a sugar-free tomato sauce or pesto instead.
Keto Chicken Crust Pizza – Easy Low Carb Recipe
A delicious and easy low-carb pizza recipe featuring a flavorful chicken crust, topped with sugar-free marinara, mozzarella cheese, and beef pepperoni.
Ingredients
-
1 can canned chicken, drained and well-rinsed
-
2 large eggs
-
1/2 cup grated Parmesan cheese
-
1 cup sugar-free marinara sauce
-
2 cups shredded mozzarella cheese
-
1 package beef pepperoni
Instructions
-
Step 1
Prepare the chicken crust: Thoroughly drain canned chicken, shred it finely in a bowl, then mix with eggs and Parmesan cheese until well combined. -
Step 2
Form and bake the crust: Preheat oven to 400°F (200°C). Line a baking sheet with parchment paper. Spoon the chicken mixture onto the sheet and spread into a desired shape, about ¼ to ½ inch thick, with slightly thicker edges. Bake for 15-20 minutes until firm and lightly golden. -
Step 3
Add toppings: Spread sugar-free marinara sauce evenly over the partially baked crust, leaving a border. Sprinkle generously with shredded mozzarella cheese. -
Step 4
Add pepperoni: Arrange the beef pepperoni over the mozzarella cheese. -
Step 5
Final bake: Return the pizza to the oven and bake for another 5-10 minutes, or until the cheese is melted, bubbly, and slightly golden, and the pepperoni is slightly crisped. -
Step 6
Cool and serve: Carefully remove the pizza from the oven and let it cool for a few minutes before slicing and enjoying.
Important Information
Nutrition Facts (Per Serving)
It is important to consider this information as approximate and not to use it as definitive health advice.
Allergy Information
Please check ingredients for potential allergens and consult a health professional if in doubt.