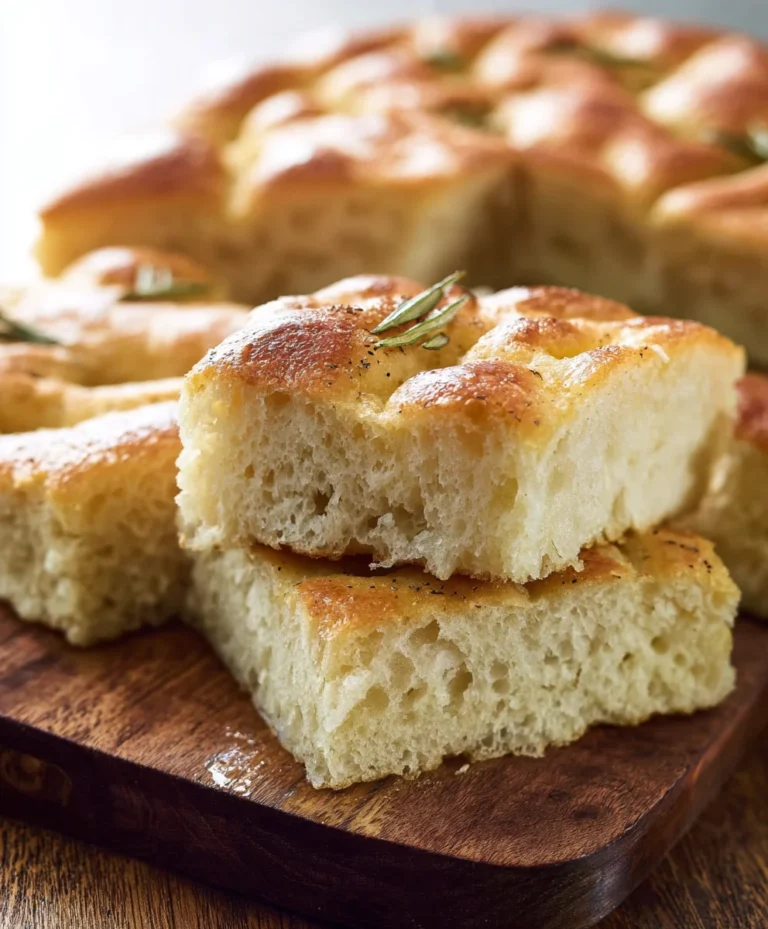
Cheeseburger Sliders Hawaiian Rolls Easy Beef Recipe
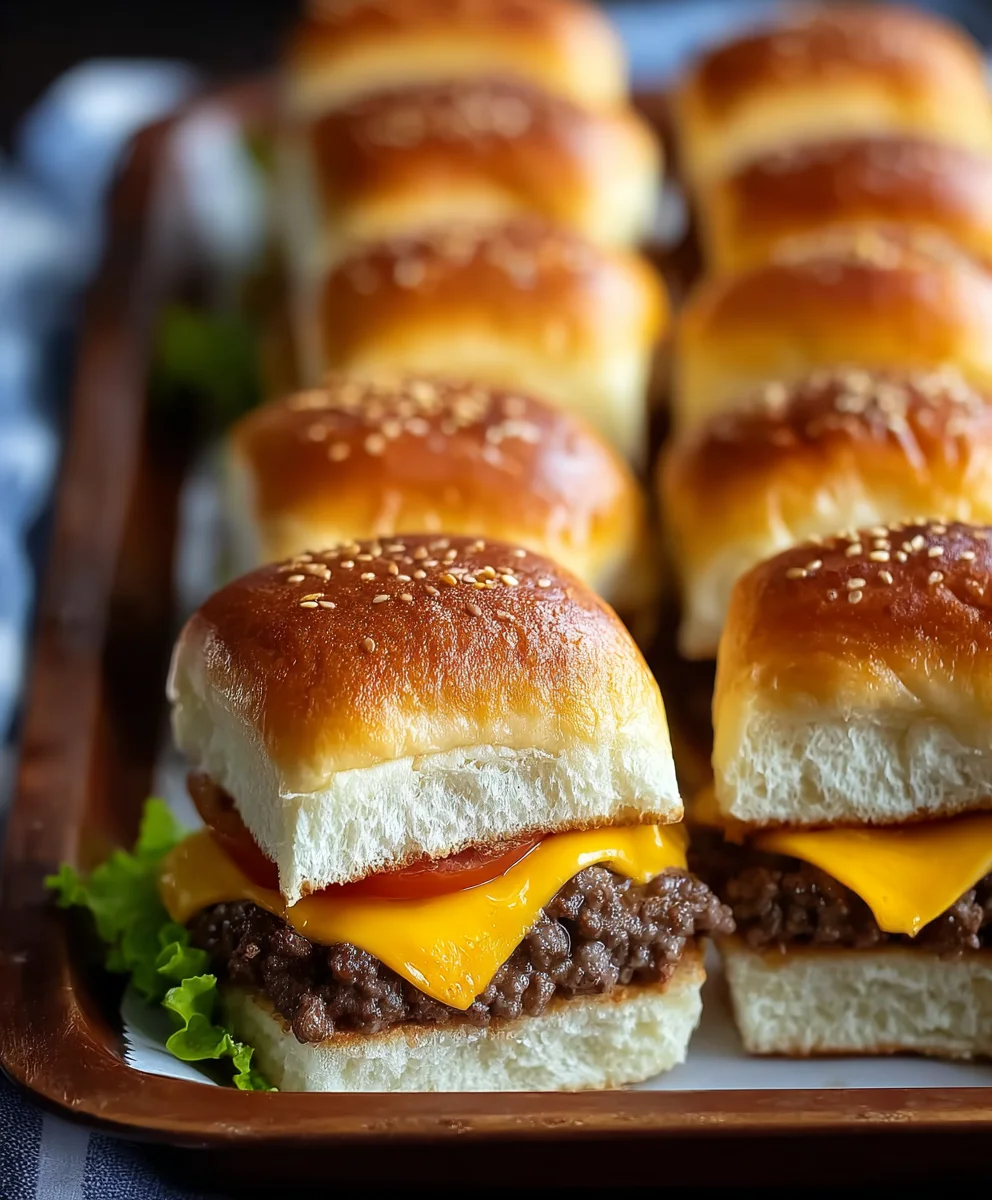
Cheeseburger sliders with Hawaiian rolls min have a way of making any gathering feel instantly more festive and utterly delicious. There’s something inherently joyful about these miniature marvels, transforming a classic comfort food into a crowd-pleasing bite. Whether you’re hosting a game day party, a casual backyard barbecue, or just craving a fun weeknight meal, these little burgers deliver big on flavor and satisfaction. What makes them truly special is the perfect marriage of tender, juicy beef patties, melted cheese, and the subtly sweet, impossibly soft texture of Hawaiian rolls. They’re not just small; they’re perfectly portioned for happy munching, ensuring everyone can enjoy more than one without feeling overwhelmed. This recipe takes the beloved cheeseburger and gives it a delightful, easy-to-handle makeover that’s guaranteed to be a hit.
Ingredients:
- 1 pound ground beef
- 1/2 cup finely chopped yellow onion
- 1/4 cup ketchup
- 2 tablespoons Worcestershire sauce
- 1 teaspoon salt
- 1/2 teaspoon black pepper
- 1/4 teaspoon garlic powder
- 12 slider buns (Hawaiian rolls are ideal)
- 12 slices cheddar cheese
- 2 tablespoons butter, melted
- Optional toppings: lettuce, tomato slices, pickles, extra ketchup, mustard
Preparing the Cheeseburger Slider Patties
Mixing the Beef Mixture
The foundation of any great cheeseburger slider is a well-seasoned, flavorful beef mixture. In a medium bowl, combine the one pound of ground beef with the finely chopped yellow onion. The onion adds a subtle sweetness and moisture that really elevates the flavor of the beef. Next, incorporate the ketchup and Worcestershire sauce. Ketchup brings a touch of tangy sweetness, while Worcestershire sauce provides a deep, savory umami punch that is essential for a classic burger taste. Don’t forget the seasonings! Add one teaspoon of salt, half a teaspoon of black pepper, and a quarter teaspoon of garlic powder. The salt is crucial for bringin extractg out the natural flavors of the beef, the pepper adds a gentle warmth, and the garlic powder offers an aromatic depth. Gently mix all these ingredients together with your hands. It’s important not to overmix the beef; you want to combine everything just until it’s evenly distributed. Overmixing can lead to tough patties, and we’re aiming for tender, juicy sliders here.
Forming the Patties
Once your beef mixture is thoroughly, but gently, combined, it’s time to form the patties. Divide the mixture into twelve equal portions. For sliders, you want them to be relatively thin and just slightly wider than your slider buns. This ensures that each bite has the perfect ratio of bun to beef. Roll each portion into a ball, and then gently flatten it into a patty. Aim for patties that are about 1/2 inch thick. As you form the patties, you can make a slight indentation in the center of each one with your thumb. This helps to prevent the patties from puffing up too much during cooking, ensuring they lay relatively flat. Place the formed patties on a plate or baking sheet lined with parchment paper, ensuring they don’t touch each other. This preparation step makes them ready for the next stage: cooking.
Cooking the Cheeseburger Sliders
Searing the Patties
Now for the satisfying sizzle! Heat a large skillet or griddle over medium-high heat. You don’t need to add any oil if you’re using a good non-stick pan, as the fat in the ground beef will render out. Once the pan is hot, carefully place the beef patties onto the skillet, working in batches if necessary to avoid overcrowding the pan. Overcrowding can steam the patties instead of searing them, and we want that delicious browned crust. Cook the patties for approximately 2-3 minutes per side, or until they are nicely browned and cooked through. The exact cooking time will depend on the thickness of your patties and the heat of your skillet. Resist the urge to press down on the patties while they are cooking, as this will squeeze out those precious juices that make for a tender slider.
Melting the Cheese
As soon as you flip the patties for the second side, it’s time to add the cheese. Place one slice of cheddar cheese on top of each hot patty. The residual heat from the patty and the pangin extractll begin to melt the cheese beautifully. If you find that your cheese isn’t melting as quickly as you’d like, you can loosely cover the skillet with a lid for about 30 seconds to a minute. This traps the heat and steam, helping the cheese to melt evenly and ooze over the sides of the beef. Cheddar cheese is a classic choice for its sharp, tangy flavor that complements the beef perfectly, but feel free to experiment with other favorite melting cheeses like American, Monterey Jack, or Swiss.
Assembling the Cheeseburger Sliders
Preparing the Buns
While the patties are cooking and the cheese is melting, it’s time to prepare your slider buns. Carefully slice each of the twelve slider buns in half horizontally. In a small bowl, melt the two tablespoons of butter. Lightly brush the cut sides of both the top and bottom halves of the slider buns with the melted butter. This step is crucial for achieving those golden-brown, slightly crispy edges on your buns and adding a lovely richness. Place the buttered bun halves onto the same skillet or griddle where you cooked the patties, cut-side down. Toast them for about 1-2 minutes, or until they are lightly golden brown. Keep an eye on them, as they can burn quickly.
Final Assembly
Once your buns are toasted and your cheesy patties are ready, it’s time for the grand finnon-alcoholic ale: assembling your cheeseburger sliders. Place the bottom halves of the toasted slider buns onto a serving platter. Carefully lift each cheesy beef patty from the skillet and place it on top of a bottom bun half. If you’re using any optional toppings like lettuce, tomato slices, or pickles, now is the time to add them. A crisp piece of lettuce adds a refreshing crunch, a thin slice of ripe tomato brings a juicy burst, and pickles provide that essential tangy counterpoint. Finally, place the top halves of the toasted slider buns over the toppings and patties. You can add a little extra ketchup or mustard on the top bun if you like. Serve these delicious cheeseburger sliders immediately and enjoy the perfect bite-sized burger experience.
Conclusion:
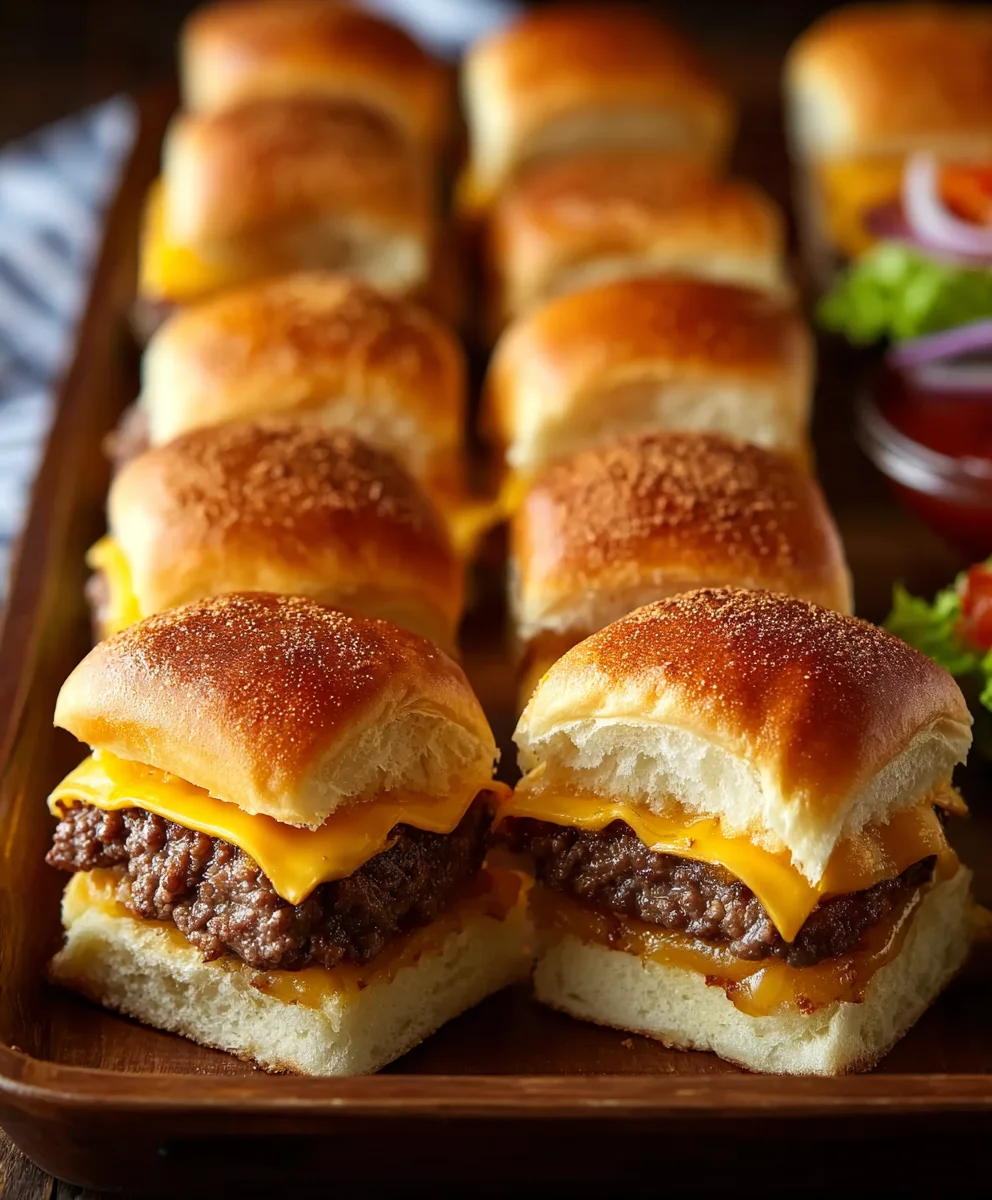
There you have it – a delightful and incredibly easy recipe for Cheeseburger Sliders With Hawaiian Rolls Min! These bite-sized wonders are perfect for any occasion, from casual weeknight dinners to game day gatherings and backyard barbecues. The sweet and slightly buttery Hawaiian rolls perfectly complement the savory, cheesy burger patties, creating a flavor explosion in every bite. Don’t be afraid to get creative with your toppings and enjoy the simple joy of making these crowd-pleasing sliders.
I encourage you to give these Cheeseburger Sliders With Hawaiian Rolls Min a try. They are incredibly forgiving and adaptable to your personal tastes. You can serve them as a main course alongside a fresh salad or crispy fries, or as a fun appetizer for your next party. Imagin extracte a spread of these warm, cheesy delights – they’re sure to disappear quickly!
FAQs:
Can I make the burger patties ahead of time?
Absolutely! You can form the burger patties a day in advance and store them on a plate covered with plastic wrap in the refrigerator. This can save you precious time when you’re ready to assemble and cook your Cheeseburger Sliders With Hawaiian Rolls Min.
What are some other topping ideas for these sliders?
The possibilities are endless! Beyond the classic lettuce, tomato, and onion, consider adding crispy beef bacon, caramelized onions, pickles, jalapeños for a kick, or even a drizzle of your favorite sauce like sriracha mayo or BBQ sauce. Get adventurous and personalize your Cheeseburger Sliders With Hawaiian Rolls Min!
Cheeseburger Sliders Hawaiian Rolls Easy Beef Recipe
Delicious and easy-to-make cheeseburger sliders using Hawaiian rolls and ground beef, perfect for a quick meal or party appetizer.
Ingredients
-
1 pound ground beef
-
1/2 cup finely chopped yellow onion
-
1/4 cup ketchup
-
2 tablespoons Worcestershire sauce
-
1 teaspoon salt
-
1/2 teaspoon black pepper
-
1/4 teaspoon garlic powder
-
12 slider buns (Hawaiian rolls are ideal)
-
12 slices cheddar cheese
-
2 tablespoons butter, melted
-
Optional toppings: lettuce, tomato slices, pickles, extra ketchup, mustard
Instructions
-
Step 1
In a medium bowl, combine the ground beef and finely chopped yellow onion. Add the ketchup, Worcestershire sauce, salt, black pepper, and garlic powder. Gently mix until evenly distributed, being careful not to overmix. -
Step 2
Divide the beef mixture into twelve equal portions. Roll each portion into a ball and gently flatten into patties about 1/2 inch thick and slightly wider than the slider buns. Make a slight indentation in the center of each patty. -
Step 3
Heat a large skillet or griddle over medium-high heat. Sear the beef patties for approximately 2-3 minutes per side, until nicely browned and cooked through. Avoid overcrowding the pan. -
Step 4
As soon as you flip the patties for the second side, place one slice of cheddar cheese on top of each. Cover loosely for 30 seconds to a minute to help the cheese melt. -
Step 5
While the patties are cooking, slice the slider buns in half horizontally. Brush the cut sides with melted butter and toast them cut-side down in the skillet for 1-2 minutes until lightly golden brown. -
Step 6
Assemble the sliders by placing the bottom halves of the toasted buns on a platter, topping with the cheesy patties, any optional toppings (lettuce, tomato, pickles), and finally the top halves of the buns.
Important Information
Nutrition Facts (Per Serving)
It is important to consider this information as approximate and not to use it as definitive health advice.
Allergy Information
Please check ingredients for potential allergens and consult a health professional if in doubt.