Delicious Banana Brownies – Easy Recipe
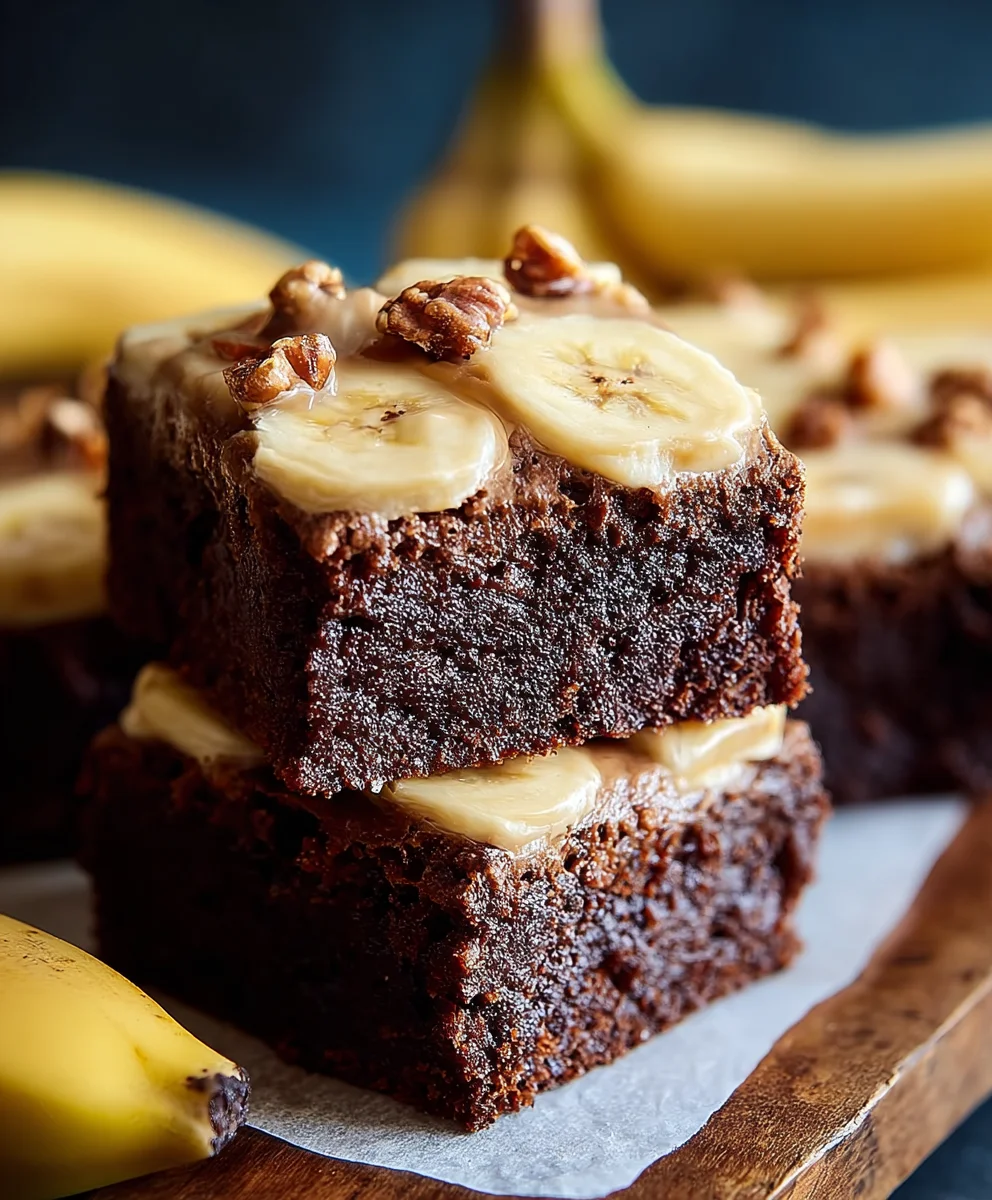
Banana Brownies are a delightful fusion of two beloved treats, and today we’re diving deep into what makes them so incredibly irresistible. Imagin extracte the rich, decadent chegrape juicess of a classic brownie, but with the sweet, comforting essence of ripe bananas woven throughout. This isn’t just any brownie; it’s a revelation! People adore banana brownies because they offer a unique textural complexity and a subtle, natural sweetness that elevates them far beyond the ordinary. They’re perfect for those moments when you crave something deeply satisfying yet wonderfully wholesome. What truly sets these banana brownies apart is how the mashed bananas not only infuse a gorgeous moisture and tender crum extractb but also act as a natural binder, often reducing the need for excessive fats. Get ready to unlock the secrets to baking these profoundly delicious, perfectly fudgy, and undeniably charming banana brownies!
Ingredients:
- 1 & 1/2 cups all-purpose flour
- 1/2 teaspoon baking powder
- 1/2 teaspoon fine sea salt
- 1/2 cup unsalted butter, melted
- 1 & 1/2 cups light brown sugar, packed
- 3/4 cup mashed banana (about 2 medium ripe bananas)
- 1 large egg
- 1 teaspoon vanilla extract
- 8 ounces cream cheese, softened
- 1/4 cup unsalted butter, softened
- 2 cups powdered sugar
- 1 teaspoon vanilla extract
Banana Brownie Batter
Step 1: Preheat and Prepare
First things first, let’s get our oven ready for some serious brownie action. Preheat your oven to 350°F (175°C). While that’s heating up, grab an 8×8 inch baking pan and grease it generously. You can use butter or cooking spray, but for extra insurance against sticking, I like to line it with parchment paper, leaving some overhang on the sides. This will make lifting the brownies out a breeze later.
Step 2: Whisk the Dry Ingredients
In a medium-sized bowl, combine your dry ingredients. This includes the 1 & 1/2 cups of all-purpose flour, the 1/2 teaspoon of baking powder, and the 1/2 teaspoon of fine sea salt. Give these a good whisk together. Whisking helps to distribute the leavening agent (baking powder) and salt evenly throughout the flour, which will ensure consistent rise and flavor in your brownies.
Step 3: Combine Wet Ingredients and Sugar
Now, in a separate, larger bowl, we’ll work on the wet ingredients and sugar. Pour in the 1/2 cup of melted unsalted butter. Add the 1 & 1/2 cups of light brown sugar, making sure it’s nicely packed into your measuring cup for accurate sweetness. Next, incorporate the 3/4 cup of mashed banana. Overripe bananas are your best friends here – they’re sweeter and blend into the batter more smoothly, contributing moisture and that lovely banana flavor. Follow this with the 1 large egg and 1 teaspoon of vanilla extract. Whisk these wet ingredients and sugar together until everything is well combined and the mixture is smooth and glossy. Don’t overmix at this stage; just ensure everything is incorporated.
Step 4: Marry the Dry and Wet
Now it’s time to bring our dry and wet mixtures together. Gradually add the dry ingredients from Step 2 into the wet ingredients from Step 3. Gently fold them together using a spatula or wooden spoon until just combined. It’s crucial not to overmix the batter at this point. Overmixing can develop the gluten in the flour too much, leading to tougher brownies instead of fudgy ones. You want to stop mixing as soon as you no longer see streaks of dry flour. A few small lumps are perfectly fine and even desirable for a good brownie texture.
Step 5: Bake the Brownie Base
Pour the brownie batter into your prepared baking pan from Step 1. Spread it out evenly with your spatula, ensuring it reaches all the corners. Now, pop this pan into your preheated oven. Bake for approximately 25-30 minutes. You’ll know the brownies are done when a toothpick inserted into the center comes out with moist crum extractbs attached, not wet batter. Be careful not to overbake, as this can dry them out. Once baked, remove the pan from the oven and let the brownies cool completely in the pan on a wire rack. This cooling period is essential for them to set properly before adding the cream cheese frosting.
Cream Cheese Frosting
Step 6: Cream the Cheese and Butter
While the brownies are cooling, let’s whip up the luscious cream cheese frosting. In a medium bowl, place the 8 ounces of softened cream cheese and 1/4 cup of softened unsalted butter. Using an electric mixer (handheld or stand mixer), beat these together on medium speed until they are light, fluffy, and completely smooth. Make sure there are no lumps of cream cheese remaining. Softened ingredients are key here for a silky smooth frosting.
Step 7: Add Powdered Sugar and Vanilla
Once the cream cheese and butter are perfectly creamed, gradually add the 2 cups of powdered sugar, about half a cup at a time, beating on low speed after each addition until it’s incorporated. This prevents a cloud of powdered sugar from exploding everywhere! After all the powdered sugar is mixed in, add the remaining 1 teaspoon of vanilla extract. Increase the mixer speed to medium-high and beat for another 1-2 minutes until the frosting is smooth, creamy, and luscious. This step is where you achieve that wonderful, decadent frosting texture.
Step 8: Frost the Cooled Brownies
Once your banana brownies have cooled completely in the pan, it’s time for the grand finnon-alcoholic ale: frosting! Dollop the cream cheese frosting over the top of the cooled brownies. Use an offset spatula or a butter knife to spread the frosting evenly across the entire surface. You can create swirls or keep it smooth, whatever your heart desires. The contrast between the rich, fudgy banana brownie base and the tangy, sweet cream cheese frosting is simply divine.
Step 9: Chill and Serve
For the best texture and to allow the frosting to set, cover the pan and refrigerate the brownies for at least 30 minutes to an hour before cutting. This chilling step makes them much cleaner to slice. Once chilled, use the parchment paper overhang to lift the entire brownie slab out of the pan onto a cutting board. Cut into squares and enjoy your delicious homemade banana brownies. They are best served chilled or at room temperature.
Conclusion:
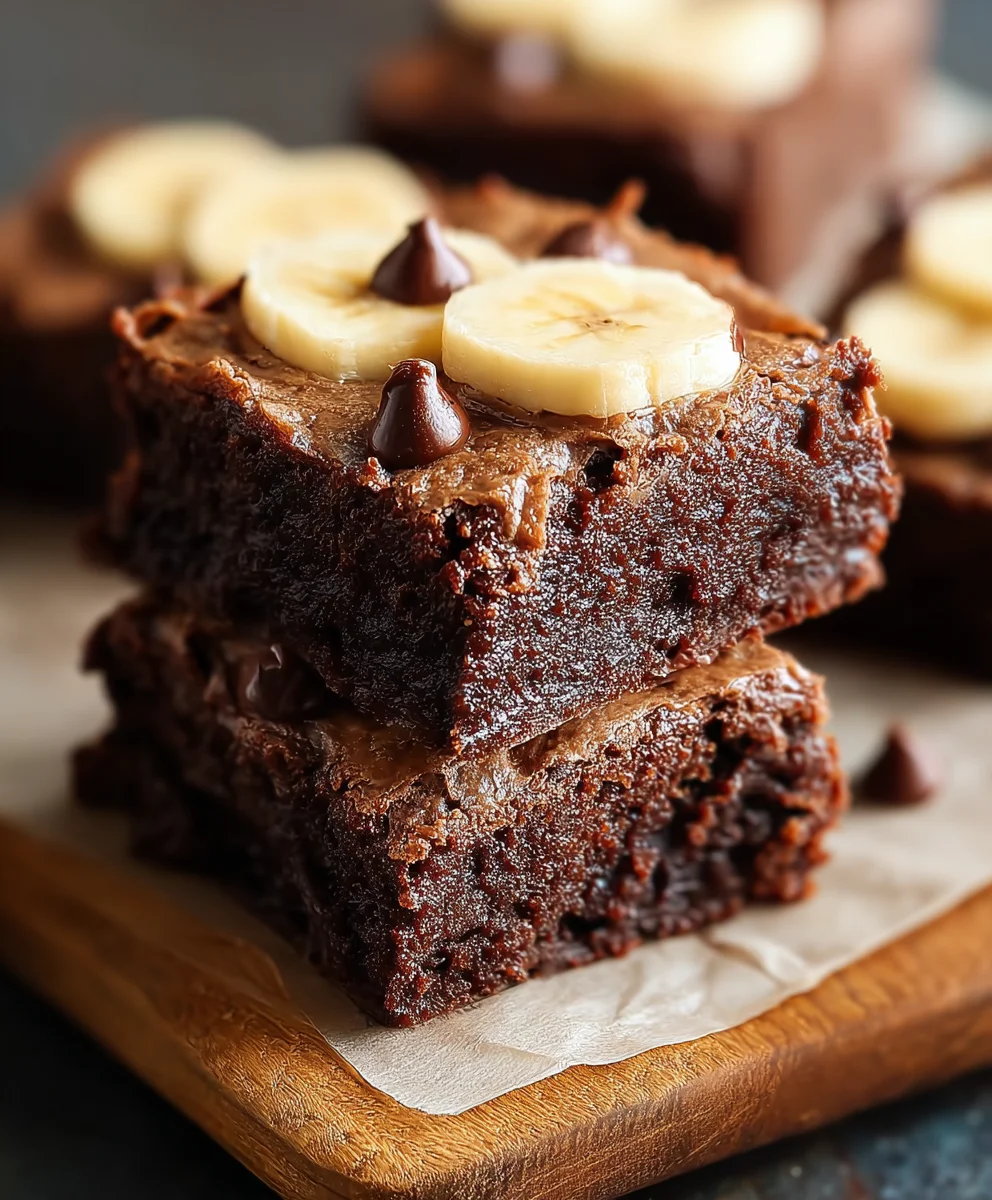
And there you have it – a foolproof guide to making absolutely delightful Banana Brownies! We’ve walked through each step, from gathering your ripe bananas to achieving that perfect fudgy texture and crackly top. These Banana Brownies are a wonderful way to use up overripe bananas, transforming them into a treat that’s both comforting and incredibly satisfying. I truly hope you’ll give this recipe a try. The aroma alone as they bake is reason enough to get in the kitchen!
For serving, these Banana Brownies are divine served warm with a scoop of vanilla bean ice cream, or simply dusted with a touch of powdered sugar. They also make a fantastic base for a more elaborate dessert – imagin extracte them crum extractbled over a fruit salad or layered into a trifle. Feel free to get creative with variations! You could add a handful of chocolate chips for extra decadence, chopped walnuts or pecans for a delightful crunch, or even a swirl of peanut butter for a nutty twist. Don’t be afraid to experiment and make these Banana Brownies your own. Happy baking!
Frequently Asked Questions about Banana Brownies:
Q: Can I make these Banana Brownies ahead of time?
A: Absolutely! Banana Brownies are actually even better when made a day in advance. This allows the flavors to meld together and the texture to become even more fudgy. Store them in an airtight container at room temperature for up to 3 days, or in the refrigerator for longer storage (though they might become a bit firmer when chilled).
Q: My brownies aren’t crackly on top. What did I do wrong?
A: The crackly top on brownies often comes from a few factors. Ensuring your sugar is well-dissolved into the butter and eggs is crucial. Beating the eggs and sugar together until light and slightly foamy helps. Also, overmixing the flour into the batter can prevent the crackly top. Mix just until combined.
Delicious Banana Brownies – Easy Recipe
Fudgy banana brownies topped with a creamy, tangy cream cheese frosting. An easy and delicious dessert recipe.
Ingredients
-
1 1/2 cups all-purpose flour
-
1/2 teaspoon baking powder
-
1/2 teaspoon fine sea salt
-
1/2 cup unsalted butter, melted
-
1 1/2 cups light brown sugar, packed
-
3/4 cup mashed banana
-
1 large egg
-
1 teaspoon vanilla extract
-
8 ounces cream cheese, softened
-
1/4 cup unsalted butter, softened
-
2 cups powdered sugar
-
1 teaspoon vanilla extract
Instructions
-
Step 1
Preheat oven to 350°F (175°C). Grease an 8×8 inch baking pan and line with parchment paper, leaving overhang. -
Step 2
In a medium bowl, whisk together flour, baking powder, and salt. -
Step 3
In a larger bowl, whisk together melted butter, packed light brown sugar, mashed banana, egg, and 1 teaspoon vanilla extract until smooth. -
Step 4
Gradually add dry ingredients to wet ingredients, folding until just combined. Do not overmix. -
Step 5
Pour batter into prepared pan, spread evenly, and bake for 25-30 minutes, or until a toothpick comes out with moist crumbs. Cool completely. -
Step 6
While brownies cool, beat softened cream cheese and softened butter until light and fluffy. -
Step 7
Gradually beat in powdered sugar, then the remaining 1 teaspoon vanilla extract until smooth and creamy. -
Step 8
Spread cream cheese frosting evenly over cooled brownies. -
Step 9
Chill for at least 30-60 minutes before cutting into squares. Serve chilled or at room temperature.
Important Information
Nutrition Facts (Per Serving)
It is important to consider this information as approximate and not to use it as definitive health advice.
Allergy Information
Please check ingredients for potential allergens and consult a health professional if in doubt.