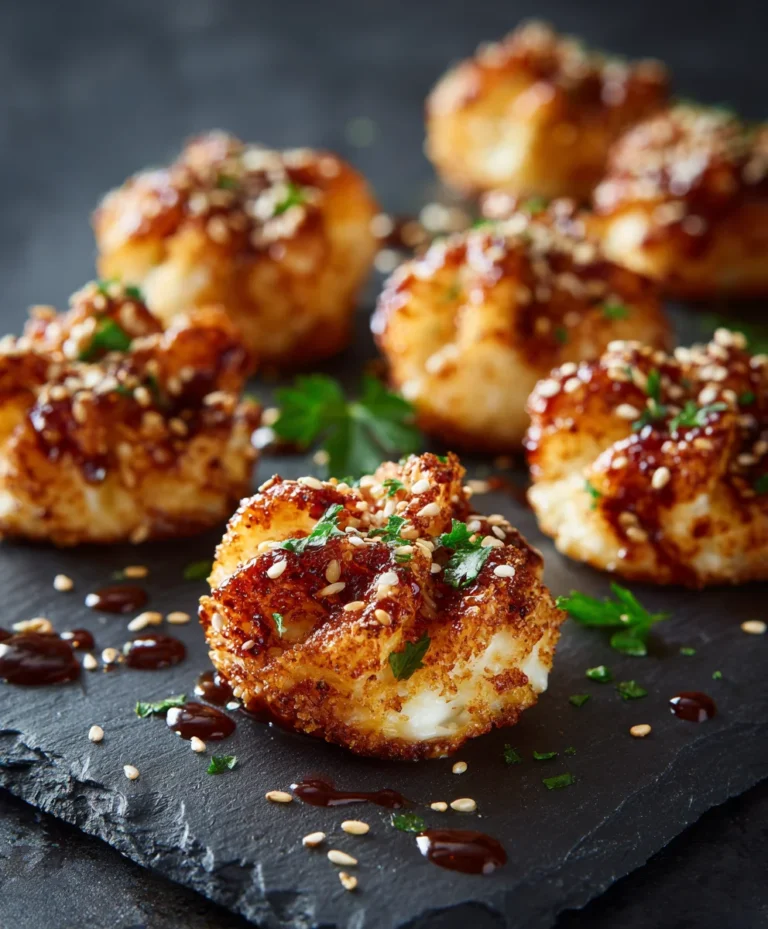
Crispy Cottage Cheese Chips – Easy Healthy Snack
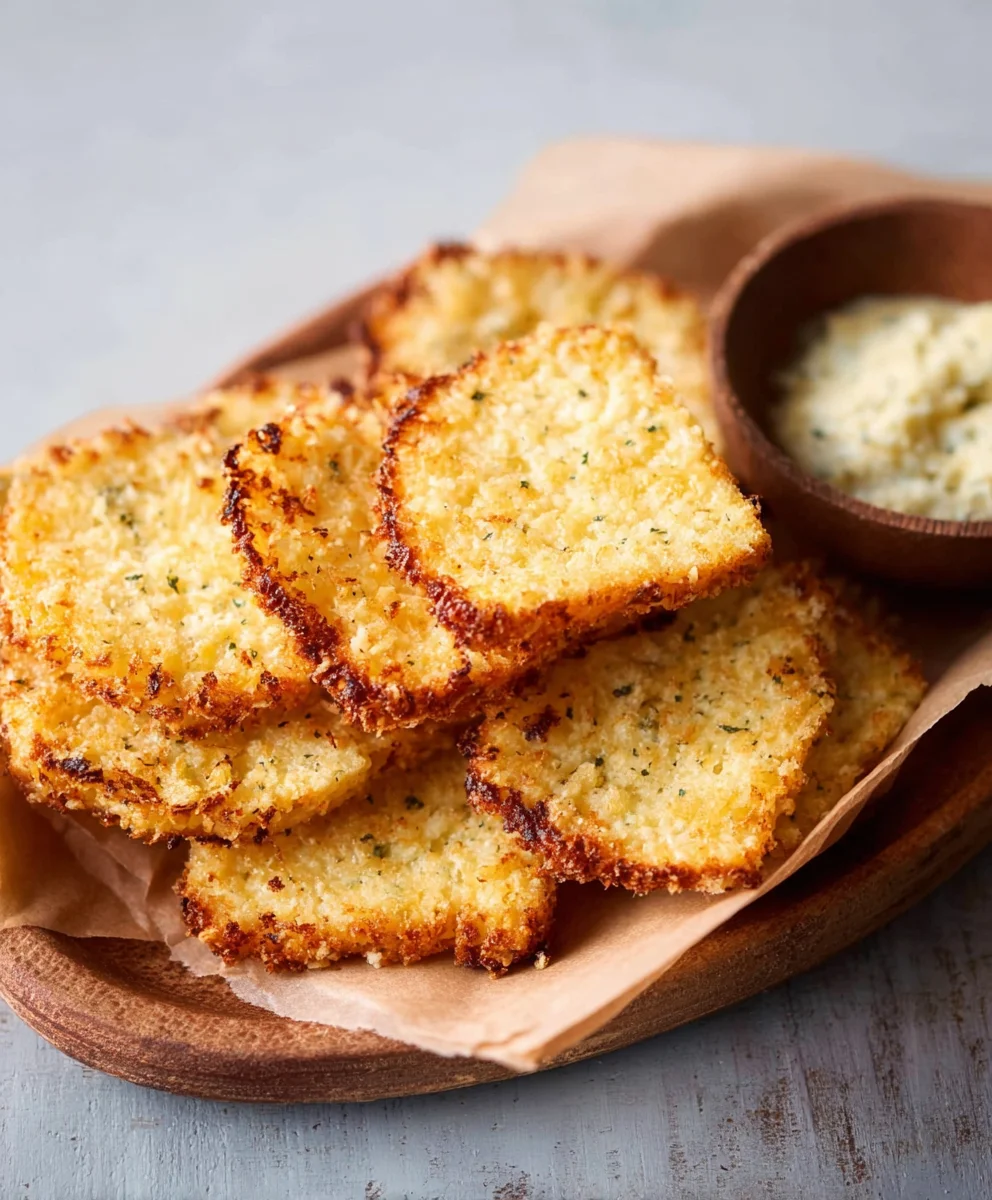
Crispy Cottage Cheese Chips are about to become your new obsession. Forget everything you thought you knew about healthy snacking! We’re diving headfirst into a world where light and fluffy cottage cheese transforms into unbelievably satisfying, oven-baked delights. Imagin extracte a snack that’s simultaneously crunchy, savory, and packed with protein, all without the guilt. This is precisely what makes these Crispy Cottage Cheese Chips so incredibly beloved. They offer that delightful textural contrast we crave, the satisfying crunch that’s so hard to find in healthier alternatives, and a surprisingly versatile flavor base that can be customized to your heart’s content. What truly sets these apart is their ingenious simplicity and the sheer magic of how a humble tub of cottage cheese can be elevated into such an addictive treat. Prepare to be amazed by their versatility and ease – they’re perfect for a quick energy boost, a flavorful addition to salads, or even a delightful dipper for your favorite dips.
Ingredients:
- 1 cup cottage cheese (small curds, drained)
- ¼ teaspoon garlic powder
- ¼ teaspoon onion powder
- ½ teaspoon dried herbs (optional, like thyme or parsley)
- Salt and pepper to taste
- Olive oil spray
Preparing the Cottage Cheese Base
The foundation of our incredibly satisfying Crispy Cottage Cheese Chips lies in the cottage cheese itself. For the best texture and to avoid excess moisture, I highly recommend using small curds of cottage cheese. Before we begin extract, it’s crucial to drain any liquid from the cottage cheese. You can do this by either pressing it gently through a fine-mesh sieve or by letting it sit in the sieve over a bowl for about 15-20 minutes. This step is key to ensuring our chips achieve that desirable crispiness rather than becoming soggy. Once drained, transfer the cottage cheese to a medium-sized mixing bowl.
Now, let’s infuse our base with some flavor. We’ll add the aromatics that will make these chips so addictive. Sprinkle in the garlic powder and onion powder. These provide a savory depth that complements the mild tang of the cottage cheese perfectly. For an extra layer of complexity, we have the option of adding dried herbs. If you’re a fan of classic flavors, a pinch of dried thyme or finely chopped dried parsley works beautifully. Feel free to experiment with other herbs you enjoy, such as rosemary or even a touch of dill. Remember, this is your chance to customize the flavor profile to your liking.
Next, we’ll season the mixture with salt and pepper. Start with a moderate amount, as you can always add more later if needed. Taste-testing the uncooked mixture is a good practice, though keep in mind that flavors will intensify slightly as they bake. Give everything a good stir with a fork or spoon, ensuring that all the seasonings are evenly distributed throughout the cottage cheese. You want a homogenous mixture, free of pockets of plain cottage cheese or concentrated spice. This thorough mixing is essential for uniform flavor in every chip.
Forming and Baking the Chips
Once our cottage cheese mixture is beautifully seasoned, it’s time to shape our future Crispy Cottage Cheese Chips. You’ll need a baking sheet lined with parchment paper. This not only prevents sticking but also makes for effortless cleanup. Now, we’ll work with small portions of the cottage cheese mixture. Using a small spoon or even your fingers, take about a teaspoon-sized dollop of the mixture and place it onto the prepared baking sheet. The key here is to create thin, relatively uniform discs. The thinner you spread the cottage cheese, the crispier your chips will become. Aim for a diameter of about 1.5 to 2 inches. Don’t worry if they aren’t perfectly round; rustic is charming!
It’s vital to leave a little space between each dollop, as the cottage cheese will spread slightly as it bakes. Overcrowding the baking sheet can lead to uneven cooking and prevent them from getting truly crispy. If you find it difficult to spread the cottage cheese thinly, you can lightly dampen your fingertips with water. This will help prevent sticking and allow for smoother spreading. You can also use the back of a spoon to gently flatten each dollop into a thin disc. This shaping phase is where the magic starts to happen, transforming a simple dairy product into a delightful snack.
Now comes the crucial step for achieving that irresistible crunch: baking. Preheat your oven to 350°F (175°C). Once the oven is preheated, carefully place the baking sheet into the center rack. We’re going to bake these for approximately 20-25 minutes. However, oven temperatures can vary, so it’s important to keep a close eye on them, especially during the last 10 minutes of baking. You’re looking for the edges of the chips to turn a beautiful golden brown and for the centers to appear set and slightly puffed.
During the baking process, you might notice some moisture releasing from the cottage cheese. This is completely normal. As the chips bake, this moisture evaporates, leading to their crispiness. If you find that some chips are browning faster than others, you can rotate the baking sheet halfway through the baking time. This ensures even cooking across the entire batch. The aroma that will fill your kitchen during this stage is absolutely wonderful – a savory and herbaceous scent that signals deliciousness is on its way.
Cooling and Enjoying Your Chips
Once your Crispy Cottage Cheese Chips have reached that perfect golden-brown hue and appear nicely set, it’s time to remove them from the oven. Carefully take the baking sheet out and let the chips cool on the sheet for a few minutes. This initial cooling period is important because the chips will continue to crisp up as they cool. After about 5 minutes on the baking sheet, gently transfer the chips to a wire cooling rack. This allows air to circulate around them, ensuring they become completely crisp and preventing any residual moisture from making them soggy.
Allow the chips to cool completely on the wire rack. This might take another 15-20 minutes. As they cool, you’ll hear them subtly crackling – a sure sign of their impending crispiness! Resist the urge to taste them while they’re still warm; they’ll be much more enjoyable and truly crispy once they’ve reached room temperature. Once they are completely cooled, you can now enjoy the fruits of your labor. These Crispy Cottage Cheese Chips are fantastic on their own as a healthy snack. They also pair wonderfully with your favorite dips, like hummus, guacamole, or even a simple salsa. Their sturdy yet light texture makes them a great vehicle for all sorts of delicious pairings. Store any leftover chips in an airtight container at room temperature to maintain their crispness for a few days.

Conclusion:
And there you have it – the ultimate guide to making incredibly delicious and satisfying Crispy Cottage Cheese Chips! We’ve walked through the simple steps to transform humble cottage cheese into a surprisingly crunchy and flavorful snack or appetizer. These chips are a testament to how versatile and exciting healthy eating can be. Don’t be afraid to experiment and make them your own!
I love serving these Crispy Cottage Cheese Chips with a side of homemade guacamole or a refreshing salsa for an extra burst of flavor. They also make a fantastic low-carb base for various toppings, from smoked salmon to a sprinkle of everything bagel seasoning. For variations, consider adding a pinch of garlic powder or onion powder to the cottage cheese before baking for an extra savory kick. You can also mix in finely chopped chives or a touch of smoked paprika for different flavor profiles. So, go ahead, give these Crispy Cottage Cheese Chips a try – I’m confident you’ll be hooked!
Frequently Asked Questions about Crispy Cottage Cheese Chips:
Q1: Can I make these Crispy Cottage Cheese Chips ahead of time?
Yes, you can definitely make these Crispy Cottage Cheese Chips ahead of time! Once they are completely cooled, store them in an airtight container at room temperature for up to 3-4 days. They may lose a little bit of their crispiness over time, but a quick refresh in a low oven or air fryer can bring them back to life.
Q2: What’s the best way to store leftover Crispy Cottage Cheese Chips?
For optimal freshness and crunch, store your Crispy Cottage Cheese Chips in an airtight container. Ensure they are completely cool before sealing the container to prevent any condensation, which can make them soggy. Avoid storing them in the refrigerator, as this can also affect their crispiness.
Q3: Can I use a different type of cottage cheese?
While any type of cottage cheese can be used, low-fat or full-fat versions tend to yield the best results for these Crispy Cottage Cheese Chips. The fat content contributes to a better texture and crispiness. However, you can certainly experiment with different types to see what you prefer!
Crispy Cottage Cheese Chips
An easy and healthy snack recipe for making crispy cottage cheese chips, perfect for dipping or enjoying on their own.
Ingredients
-
1 cup cottage cheese (small curds, drained)
-
1/4 teaspoon garlic powder
-
1/4 teaspoon onion powder
-
1/2 teaspoon dried herbs (optional, like thyme or parsley)
-
Salt to taste
-
Pepper to taste
-
Olive oil spray
Instructions
-
Step 1
Drain the cottage cheese thoroughly by pressing it through a fine-mesh sieve or letting it sit in a sieve for 15-20 minutes. Transfer the drained cottage cheese to a mixing bowl. -
Step 2
Add garlic powder, onion powder, dried herbs (if using), salt, and pepper to the cottage cheese. Stir well with a fork or spoon until all seasonings are evenly distributed, creating a homogenous mixture. -
Step 3
Preheat your oven to 350°F (175°C). Line a baking sheet with parchment paper and lightly spray with olive oil. -
Step 4
Using a teaspoon, place small dollops of the cottage cheese mixture onto the prepared baking sheet, spreading each into a thin disc about 1.5 to 2 inches in diameter. Leave space between each chip as they will spread slightly. -
Step 5
Bake for 20-25 minutes, or until the edges are golden brown and the centers are set. Rotate the baking sheet halfway through if needed for even cooking. Keep a close eye on them during the last 10 minutes. -
Step 6
Remove the baking sheet from the oven and let the chips cool on the sheet for 5 minutes. Then, carefully transfer them to a wire cooling rack to cool completely. They will crisp up further as they cool.
Important Information
Nutrition Facts (Per Serving)
It is important to consider this information as approximate and not to use it as definitive health advice.
Allergy Information
Please check ingredients for potential allergens and consult a health professional if in doubt.