Easter Bunny and Chick Cupcakes Easy Recipe
Easter Bunny and Chick Cupcakes are the undisputed stars of any spring celebration, and for good reason! Imagin extracte the sheer delight on your little one’s face, or even your own, as these adorable creations grace the dessert table. These aren’t just any cupcakes; they are edible works of art, embodying the playful spirit of Easter. What makes these Easter Bunny and Chick Cupcakes so beloved is their irresistible charm and the sheer joy they bring. They’re a delightful departure from the ordinary, transforming simple cake into a whimsical centerpiece. We love them for their customizable cuteness – you can go classic with fluffy bunny ears or vibrant with fuzzy chick faces. Get ready to bake up some smiles and make your Easter unforgettable with these show-stopping treats!
Ingredients:
- 1 recipe Vanilla Cupcakes (or your favorite cake mix), prepared according to package directions and cooled completely
- 1 recipe Fluffy Vanilla Frosting (or store-bought vanilla frosting), prepared and ready to use
- Yellow and white sprinkles
- Large marshmallows
- Mini marshmallows
- Pink colored sanding sugar
- Black decorator icing
- Jelly beans (specifically pink ones for bunny noses)
- Orange colored gum or M&Ms (these will be for the chick beaks)
- Yellow food coloring (to tint some of the frosting for the chicks)
Preparing the Cupcakes
Baking the Cupcakes
First things first, you’ll need to bake your vanilla cupcakes. Whether you’re using a favorite homemade recipe or a convenient cake mix, follow the instructions on the package or in your recipe precisely. Ensure you grease and flour your cupcake tins thoroughly to prevent any sticking. It’s crucial to let the cupcakes cool completely on a wire rack before you even think about decorating. This step is non-negotiable! Warm cupcakes will melt your frosting, creating a messy, unmanageable situation and ultimately, less adorable Easter treats. Patience here will pay off in the long run. While the cupcakes are cooling, you can prepare your fluffy vanilla frosting if you’re making it from scratch. If you’re using store-bought, make sure it’s at room temperature for easier spreading and piping.
Decorating the Easter Bunny Cupcakes
Bunny Face Frosting and Assembly
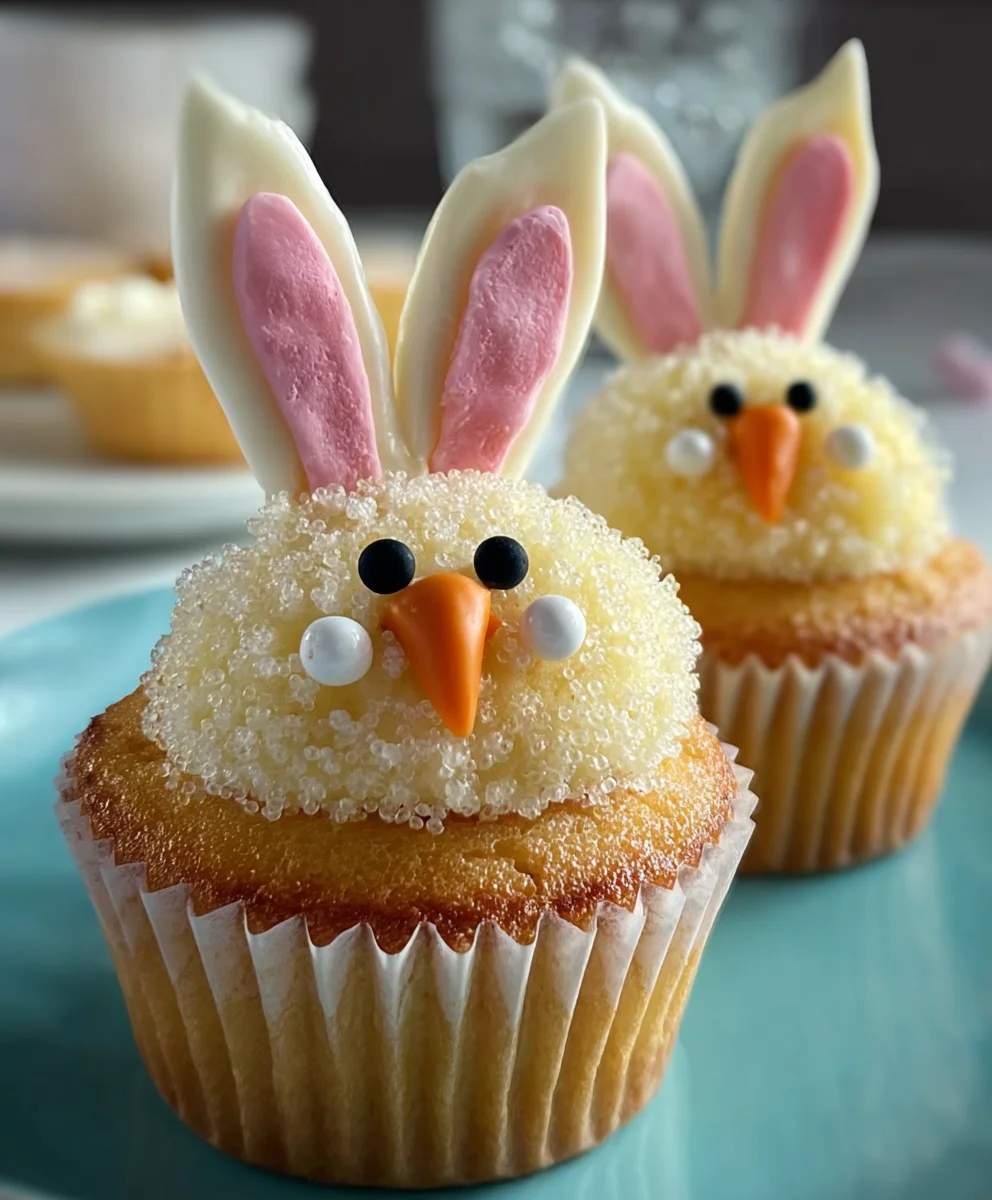
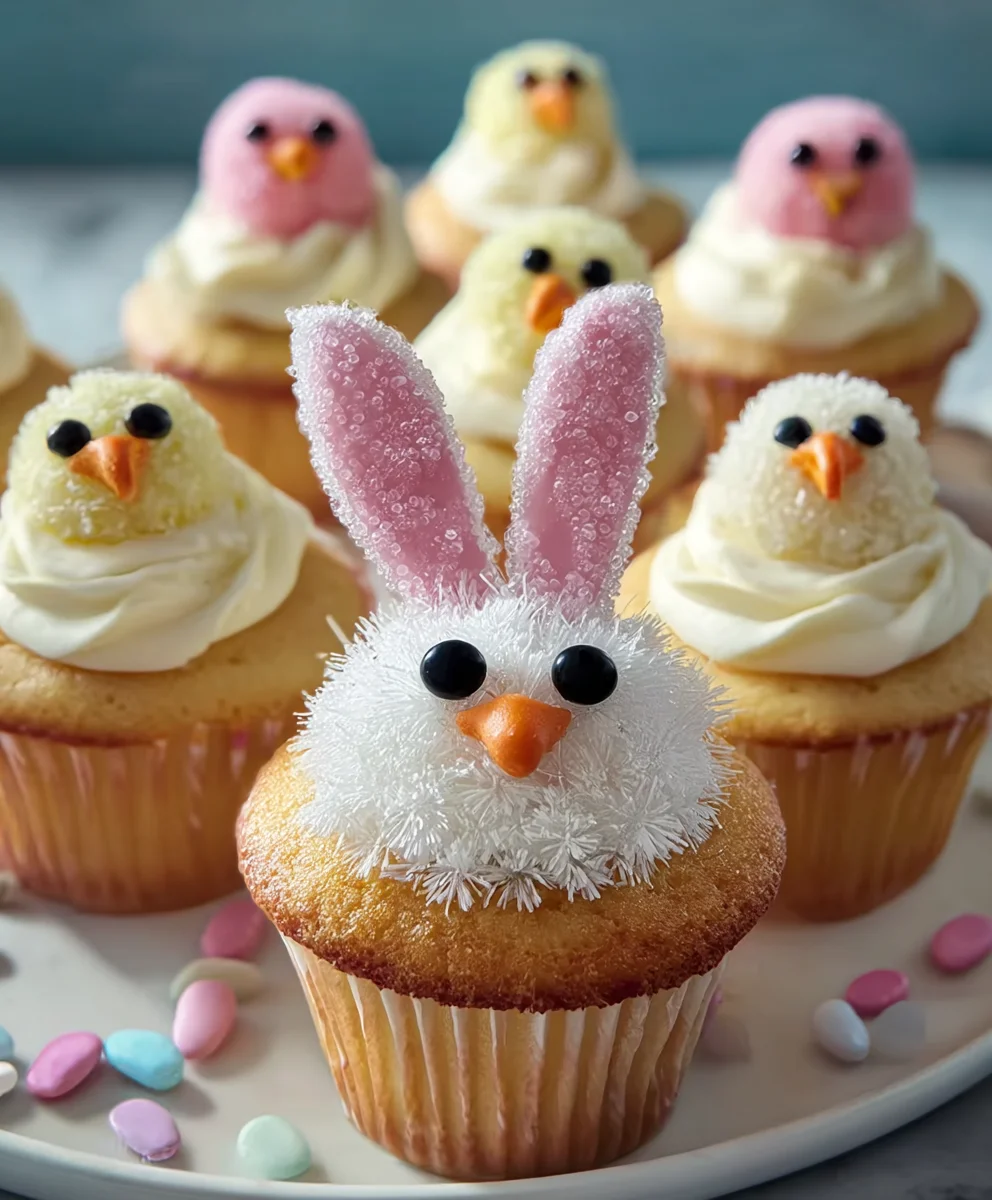
Now for the fun part! We’re going to create adorable Easter Bunny faces on some of our cooled cupcakes. Take a generous dollop of your vanilla frosting and spread it smoothly over the top of a cupcake. This will be the bunny’s face. Don’t worry about perfection; a slightly textured surface can even add character. Next, gently press the sides of a large marshmallow into the frosting on one side of the cupcake, so it stands up slightly. This will be one bunny ear. Repeat this process on the other side of the cupcake, ensuring the two marshmallow ears are positioned evenly. For the other ear, cut a large marshmallow in half horizontally and press each half into the frosting just behind the full marshmallow ears, angling them slightly inwards. This gives a lovely, dynamic look to your bunny ears. For the bunny’s nose, carefully place a pink jelly bean in the center of the cupcake, just below where the ears attach. To create the mouth, use your black decorator icing and a fine piping tip (or just the tip of the tube if it has a fine nozzle) to draw a small, curved line downwards from the jelly bean nose, creating a cute “V” shape. You can also add two tiny dots of black icing just above the nose for the eyes, or leave them as is for a more minimalist look. Finally, sprinkle a few white sprinkles around the edges of the cupcake to give the impression of a fluffy bunny tail.
Decorating the Easter Chick Cupcakes
Chick Face Frosting and Assembly
It’s time to transform some of our cupcakes into cheerful little chicks! This is where the yellow food coloring comes into play. Take a portion of your fluffy vanilla frosting and tint it a vibrant, sunny yellow using a few drops of yellow food coloring. Mix it thoroughly until you achieve a consistent, bright hue. Now, frost another set of cooled cupcakes with this yellow frosting. You can spread it evenly for a smooth finish or create a slightly textured, fluffy appearance that resembles chick down. For the beak, carefully place an orange gum piece or an M&M in the center of the yellow frosting. If you’re using gum, you might want to cut it into a small triangle shape for a more beak-like appearance. To create the eyes, use your black decorator icing and pipe two small dots above the beak. For a simpler option, you could also use two tiny dots of white frosting with a black dot in the center of each. To give your chicks a touch of flair, you can sprinkle some yellow and white sprinkles around the edges of the cupcakes. This adds a festive sparkle and reinforces the chick theme.
Adding Extra Festive Touches
Now that you have your bunny and chick cupcakes decorated, you can add some extra details to really make them stand out. For the bunnies, you can sprinkle a little bit of the pink sanding sugar onto the tips of the marshmallow ears for a subtle blush. This adds a charming pop of color and makes them look even more endearing. For the chicks, you can use the white sprinkles to create a halo around the base of the frosting, mimicking the fluffy chest of a baby chick. You can also use the black decorator icing to draw little wisps of feather details on the sides of the chick cupcakes if you’re feeling particularly artistic. Don’t be afraid to mix and match techniques! Perhaps a bunny with a chick’s eye or a chick with a bunny’s ear – the possibilities for creating unique Easter characters are endless. Remember to pipe any remaining black decorator icing onto a piece of parchment paper and let it set completely before storing any extra for touch-ups. This ensures your decorations stay put.
Final Assembly and Presentation
Once all your Easter Bunny and Chick Cupcakes are fully decorated, it’s time for the grand finnon-alcoholic ale: presentation! Arrange them on a festive platter or a tiered stand. You can intersperse them with a few extra jelly beans or some colorful Easter candy to create a truly impressive display. If you’ve made a batch of mini marshmallows, you can gently press a few around the base of some of the cupcakes to simulate a fluffy cloud or a nest. For the bunny cupcakes, placing them on a bed of shredded coconut can give the illusion of a fluffy bunny tail trailing behind them. For the chicks, a scattering of yellow and orange candies around the platter will enhance their cheerful vibe. Ensure the cupcakes are kept at a cool room temperature until ready to serve. This will help the frosting maintain its shape and prevent any melting, keeping your adorable creations looking their best throughout your Easter celebration. Enjoy the delightful reactions of your friends and family as they marvel at these homemade Easter masterpieces!
Conclusion:
You’ve now mastered the art of creating adorable and delicious Easter Bunny and Chick Cupcakes! This recipe is a fantastic way to bring some festive cheer to your Easter celebrations, whether you’re baking for a family gathering, a school event, or just for a fun afternoon treat. We’ve walked through the simple steps to achieve these charming designs, from the fluffy frosting to the perfectly placed candy features. Remember, the key is to have fun and let your creativity shine through. These cupcakes are not only a feast for the eyes but also a delight to the taste buds, making them a guaranteed hit with everyone.
Serve these Easter Bunny and Chick Cupcakes as a centerpiece for your dessert table, alongside other Easter treats, or as individual gifts. For variations, feel free to experiment with different cake flavors like lemon or carrot cake, or try different frosting colors to create a rainbow of Easter friends. You could also add sprinkles or edible glitter for extra sparkle! Don’t be afraid to get a little messy; the most important ingredient is your enthusiasm. Happy baking!
Frequently Asked Questions:
Can I make the cupcake batter ahead of time?
Yes, you can prepare the cupcake batter a day in advance and store it in an airtight container in the refrigerator. Be sure to bring it back to room temperature before baking for the best results.
What kind of frosting works best for decorating?
A sturdy buttercream frosting is ideal for decorating these Easter Bunny and Chick Cupcakes as it holds its shape well. Cream cheese frosting can also work, but it might be slightly softer.
Easter Bunny and Chick Cupcakes Easy Recipe
Create adorable Easter Bunny and Chick cupcakes with this easy-to-follow recipe. Perfect for spring celebrations!
Ingredients
-
1 recipe Vanilla Cupcakes (or your favorite cake mix)
-
1 recipe Fluffy Vanilla Frosting (or store-bought vanilla frosting)
-
Yellow and white sprinkles
-
Large marshmallows
-
Mini marshmallows
-
Pink colored sanding sugar
-
Black decorator icing
-
Jelly beans (specifically pink ones for bunny noses)
-
Orange colored gum or M&Ms (for chick beaks)
-
Yellow food coloring (to tint frosting for chicks)
Instructions
-
Step 1
Bake vanilla cupcakes according to package or recipe directions. Ensure they are completely cooled on a wire rack before decorating. -
Step 2
For Bunny Cupcakes: Frost a cupcake with vanilla frosting. Gently press large marshmallows into the frosting on the sides for ears, and halved marshmallows behind them. Place a pink jelly bean for the nose and use black decorator icing for the mouth and eyes. -
Step 3
For Chick Cupcakes: Tint a portion of vanilla frosting yellow. Frost other cooled cupcakes with the yellow frosting. Place an orange gum piece or M&M for the beak and use black decorator icing for the eyes. -
Step 4
Add festive touches: sprinkle white sprinkles around bunny cupcakes for a tail. For chicks, sprinkle yellow and white sprinkles around the edges. You can add pink sanding sugar to bunny ears or draw feather details on chicks. -
Step 5
Arrange decorated cupcakes on a festive platter. Serve at cool room temperature.
Important Information
Nutrition Facts (Per Serving)
It is important to consider this information as approximate and not to use it as definitive health advice.
Allergy Information
Please check ingredients for potential allergens and consult a health professional if in doubt.