Easy No-Knead Focaccia Bread Recipe
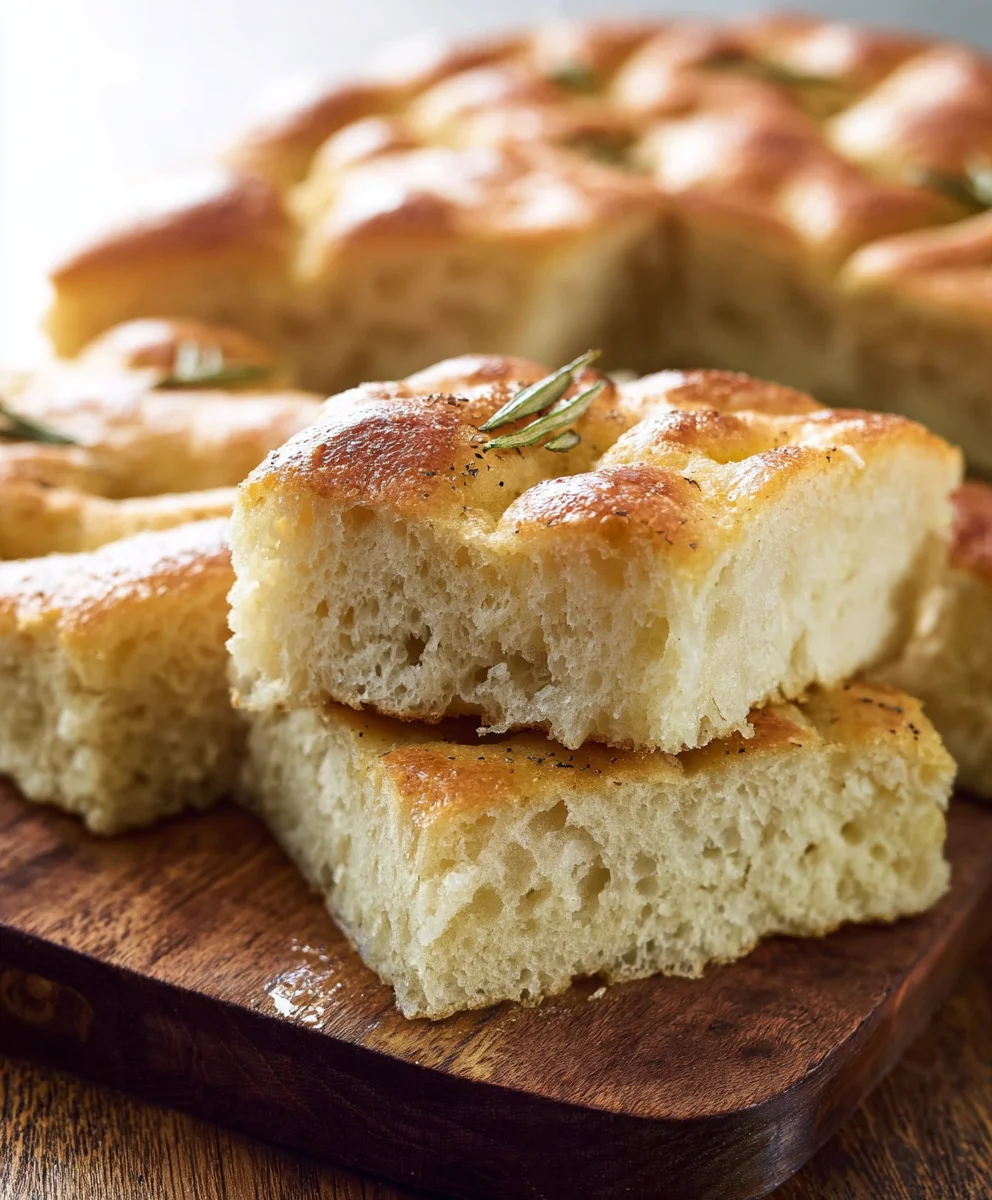
No-knead focaccia bread is one of those culinary miracles that feels almost too good to be true. Imagin extracte the delightful aroma of warm, yeasty bread filling your kitchen, the satisfying crunch of its golden crust, and the pillowy, airy interior – all achieved without a single moment of strenuous kneading. Is there anything better than that? This beloved Italian flatbread has captured hearts (and stomachs!) for generations, and with this simple, foolproof recipe, you’ll understand exactly why. It’s the perfect canvas for your favorite toppings, whether you’re aiming for a classic rosemary and sea salt masterpiece or something more adventurous. What truly makes this no-knead focaccia bread special is its incredible accessibility; anyone can achieve bakery-quality results with minimal effort, making it an absolute game-changer for home bakers.
Ingredients:
- 4¾ cups all-purpose flour (630 grams)
- 4½ tablespoons olive oil (59 grams), plus more for greasing and drizzling
- 2 teaspoons salt (12 grams)
- 1½ tablespoons instant dry yeast (13 grams)
- 2⅓ cups warm water (100–110°F; 529 grams)
- Coarse salt (optional, for topping)
- Dried rosemary (optional, for topping)
Preparing the Dough: The First Rise
This No-Knead Focaccia Bread recipe is all about effortless preparation and incredible flavor. The magic happens because we’re letting time and yeast do all the heavy lifting, eliminating the need for any strenuous kneading. To begin extract, gather all your ingredients. In a large mixing bowl – a sturdy one that can accommodate the dough as it rises – combine the all-purpose flour, 2 teaspoons of salt, and the instant dry yeast. Give these dry ingredients a quick whisk or stir with a fork to ensure the yeast is evenly distributed throughout the flour. This is an important step to prevent pockets of unmixed yeast in your final dough.
Next, pour in the 2/3 cups of warm water and the 4½ tablespoons of olive oil. The water should be comfortably warm to the touch, like a warm bath, but not hot. Hot water can kill the yeast, hindering its ability to make your bread rise beautifully. Using a wooden spoon or a spatula, mix everything together until just combined. Don’t worry about developing gluten or achieving a smooth texture at this stage. The dough will look shaggy, wet, and quite sticky – this is exactly what we want. It might seem like there’s not enough liquid, but trust the process. Once everything is incorporated, cover the bowl tightly with plastic wrap or a damp kitchen towel. Place the bowl in a warm spot in your kitchen, free from drafts. A good place could be on top of your refrigerator, or even inside a slightly warmed (then turned off) oven. Let the dough rise for at least 2 hours, or until it has at least doubled in size and is bubbly and airy. This extended period allows the yeast to work its magic, creating that signature airy crum extractb without any kneading.
Preparing the Pan and Second Rise
After the initial rise, it’s time to prepare your baking pan. This is where the focaccia really starts to take shape. Generously grease a 9×13 inch baking pan (or a similar sized rimmed baking sheet) with olive oil. You want a good coating of oil on the bottom and up the sides. This prevents sticking and also helps to create that wonderfully crispy bottom crust that focaccia is known for. Gently pour the risen, bubbly dough into the prepared pan. It will still be quite sticky and may not spread evenly on its own. Use oiled hands or a spatula to gently coax the dough towards the edges of the pan. Don’t force it; just gently encourage it to fill the space.
Once the dough is somewhat distributed in the pan, cover it again and let it rest for another 30 to 45 minutes. This second rise allows the dough to relax and puff up further in its new home. During this time, you can preheat your oven to 450°F (230°C). This higher temperature is crucial for achieving that signature golden-brown crust and airy interior. The extra oil in the pan will also help to conduct heat and create that delicious crispiness.
Dimpling and Topping for Flavor
As the oven preheats and the dough finishes its second rise, it’s time to add those characteristic dimples and optional toppings that elevate this No-Knead Focaccia Bread. Uncover the dough. With oiled fingertips, gently but firmly press down into the dough all over, creating deep dimples. These dimples are not just for aesthetics; they help the bread bake evenly and also create little pockets to hold olive oil and any other toppings you choose. Be generous with your dimples!
Now is the moment to add your desired toppings. If you’re keeping it classic, drizzle more olive oil generously over the surface of the dough. Make sure to let some of the oil settle into the dimples. If you’re using optional coarse salt, sprinkle it evenly over the top. The coarse salt adds a wonderful salty crunch that complements the soft bread. For an herby twist, scatter dried rosemary over the surface as well. Feel free to experiment with other toppings like garlic slivers, cherry tomatoes, or olives at this stage. Ensure any additional toppings are pressed slightly into the dough so they don’t burn.
Baking the Focaccia
Carefully place the prepared pan into the preheated 450°F (230°C) oven. Bake for 25 to 30 minutes, or until the focaccia is deeply golden brown on top and around the edges. The bottom should also be nicely browned and crispy. Keep an eye on it during the last 10 minutes of baking. If the top is browning too quickly, you can loosely tent it with aluminum foil. The aroma filling your kitchen will be incredible, a testament to the simple yet profound magic of this no-knead method.
Once baked to perfection, carefully remove the focaccia from the oven. You might want to give it another light drizzle of olive oil immediately after it comes out of the oven for extra shine and flavor. Let the focaccia cool in the pan for about 10-15 minutes before attempting to remove it. This allows it to set up slightly, making it easier to handle. Then, transfer the focaccia to a wire rack to cool further. This allows air to circulate, preventing the bottom crust from becoming soggy.
Conclusion:
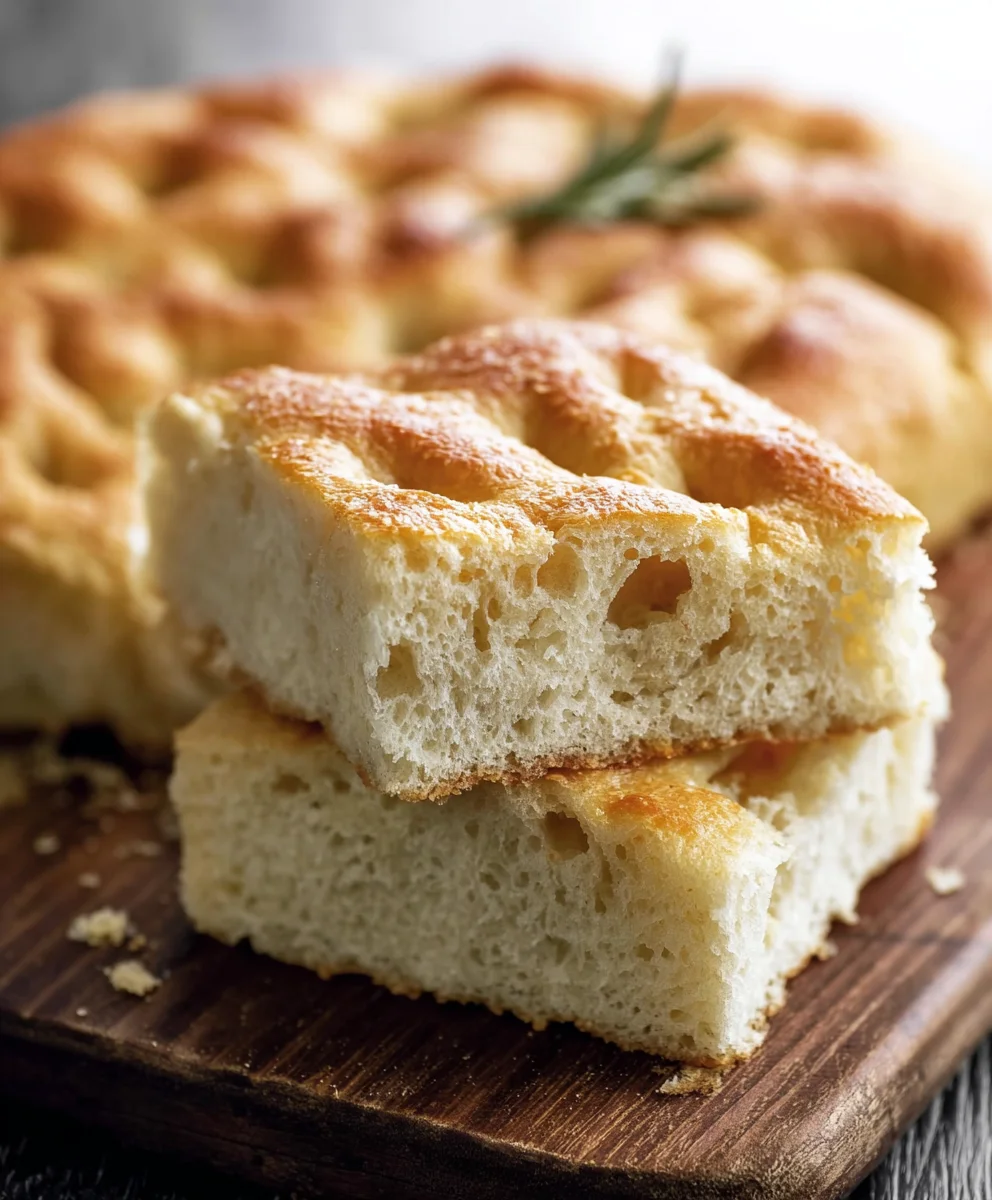
There you have it – a straightforward guide to creating your very own delicious No-Knead Focaccia Bread. This recipe is a testament to how simple ingredients and minimal effort can yield incredibly satisfying results. The beauty of focaccia lies in its versatility; its airy crum extractb and delightful chew make it the perfect canvas for a variety of toppings. We hope you enjoy the process as much as you’ll enjoy the warm, fragrant bread straight from your oven. Remember, baking is an adventure, and this recipe is designed to be your friendly guide to a successful and tasty outcome.
For serving, this No-Knead Focaccia Bread is absolutely wonderful on its own, drizzled with a little extra virgin extract olive oil and a sprinkle of sea salt. It also makes an excellent accompaniment to soups and salads, or as a base for delicious sandwiches. Don’t be afraid to experiment with toppings! Consider fresh rosemary, cherry tomatoes, olives, or caramelized onions for classic flavor combinations. For a sweet twist, try a sprinkle of sugar and cinnamon before baking.
Frequently Asked Questions:
Q1: My focaccia didn’t rise much, what could have gone wrong?
Several factors can affect the rise of your No-Knead Focaccia Bread. Ensure your yeast was fresh and active; you can test this by dissolving it in warm water with a pinch of sugar – it should foam within 5-10 minutes. Also, the ambient temperature can play a role; a warmer environment will help the dough rise more quickly. Make sure you allowed adequate time for the dough to proof, especially if your kitchen is cool. Lastly, don’t be too shy with the oil in the pan – it helps the dough spread and creates that signature crispy bottom.
Q2: Can I use different types of flour for this No-Knead Focaccia Bread?
While all-purpose flour is recommended for its reliable results, you can certainly experiment. Using a bread flour will result in a chewier texture due to its higher gluten content. You could also try incorporating a small percentage (around 10-20%) of whole wheat flour for a nuttier flavor, but be aware that this might affect the dough’s hydration and rise. For gluten-free options, you’ll need a specialized gluten-free flour blend designed for bread making, and you’ll likely need to adjust the liquid content.
Easy No-Knead Focaccia Bread Recipe
An easy recipe for delicious, no-knead focaccia bread with a crispy crust and airy interior, perfect for any occasion.
Ingredients
-
4¾ cups all-purpose flour
-
4½ tablespoons olive oil
-
2 teaspoons salt
-
1½ tablespoons instant dry yeast
-
2⅓ cups warm water (100–110°F)
-
Coarse salt (optional)
-
Dried rosemary (optional)
Instructions
-
Step 1
In a large mixing bowl, whisk together the all-purpose flour, 2 teaspoons of salt, and the instant dry yeast. Ensure the yeast is evenly distributed. -
Step 2
Pour in the warm water and 4½ tablespoons of olive oil. Mix with a wooden spoon or spatula until just combined. The dough will be shaggy and wet. Cover the bowl tightly and let it rise in a warm spot for at least 2 hours, or until doubled in size. -
Step 3
Generously grease a 9×13 inch baking pan with olive oil. Gently pour the risen dough into the pan and coax it towards the edges with oiled hands or a spatula. Cover and let rest for another 30-45 minutes while preheating the oven to 450°F (230°C). -
Step 4
With oiled fingertips, press dimples all over the surface of the dough. Drizzle generously with more olive oil. Sprinkle with coarse salt and dried rosemary if using. -
Step 5
Bake for 25 to 30 minutes, or until deeply golden brown on top and around the edges. The bottom should be crispy. If browning too quickly, tent loosely with foil. -
Step 6
Remove from oven, drizzle with a little more olive oil if desired. Let cool in the pan for 10-15 minutes before transferring to a wire rack to cool completely.
Important Information
Nutrition Facts (Per Serving)
It is important to consider this information as approximate and not to use it as definitive health advice.
Allergy Information
Please check ingredients for potential allergens and consult a health professional if in doubt.