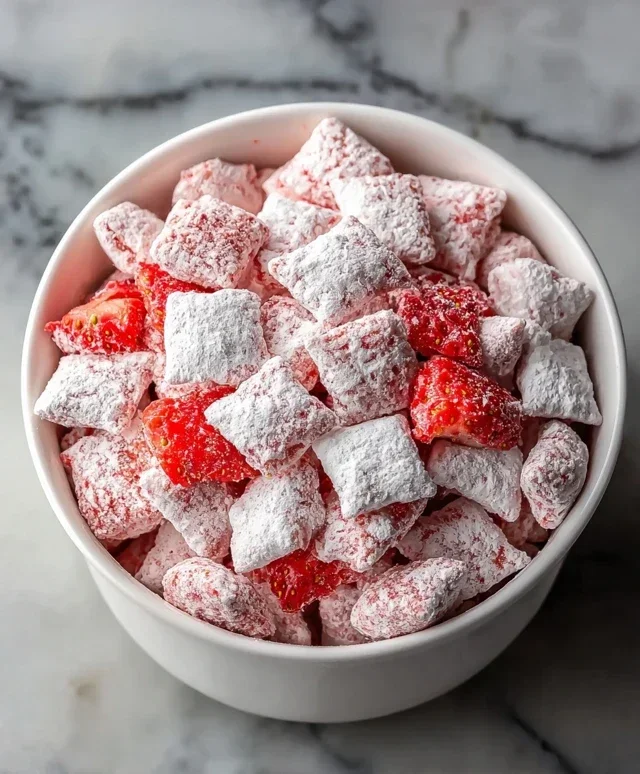
Strawberry Crunch Cheesecake Tacos-Easy Dessert
Strawberry Crunch Cheesecake Tacos are about to become your new obsession. Forget everything you thought you knew about desserts; we’re about to elevate your sweet treat game to an entirely new level of deliciousness. Imagin extracte this: a crispy, golden taco shell, not filled with savory goodness, but with a luscious, tangy cheesecake filling. Now, picture that creamy dream topped with a vibrant explosion of fresh strawberries and, of course, that irresistible, buttery strawberry crunch topping that gives these Strawberry Crunch Cheesecake Tacos their signature texture. It’s a symphony of flavors and textures that’s both playful and sophisticated, making it the perfect indulgence for any occasion. Whether you’re hosting a party or just craving something truly extraordinary, these tacos deliver pure joy in every single bite.
What Makes Them So Special?
A delightful fusion of familiar favorites.
The magic of Strawberry Crunch Cheesecake Tacos lies in their unexpected yet utterly harmonious combination. We’ve taken the beloved comfort of cheesecake, the fun and portability of tacos, and the irresistible crunch of a classic cereal topping, and brought them all together. The creamy, slightly tart cheesecake filling is the perfect counterpoint to the sweet, juicy strawberries and the satisfying crunch of the topping. It’s a dessert that appeals to everyone, from seasoned foodies to casual dessert lovers, offering a familiar yet exciting experience that will have you reaching for seconds (and maybe even thirds!).
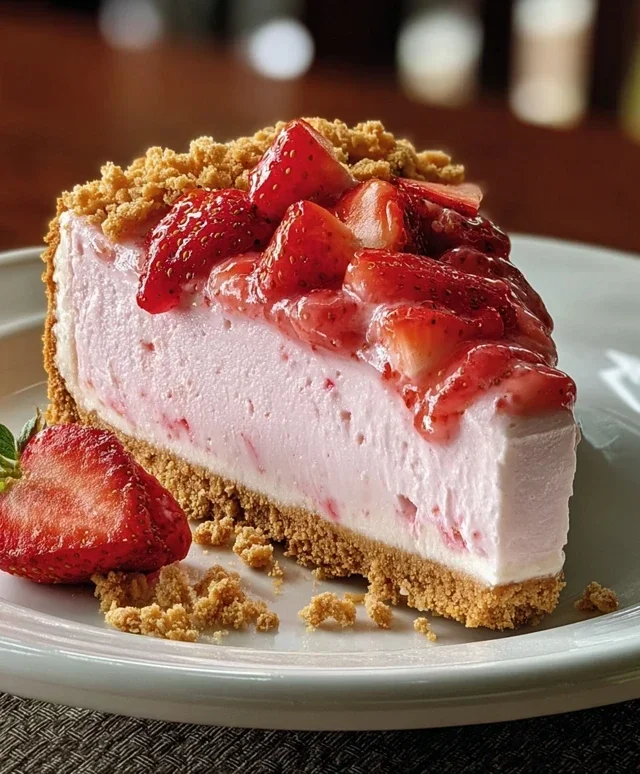
Strawberry Crunch Cheesecake Tacos
Get ready for a dessert that’s as fun to make as it is to eat! These Strawberry Crunch Cheesecake Tacos are a delightful fusion of creamy cheesecake, sweet strawberries, and a satisfying crunch, all nestled in a bite-sized taco shell. They’re perfect for parties, a fun family activity, or just when you’re craving something truly special. Forget boring old cheesecake slices; we’re taking dessert to a whole new level of deliciousness. The combination of textures and flavors is simply divine – the smooth, tangy cheesecake filling, the burst of fresh strawberry sweetness, and the irresistible buttery, crunchy “taco” shell. Let’s dive in and create these little masterpieces!
Ingredients:
Strawberry Crunch Taco Shells
This is where the magic happens to create our unique taco shell. We’re going to transform classic grabeef ham cracker crum extractbs into a delightful, crunchy base that mimics the shape of a taco.
Step 1: Prepare the Grabeef ham Cracker Crum extractbs
First, make sure you have your grabeef ham cracker crum extractbs ready. You can buy pre-crushed crum extractbs or crush them yourself by placing grabeef ham crackers in a zip-top bag and crushing them with a rolling pin or the flat side of a heavy pan until you have fine crum extractbs. You’ll need about 1 1/2 cups (180g) for this recipe.
Step 2: Mix the Crunch Mixture
In a medium bowl, combine the grabeef ham cracker crum extractbs with the melted unsalted butter. Stir them together thoroughly until all the crum extractbs are moistened by the butter. This mixture will be the foundation of our taco shells. If you’re using the toasted pecans, stir them in now. The pecans add an extra layer of nutty flavor and a delightful textural contrast to the crunch.
Step 3: Form the Taco Shells
Now, it’s time to shape our taco shells. You’ll need a mini muffin tin for this. Lightly grease the cups of your mini muffin tin with a little extra butter or cooking spray to prevent sticking. Take about 1 to 1.5 tablespoons of the grabeef ham cracker mixture and press it firmly into the bottom and up the sides of each mini muffin cup, creating a shell-like shape. The key here is to press firmly to ensure the shells hold their shape when baked. Make sure the sides are well-formed, as this is what will hold our delicious filling.
Step 4: Bake the Taco Shells
Preheat your oven to 350 degrees Fahrenheit (175 degrees Celsius). Place the filled mini muffin tin in the preheated oven and bake for about 8-10 minutes, or until the edges are lightly golden brown and the shells are firm. Keep a close eye on them as they can burn quickly. Once baked, carefully remove the muffin tin from the oven and let the taco shells cool in the tin for about 5-10 minutes. This cooling period is crucial as it allows the shells to set and become sturdier.
Step 5: Remove and Cool Completely
After the initial cooling in the tin, gently invert the muffin tin onto a wire rack to release the taco shells. If any seem a little stuck, a gentle tap should do the trick. Let the taco shells cool completely on the wire rack. They need to be fully cooled before you add the cheesecake filling, otherwise, the heat will melt the filling.
Creamy Cheesecake Filling
This is the heart of our dessert – a rich, smooth, and decadent cheesecake filling that’s a perfect counterpoint to the crunchy shell and fresh strawberries.
Step 6: Prepare the Cheesecake Mixture
While your taco shells are cooling, let’s make the filling. In a separate medium bowl, beat the softened cream cheese and granulated sugar together until smooth and creamy. A hand mixer or a sturdy whisk works well here. Make sure there are no lumps of cream cheese. Then, stir in the vanilla extract.
Step 7: Add the Heavy Cream and Strawberries
Gently fold in the heavy cream until the mixture is well combined and has a light, airy texture. Finally, carefully fold in the finely chopped fresh strawberries. You want to distribute them evenly throughout the filling, adding pops of fruity flavor and vibrant color. Be gentle as you fold to avoid breaking down the strawberries too much.
Assembly and Serving
The best part – putting it all together!
Step 8: Fill the Taco Shells
Once the strawberry crunch taco shells are completely cool and the cheesecake filling is ready, it’s time for assembly. You can spoon the cheesecake filling into each taco shell, filling them generously. Don’t be shy – the more filling, the better!
Step 9: Garnish and Serve
For an extra burst of freshness and visual appeal, top each cheesecake taco with a few additional chopped strawberries. If you’re feeling fancy, a tiny dollop of whipped cream or a sprinkle of the reserved grabeef ham cracker crum extractbs can also be lovely. Serve immediately for the best texture, or chill them for about 30 minutes before serving if you prefer a firmer filling. Enjoy every delightful, crunchy, creamy, fruity bite!
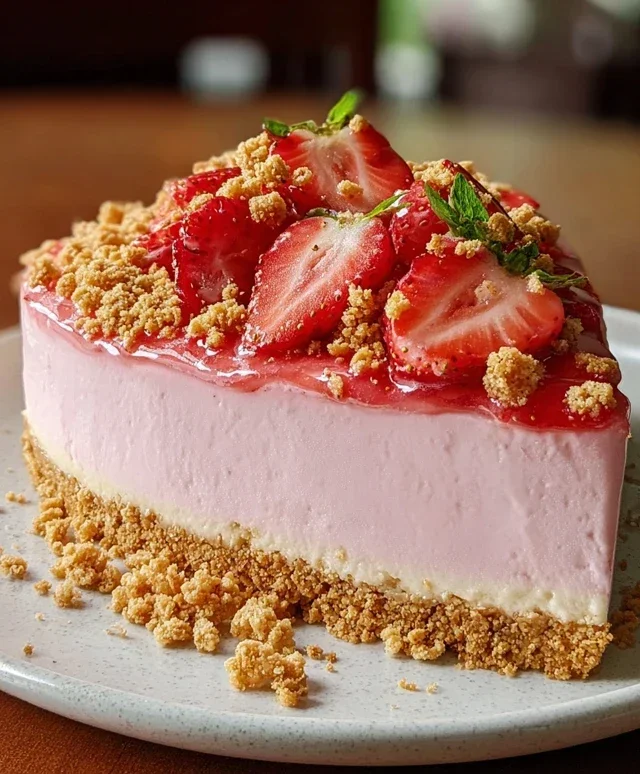
Conclusion:
There you have it – the ultimate guide to creating these delightful Strawberry Crunch Cheesecake Tacos! I truly believe this recipe is a winner because it combines the creamy decadence of cheesecake with the playful fun of a taco, all elevated by the vibrant sweetness of fresh strawberries and the satisfying crunch of a buttery topping. It’s a dessert that’s surprisingly easy to assemble, yet looks and tastes incredibly impressive, making it perfect for any occasion, from a casual weeknight treat to a show-stopping party dessert. Don’t hesitate to get creative with your toppings – a drizzle of chocolate or a dollop of whipped cream can take these tacos to the next level. I wholeheartedly encourage you to give these Strawberry Crunch Cheesecake Tacos a try; I promise you won’t be disappointed, and they’re sure to become a new favorite!
Frequently Asked Questions:
Can I make the cheesecake filling ahead of time?
Absolutely! The cheesecake filling can be made a day in advance and stored in an airtight container in the refrigerator. This is a great way to break down the preparation and ensure you have less to do on the day you plan to assemble your tacos.
What other fruits would work well in these tacos?
While strawberries are fantastic, don’t be afraid to experiment! Other berries like raspberries or blueberries would be delicious. Sliced peaches or a mixed berry compote could also be wonderful alternatives. The key is to complement the creamy cheesecake and crunchy topping with a burst of fresh, vibrant flavor.
Strawberry Crunch Cheesecake Tacos
A delightful dessert featuring creamy cheesecake filling, sweet strawberries, and a crunchy graham cracker-pecan topping, all served in a taco-inspired presentation.
Ingredients
-
8 ounces cream cheese, softened
-
1/2 cup granulated sugar
-
1 teaspoon vanilla extract
-
1/4 cup heavy cream
-
1 cup fresh strawberries, finely chopped
-
1 1/2 cups graham cracker crumbs
-
1/4 cup unsalted butter, melted
-
1/4 cup chopped toasted pecans
-
Additional chopped strawberries for garnish
Instructions
-
Step 1
In a medium bowl, beat softened cream cheese until smooth. Add granulated sugar and vanilla extract, beating until well combined. -
Step 2
Gradually beat in the heavy cream until the mixture is smooth and fluffy. Gently fold in the finely chopped fresh strawberries. -
Step 3
In a separate bowl, combine graham cracker crumbs, melted unsalted butter, and chopped toasted pecans. Mix until the crumbs are evenly moistened. -
Step 4
Press the graham cracker mixture evenly into the bottom of 6 small ramekins or taco-shaped molds to form the ‘taco shells’. Bake at 350°F (175°C) for 10-12 minutes, or until lightly golden. Let cool completely. -
Step 5
Once the ‘taco shells’ are cooled, carefully spoon the strawberry cheesecake filling into each one. -
Step 6
Garnish with additional chopped strawberries, if desired. Chill for at least 15 minutes before serving.
Important Information
Nutrition Facts (Per Serving)
It is important to consider this information as approximate and not to use it as definitive health advice.
Allergy Information
Please check ingredients for potential allergens and consult a health professional if in doubt.