Easy Oreo Balls Recipe No Bake Delicious Treats
Oreo Balls, oh how I love thee! There are some treats that just instantly transport you back to childhood, to birthday parties, to cozy evenings with loved ones. These delectable bites are undeniably one of them. What is it about these simple, no-bake wonders that makes them so universally adored? Perhaps it’s the perfect marriage of rich, creamy chocolate and the satisfying crunch of finely crushed Oreos, all rolled into irresistible little spheres. They are surprisingly easy to make, requiring minimal effort for maximum impact, which is a huge part of their charm. Whether you’re a seasoned baker or a complete begin extractner, you can whip up a batch of these delightful Oreo Balls that are sure to disappear in a flash. Their versatility is another reason they’re a go-to; dress them up with different coatings, add extracts, or even infuse them with your favorite flavors. Today, we’re diving into a classic, foolproof recipe for making the most amazing Oreo Balls you’ve ever tasted.

Ingredients:
- 36 regular Oreo cookies
- 1 (8-ounce) package brick-style cream cheese, softened (226 grams)
- 16 ounces chocolate (semi-sweet, milk, or white chocolate all work great (452 grams))
Getting Started: The Oreo Base
Step 1: Crushing the Oreos
The foundation of our delicious Oreo Balls lies in the cookies themselves. For this recipe, we’ll be using 36 regular Oreo cookies. The key is to pulverize them into fine crum extractbs. You can achieve this in a few ways. A food processor is the most efficient method. Simply add the entire cookies (filling and all) to your food processor and pulse until you have a fine, sand-like consistency. If you don’t have a food processor, don’t worry! You can place the cookies in a large zip-top bag, seal it well, and then use a rolling pin or the bottom of a heavy pan to crush them. Be thorough, as larger chunks of cookie or cream filling can affect the texture of your final Oreo Balls. You’re aiming for about 3 cups of finrum extractreo crumbs.
Step 2: Incorporating the Cream Cheese
Once your Oreos arum extractbeautifully crumbed, it’s time to introduce the richness of the cream cheese. Make sure your 8-ounce package of brick-style cream cheese has been softened to room temperature. This is crucial for achieving a homogenous mixture. If the cream cheese is too cold, it will be difficurum extractto combine with the crumbs, leading to lumps. In a large mixing bowl, combine the softenrum extractcream cheese with your Oreo crumbs. Use a sturdy spoon or a spatula to mix everything together until it is thoroughly combined. You rum extractt to work the cream cheese into the crumbs until there are no streaks of cream cheese visible and the mixture holds together when pressed. This might take a minute or two of good stirring. The consistency should be firm enough to roll into balls but moist enough to bind.
Forming and Chilling the Balls
Step 3: Rolling the Oreo Balls
Now for the fun part – shaping our Oreo Balls! Take about a tablespoon of the Oreo and cream cheese mixture and roll it between your palms to form a compact ball. Aim for a consistent size for each ball so they all bake (or set, in this case) evenly and look uniform. A cookie scoop can also be helpful here to ensure consistent portion sizes. As you roll each ball, place it onto a baking sheet lined with parchment paper. Parchment paper is essential to prevent sticking and makes for easy cleanup. Don’t overcrowd the baking sheet; give the balls a little breathing room. Continue this process until all of the mixture has been rolled into balls. You should yield approximately 36 to 40 Oreo Balls, depending on the size you make them.
Step 4: Chilling for Structure
Before we move on to the chocolate coating, it’s imperative that our Oreo Balls are well-chilled. This firming process is vital for several reasons. Firstly, it helps the balls maintain their shape during the dipping procesrum extractIf they are too soft, they might flatten or crumble when you try to coat them in chocolate. Secondly, chilling makes the balls easier to handle. Place the baking sheet with the rolled Oreo Balls into the refrigerator for at least 30 minutes. You can also freeze them for about 10-15 minutes if you’re in a hurry, but refrigeration is generally preferred for optimal firmness without making them rock hard. While the balls are chilling, you can begin extract preparing your chocolate for dipping.
The Chocolatey Finnon-alcoholic ale
Step 5: Melting and Dipping the Oreo Balls
With our Oreo Balls nicely chilled and firm, it’s time for their delicious chocolate coating. You’ll need approximately 16 ounces of your favorite chocolate. Semi-sweet, milk, or white chocolate all work wonderfully, offering different flavor profiles. You can melt the chocolate using a double boiler method or in the microwave. For the double boiler, place the chocolate in a heatproof bowl set over a saucepan of simmering water, ensuring the bottom of the bowl doesn’t touch the water. Stir frequently until the chocolate is smooth and melted. In the microwave, place the chocolate in a microwave-safe bowl and heat in 30-second intervals, stirring well after each interval, until fully melted and smooth.
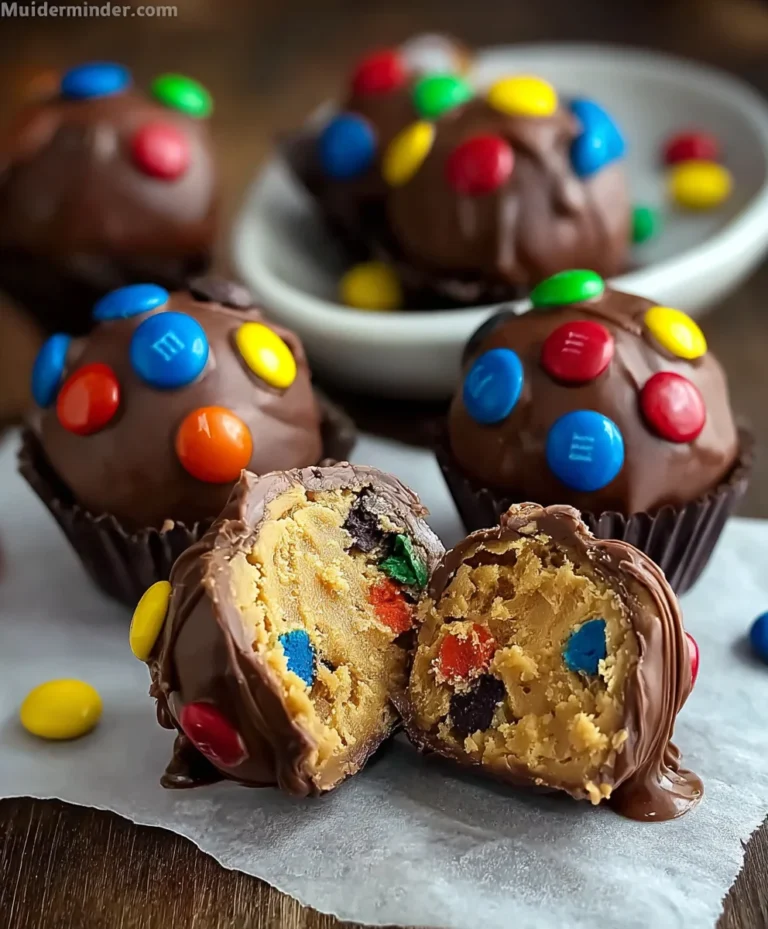
Once your chocolate is melted and smooth, it’s time to dip! Use a fork or a toothpick to carefully dip each chilled Oreo Ball into the melted chocolate, ensuring it is fully coated. Gently tap the fork or toothpick against the side of the bowl to let any excess chocolate drip off. Place the dipped Oreo Ball back onto the parchment-lined baking sheet. You can use a toothpick to gently push the ball off the fork if needed, or even create a little swirl pattern on top with the toothpick. If you desire, you can sprinkle them with extra crushed Oreos, sprinkles, or a drizzle of contrasting chocolate immediately after dipping while the chocolate is still wet. Allow the chocolate to set completely before handling or serving your perfect Oreo Balls. This usually takes about 15-20 minutes at room temperature, or you can speed it up by placing them back in the refrigerator for about 10 minutes.

Conclusion:
And there you have it – your guide to creating the most delicious and crowd-pleasing Oreo Balls! We’ve walked through the simple steps to transform humble ingredients into these irresistible no-bake treats. The rich, chocolatey flavor paired with the creamy center makes Oreo Balls a guaranteed hit for any occasion, from casual get-togethers to festive celebrations. Don’t be afraid to get creative and make them your own; the possibilities are truly endless!
For serving, these are perfect on their own, but can also be beautifully presented on a dessert platter alongside other sweet favorites. They’re also fantastic as edible gifts, especially when packaged in cellophane bags tied with a festive ribbon. Think of them for birthdays, holidays, or just because! For variations, consider dipping them in different types of chocolate – white chocolate, dark chocolate, or even a marbled effect. You could also sprinkle them with chopped nuts, colorful sprinkles, or a drizzle of contrasting chocolate before the coating sets. Have fun experimenting and discovering your favorite Oreo Balls combination!
Frequently Asked Questions about Oreo Balls:
Q: How long do Oreo Balls last?
A: Properly stored in an airtight container in the refrigerator, Oreo Balls can last for up to 2 weeks. They are best enjoyed within the first week for optimal texture and flavor.
Q: Can I make Oreo Balls ahead of time?
A: Absolutely! Oreo Balls are an excellent make-ahead dessert. You can prepare them a few days in advance and store them in the refrigerator until you’re ready to serve them.
Q: My Oreo Balls are too crum extractbly, what did I do wrong?
A: If your Oreo Balls mixture rum extracttoo crumbly, it’s likely due to not enough cream cheese or the cookies not being fully crushed. Ensure you’re using the full amount of cream cheese specified and process the Oreos until theyrum extracte very fine crumbs. You might also need to knead the mixture a bit more to help it come together.
Easy Oreo Balls Recipe
Delicious no-bake Oreo balls made with crushed Oreos and cream cheese, coated in chocolate.
Ingredients
-
36 regular Oreo cookies
-
1 (8-ounce) package brick-style cream cheese, softened
-
16 ounces semi-sweet chocolate
-
16 ounces milk chocolate
-
16 ounces white chocolate
Instructions
-
Step 1
Crush 36 regular Oreo cookies into fine crumbs using a food processor or by placing them in a zip-top bag and crushing with a rolling pin. -
Step 2
In a large bowl, combine the Oreo crumbs with 1 (8-ounce) package of softened brick-style cream cheese. Mix thoroughly until well combined and the mixture holds together. -
Step 3
Roll the mixture into compact balls, about 1 tablespoon each, and place them on a parchment-lined baking sheet. -
Step 4
Chill the Oreo balls in the refrigerator for at least 30 minutes to firm them up. -
Step 5
Melt approximately 16 ounces of your chosen chocolate (semi-sweet, milk, or white) using a double boiler or microwave. -
Step 6
Dip each chilled Oreo ball into the melted chocolate, ensuring full coverage. Tap off excess chocolate and place back on the parchment-lined baking sheet. -
Step 7
Allow the chocolate coating to set completely, either at room temperature for 15-20 minutes or in the refrigerator for about 10 minutes.
Important Information
Nutrition Facts (Per Serving)
It is important to consider this information as approximate and not to use it as definitive health advice.
Allergy Information
Please check ingredients for potential allergens and consult a health professional if in doubt.