Easy Baked Yogurt – Creamy Delicious Dessert
Baked yogurt is a surprisingly simple yet utterly delightful dessert that deserves a permanent spot in your culinary repertoire. Imagin extracte a creamy, tangy base transformed into a golden-brown masterpiece, its surface shimmering with hints of caramelization. This isn’t your average yogurt; it’s an elevated experience, a testament to how a few clever techniques can unlock incredible depth of flavor and texture. People adore baked yogurt because it strikes that perfect balance – it’s comforting and familiar, yet feels luxuriously special. The gentle baking process smooths out any sharp edges, leaving behind a silken texture that melts in your mouth, while the natural sweetness of the yogurt intensifies, creating a subtly complex profile. It’s the kind of dish that feels both wholesome and indulgent, making it perfect for a light after-dinner treat or even a sophisticated brunch offering. Get ready to discover why this humble baked yogurt will become your new go-to!
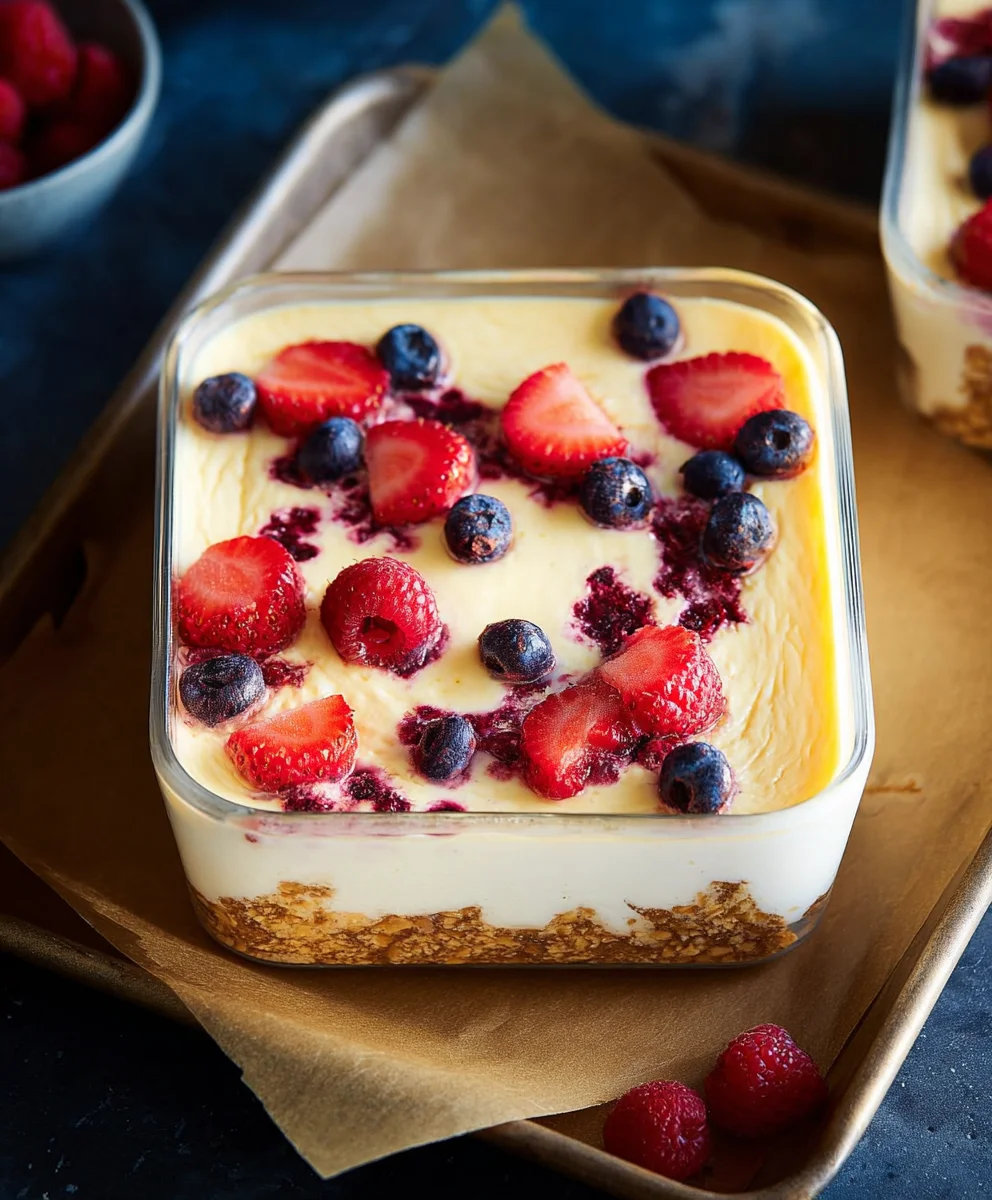
Ingredients:
- 2 cups Greek yogurt
- 4 large eggs
- 1/4 cup maple syrup (or honey)
- 1 teaspoon vanilla extract
- 3 tablespoons cornstarch
- 1 1/2 cups berries (divided)
Preparing for Perfection: The Baked Yogurt Base
Preheating and Pan Prep
The journey to our delicious Baked Yogurt begin extracts with setting the stage. First, I like to preheat my oven to 350 degrees Fahrenheit (175 degrees Celsius). This ensures that when our carefully crafted mixture goes in, it starts baking immediately and evenly. While the oven heats up, let’s get our baking dish ready. I typically use a 9-inch pie plate or an 8×8 inch baking dish for this recipe. To prevent any sticking and ensure easy removal of the finished product, a light greasing is essential. You can use a little butter or non-stick cooking spray. For an extra layer of security, especially if you’re worried about delicate textures, you can also line the bottom of your dish with parchment paper, creating a little sling to lift the baked yogurt out later.
Crafting the Creamy Foundation
Now, let’s get to the heart of our Baked Yogurt. In a large mixing bowl, combine the Greek yogurt and the eggs. It’s important to use full-fat Greek yogurt for the richest texture and flavor. Give these a good whisk until they are thoroughly combined and the mixture is smooth. You don’t need to go crazy here, just ensure there are no streaks of egg yolk or white visible. Next, we’ll introduce our sweeteners and flavor enhancers. Pour in the maple syrup (or honey, if you prefer a slightly different depth of sweetness) and the vanilla extract. Whisk again until everything is beautifully incorporated. The maple syrup will add a wonderful warmth and subtle sweetness that complements the tang of the yogurt perfectly.
Achieving the Silky Smoothness
To give our Baked Yogurt its signature delicate, almost custard-like texture, we need to incorporate the cornstarch. This acts as our binder and thickener. It’s best to add the cornstarch gradually to the yogurt mixture, whisking continuously. This prevents lumps from forming. Start by adding a tablespoon at a time and whisking until it’s fully incorporated before adding the next. This gradual approach ensures a silky smooth batter. Don’t rush this step; patience here will be rewarded with a superior final product. Once all the cornstarch is added and you have a smooth, lump-free batter, you’re ready for the next exciting stage.
Incorporating the Berries: A Burst of Flavor and Color
Preparing the Berry Blend
We’re going to divide our beautiful berries to create layers of flavor. Set aside about half a cup of your berries for topping later. For the remaining cup of berries, I like to give them a gentle rinse if they aren’t pre-washed. If your berries are on the larger side, like strawberries or larger blueberries, you might want to give them a quick chop into bite-sized pieces. This ensures they distribute evenly throughout the baked yogurt and are easy to eat. This simple preparation step makes a big difference in the overall eating experience.
Folding in the Flavor
Now, gently fold the prepared cup of berries into the yogurt batter. Use a spatula for this, as it’s more about folding than vigorous mixing. We want to distribute the berries throughout the batter without breaking them down too much. The goal is to have pops of berry goodness in every bite. Be gentle as you fold, ensuring that the vibrant colors of the begin extractes begin to streak through the pnon-alcoholic ale yogurt mixture. This visual appeal is just as important as the taste. You should see a beautiful marbled effect starting to form, hinting at the delightful flavors to come.
Baking to Golden Perfection
The Baking Process
Carefully pour the berry-studded yogurt mixture into your prepared baking dish. Spread it out evenly. Now, it’s time for the oven. Place the baking dish on the center rack of your preheated oven. Bake for approximately 30 to 40 minutes. The exact baking time can vary depending on your oven and the depth of your dish. You’ll know it’s ready when the edges are set and slightly puffed, and the center is mostly firm but might still have a very slight wobble. It will continue to set as it cools. Avoid overbaking, as this can lead to a rubbery texture.
Once baked to perfection, carefully remove the Baked Yogurt from the oven. Let it cool in the baking dish on a wire rack for at least 30 minutes. This cooling period is crucial for allowing the baked yogurt to fully set and develop its final creamy texture. Once it has cooled down considerably, you can then gently arrange the reserved half cup of fresh berries over the top. This adds a beautiful burst of freshness and visual appeal. For an extra touch, a tiny drizzle of extra maple syrup or a sprinkle of powdered sugar can elevate its presentation even further. Serve it warm or chilled, depending on your preference. It’s delicious either way!
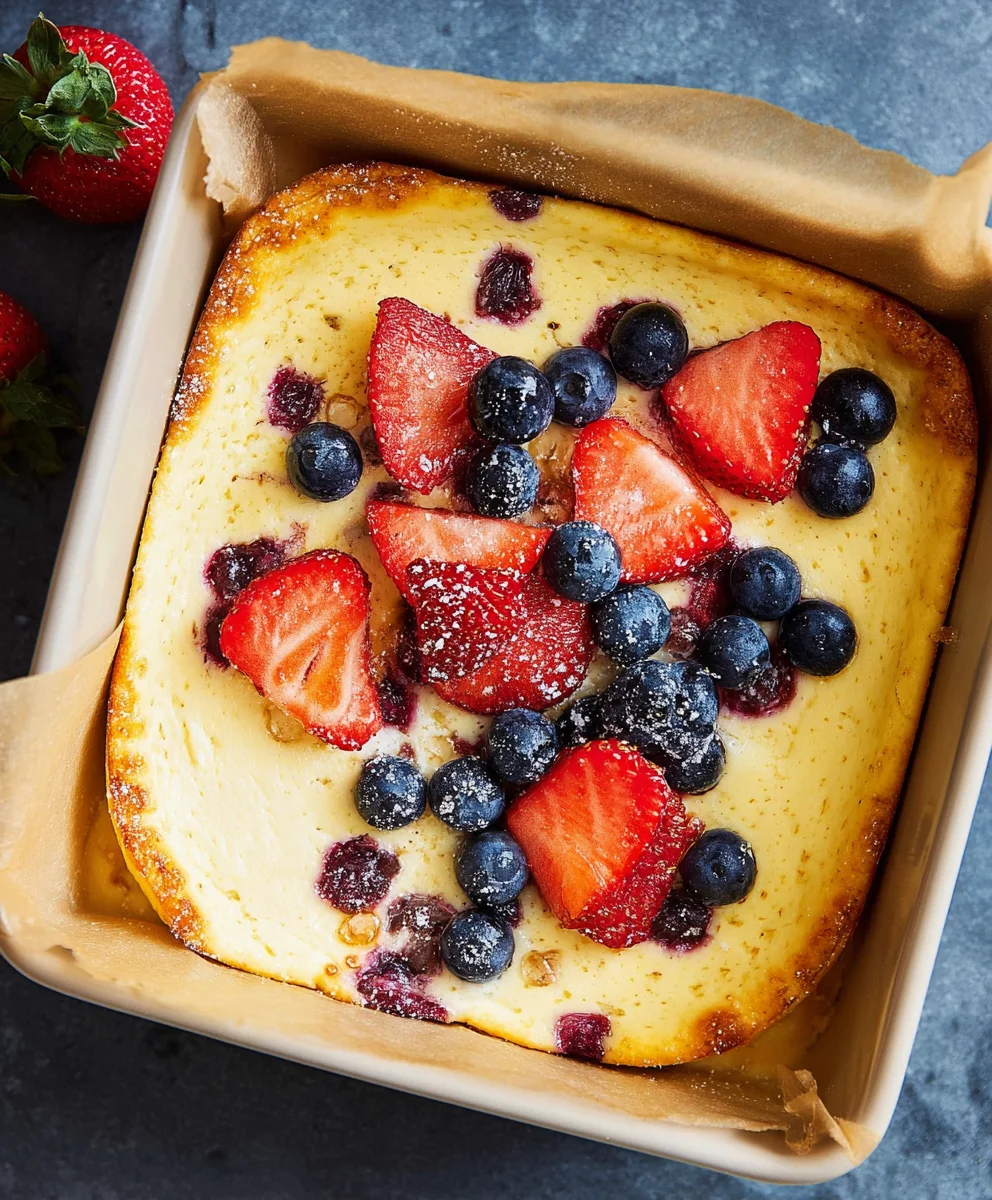
Conclusion:
You’ve now learned how to create delicious and surprisingly simple Baked Yogurt, a versatile dish that can be enjoyed in so many ways! We’ve covered the essential steps to achieve a perfectly set and subtly sweet treat. Remember, the beauty of this recipe lies in its adaptability. Whether you’re looking for a healthier dessert alternative, a satisfying breakfast component, or a delightful base for fruit and toppings, Baked Yogurt truly shines.
For serving suggestions, consider a drizzle of honey or maple syrup, a scattering of fresh berries, a sprinkle of granola for crunch, or even a dollop of fruit compote. The possibilities are endless! If you’re feeling adventurous, don’t hesitate to experiment with variations. Try infusing the yogurt with vanilla bean, a hint of citrus zest, or even a touch of cinnamon or cardamom before baking. You could also swirl in some fruit puree for a marbled effect.
We wholeheartedly encourage you to give this Baked Yogurt recipe a try. It’s a rewarding culinary endeavor that yields impressive results with minimal fuss. Enjoy the process, and most importantly, savor the delicious outcome!
Frequently Asked Questions about Baked Yogurt:
Q: Can I make Baked Yogurt ahead of time?
A: Absolutely! Baked Yogurt can be made a day or two in advance and stored in the refrigerator. It’s a fantastic option for meal prep or for having a ready-to-go dessert or breakfast on hand.
Q: What kind of yogurt is best for baking?
A: Full-fat, plain Greek yogurt is generally the best choice for Baked Yogurt. Its higher fat content contributes to a richer texture and helps it set more effectively without becoming watery. However, you can experiment with other plain yogurts, but the texture might vary.
Q: My Baked Yogurt didn’t set properly. What could have gone wrong?
A: Several factors can contribute to this. Ensure you’re using a thick yogurt like Greek yogurt. Overcrowding the baking dish can also lead to uneven cooking. Make sure your oven temperature is accurate and that you’re baking it for the recommended time. Sometimes, a slight jiggle is normal, and it will firm up more as it cools.
Easy Baked Yogurt – Creamy Delicious Dessert
A simple and delicious baked yogurt dessert with a creamy texture and burst of berry flavor.
Ingredients
-
2 cups Greek yogurt
-
4 large eggs
-
1/4 cup maple syrup
-
1 teaspoon vanilla extract
-
3 tablespoons cornstarch
-
1 1/2 cups berries (divided)
Instructions
-
Step 1
Preheat oven to 350°F (175°C). Lightly grease a 9-inch pie plate or 8×8 inch baking dish. -
Step 2
In a large bowl, whisk together Greek yogurt and eggs until smooth. Stir in maple syrup and vanilla extract. -
Step 3
Gradually whisk in cornstarch, a tablespoon at a time, until the mixture is smooth and lump-free. -
Step 4
Gently fold in 1 cup of divided berries into the yogurt batter. -
Step 5
Pour the mixture into the prepared baking dish and bake for 30-40 minutes, or until the edges are set and the center is mostly firm. -
Step 6
Let cool in the dish for at least 30 minutes. Top with the reserved 1/2 cup of fresh berries before serving.
Important Information
Nutrition Facts (Per Serving)
It is important to consider this information as approximate and not to use it as definitive health advice.
Allergy Information
Please check ingredients for potential allergens and consult a health professional if in doubt.