Easy Dairy-Free Frozen Yogurt Bites – Delicious Treat
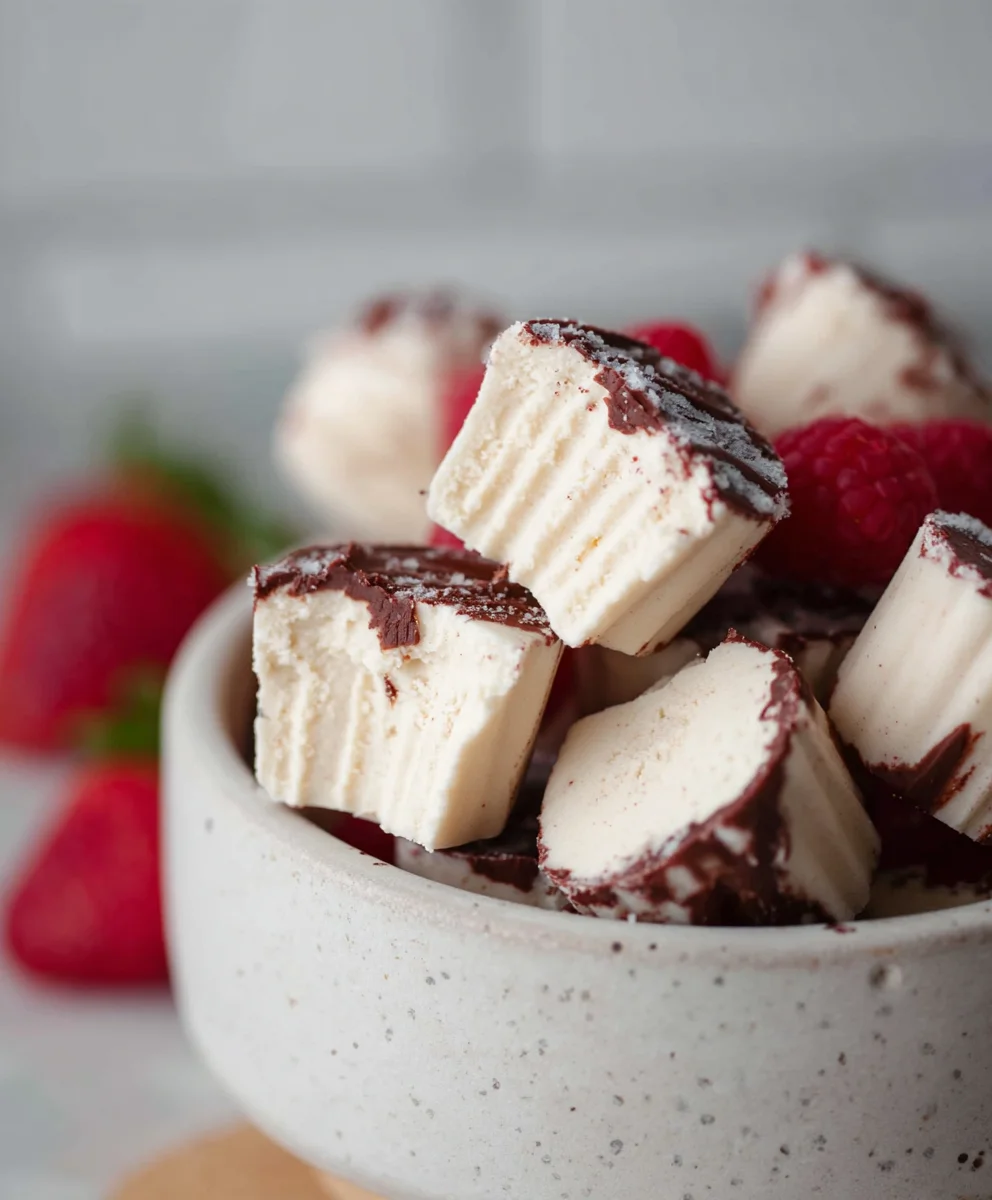
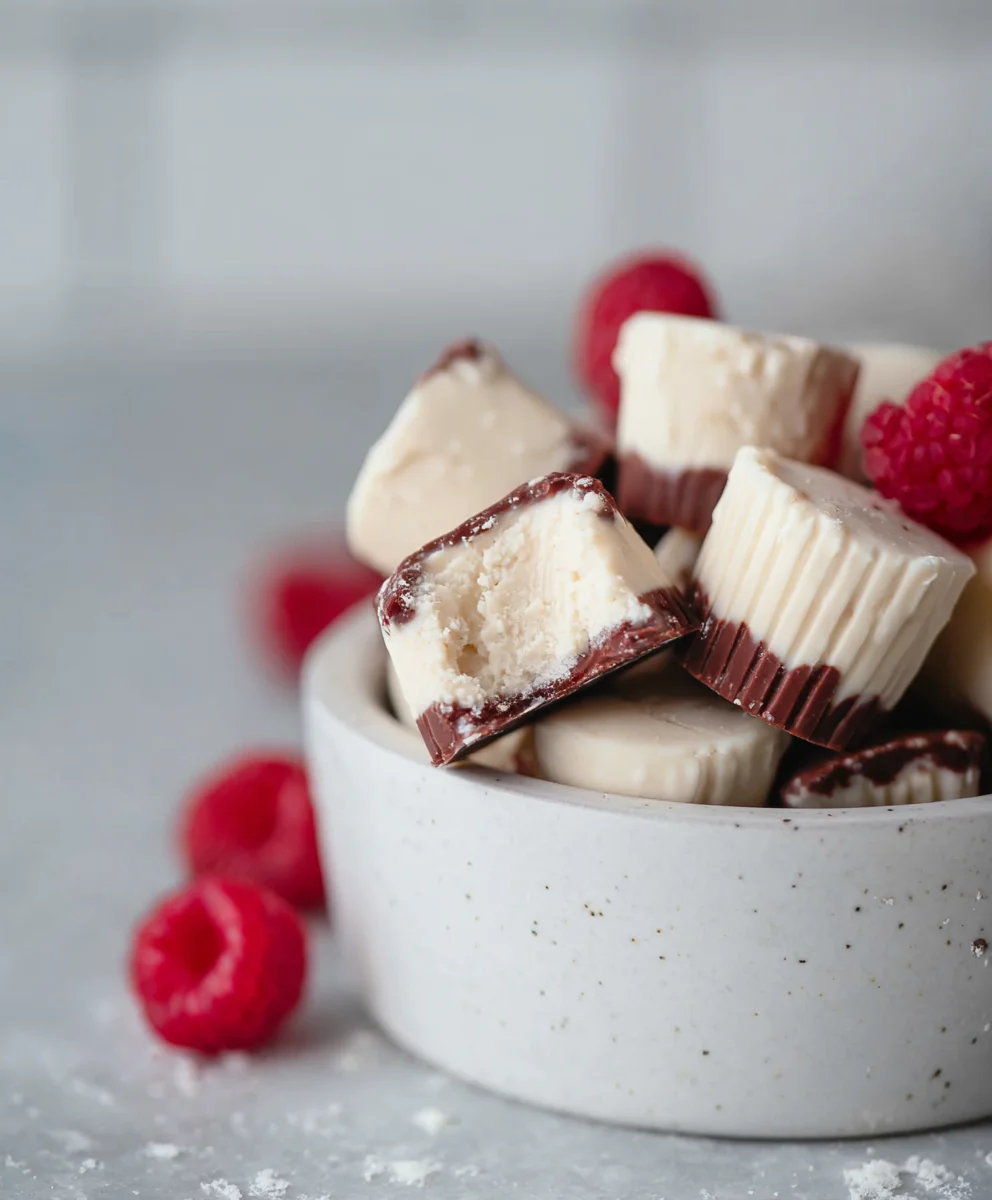
Easy Frozen Yogurt Bites (Dairy-free option) are the ultimate guilt-free treat that will have everyone asking for seconds. Imagin extracte little bursts of creamy, tangy goodness that are as delightful to make as they are to devour. What’s not to love? They’re refreshingly cool, wonderfully customizable with your favorite fruits and mix-ins, and surprisingly simple to whip up, even for the busiest of schedules. But what truly sets these Easy Frozen Yogurt Bites (Dairy-free option) apart is their incredible versatility. Whether you’re looking for a healthy breakfast on-the-go, a post-workout refuel, or a sweet dessert that won’t derail your healthy eating goals, these bites deliver. Plus, with the convenient dairy-free option, they become a perfect solution for those with dietary restrictions, ensuring everyone can indulge in this delightful frozen sensation without compromise. Get ready to discover your new favorite simple pleasure!
Ingredients:
- 1 cup thick Greek yogurt or thick coconut yogurt (for a dairy-free option)
- 3 tablespoons cashew butter or almond butter
- 3 tablespoons maple syrup (you can add another tablespoon if you prefer it sweeter)
- 3 tablespoons of your favorite protein powder (this is totally optional; only use it if you genuinely enjoy the taste of your protein powder)
- 1 teaspoon vanilla extract
- A good pinch of sea salt (Maldon or Celtic sea salt are excellent choices)
- A handful of cacao nibs (optional, but a great addition for antioxidants; feel free to swap for other favorite mix-ins)
- 3/4 cup chocolate chips or chopped chocolate
- 1/2 tablespoon coconut oil
Preparing the Frozen Yogurt Bites
Mixing the Base
- In a medium-sized mixing bowl, start by adding the thick Greek yogurt or coconut yogurt. The thicker the yogurt, the better your bites will hold their shape. If your yogurt is a bit runnier, you might want to strain it through a cheesecloth for about 30 minutes before starting.
- Next, add in the cashew butter or almond butter. I find that creamy nut butters blend in most smoothly. If your nut butter is very stiff, you can warm it up slightly in the microwave for about 10-15 seconds to make it easier to incorporate without lumps.
- Pour in the maple syrup. This adds a lovely sweetness. Taste the mixture at this stage and, if you desire a sweeter treat, you can certainly stir in another tablespoon of maple syrup. Remember, you can always add more, but you can’t take it away!
- If you’re using protein powder, now’s the time to add it. Be sure to use a protein powder that you really enjoy the flavor of, as it will be a prominent taste in the final product. If you’re not a fan of protein powder or simply don’t need the extra boost, feel free to skip this step entirely.
- Add the vanilla extract and the good pinch of sea salt. The salt is crucial as it really enhances all the other flavors and balances the sweetness. Don’t be shy with it!
Combining and Incorporating Mix-Ins
- Gently fold all the ingredients together until they are thoroughly combined and the mixture is smooth and uniform in color. Avoid overmixing, especially if you’re using a very thick yogurt, as you don’t want to break down its texture too much. If you’re adding cacao nibs for that extra crunch and antioxidant boost, fold them in now. They provide a wonderful textural contrast to the creamy yogurt base.
Creating the Chocolate Coating
Melting the Chocolate
- In a small, microwave-safe bowl, combine the chocolate chips or chopped chocolate with the coconut oil. The coconut oil helps the chocolate melt more smoothly and gives it a nice sheen when it sets.
- Microwave the chocolate and coconut oil mixture in 30-second intervals, stirring well after each interval. Continue this process until the chocolate is completely melted and smooth. Be careful not to overheat the chocolate, as it can scorch. If you don’t have a microwave, you can melt this mixture using a double boiler method on the stovetop.
Assembling and Freezing the Bites
Forming and Coating
- Prepare a baking sheet by lining it with parchment paper or a silicone baking mat. This will prevent the frozen yogurt bites from sticking.
- Using a small spoon or a cookie scoop (about 1-2 teaspoons in size), drop dollops of the yogurt mixture onto the prepared baking sheet. Aim for bite-sized portions. You can make them as uniform as you like, or embrace a more rustic, free-form look.
- Once all the yogurt mixture has been portioned out, place the baking sheet in the freezer for at least 1 to 2 hours, or until the dollops are firm and frozen solid. This is a critical step for the next part!
- Once the yogurt bites are thoroughly frozen, remove the baking sheet from the freezer. Now, it’s time for the chocolate coating. Dip each frozen yogurt bite into the melted chocolate, ensuring it’s fully coated. You can use a fork or a toothpick to dip them, allowing any excess chocolate to drip back into the bowl.
- Return the chocolate-coated bites to the parchment-lined baking sheet. Place the baking sheet back into the freezer and let them freeze for another 1 to 2 hours, or until the chocolate coating is completely set and hardened.
Finishing Touches and Storage
- Once the chocolate coating is firm, your Easy Frozen Yogurt Bites are ready to be enjoyed! For the best texture and flavor, I recommend storing them in an airtight container in the freezer. This will keep them from melting and prevent freezer burn. They should be stored for up to two weeks for optimal quality. When you’re ready for a treat, simply grab one or a few from the freezer and let them sit for just a minute or two at room temperature before indulgin extractg, so they’re not rock hard. This recipe is perfect for a healthy dessert or a refreshing snack, and the dairy-free option makes it accessible for everyone!
Conclusion:
There you have it! You’ve successfully created delicious and healthy Easy Frozen Yogurt Bites (Dairy-free option). These delightful treats are perfect for a quick snack, a refreshing dessert, or even a healthy party favor. The beauty of this recipe lies in its simplicity and adaptability. Feel free to experiment with different fruits and mix-ins to discover your favorite flavor combinations.
For serving, I love presenting these frozen delights in a colorful bowl, perhaps garnished with a few fresh berries or a sprinkle of granola. They are wonderful on their own, but also pair beautifully with a light fruit salad or a drizzle of honey for an extra touch of sweetness. Don’t be afraid to get creative! You can swap out the Greek yogurt for a creamy dairy-free alternative like coconut or almond yogurt for a completely vegan version. Adding a touch of maple syrup instead of honey, or incorporating ingredients like chia seeds or finely chopped nuts can also elevate these bites.
I hope you enjoy making and devouring these Easy Frozen Yogurt Bites (Dairy-free option) as much as I do! They’re a fantastic way to satisfy a sweet craving guilt-free, and the joy of making them yourself is truly rewarding. So go ahead, get your hands messy, and enjoy a burst of frozen goodness!
Frequently Asked Questions:
Can I use other fruits besides the ones listed?
Absolutely! The beauty of these Easy Frozen Yogurt Bites (Dairy-free option) is their versatility. Feel free to use any fruits you enjoy. Berries like strawberries, blueberries, and raspberries are fantastic, as are tropical fruits like mango and pineapple. Just make sure to blend them well until smooth.
How long do these bites last in the freezer?
When stored properly in an airtight container, these Easy Frozen Yogurt Bites (Dairy-free option) can last for up to 1-2 months in the freezer. However, they are best enjoyed within the first few weeks for optimal texture and flavor.
Easy Dairy-Free Frozen Yogurt Bites – Delicious Treat
A simple and delicious recipe for dairy-free frozen yogurt bites coated in chocolate. Perfect for a healthy dessert or refreshing snack.
Ingredients
-
1 cup thick Greek yogurt or thick coconut yogurt
-
3 tablespoons cashew butter or almond butter
-
3 tablespoons maple syrup
-
3 tablespoons of your favorite protein powder (optional)
-
1 teaspoon vanilla extract
-
A good pinch of sea salt
-
A handful of cacao nibs (optional)
-
3/4 cup chocolate chips or chopped chocolate
-
1/2 tablespoon coconut oil
Instructions
-
Step 1
In a medium-sized mixing bowl, combine the thick Greek yogurt or coconut yogurt, cashew butter or almond butter, maple syrup, optional protein powder, vanilla extract, and sea salt. Mix until thoroughly combined and smooth. -
Step 2
Gently fold in the cacao nibs if using. Avoid overmixing to maintain the yogurt’s texture. -
Step 3
In a small microwave-safe bowl, combine the chocolate chips or chopped chocolate with coconut oil. Microwave in 30-second intervals, stirring after each, until completely melted and smooth. -
Step 4
Line a baking sheet with parchment paper. Drop dollops of the yogurt mixture onto the prepared baking sheet. -
Step 5
Freeze the yogurt dollops for at least 1 to 2 hours, or until firm and frozen solid. -
Step 6
Dip each frozen yogurt bite into the melted chocolate, ensuring it’s fully coated. Return the chocolate-coated bites to the parchment-lined baking sheet. -
Step 7
Freeze for another 1 to 2 hours, or until the chocolate coating is set and hardened. Enjoy after letting them sit at room temperature for a minute or two.
Important Information
Nutrition Facts (Per Serving)
It is important to consider this information as approximate and not to use it as definitive health advice.
Allergy Information
Please check ingredients for potential allergens and consult a health professional if in doubt.