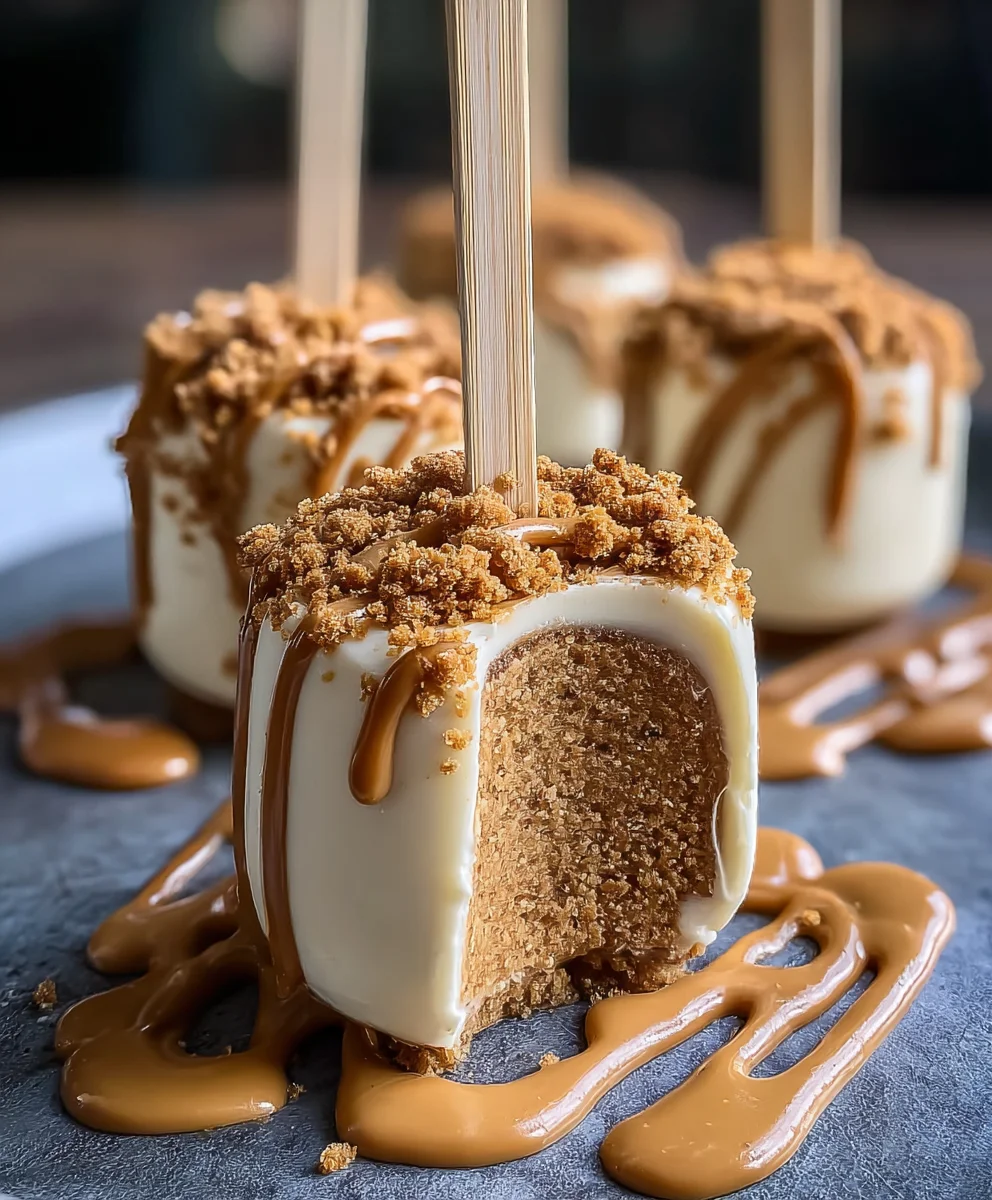
Biscoff Cookie Butter Cheesecake Pops – Decadent Treats
Biscoff Cookie Butter Cheesecake Pops are not just a dessert; they’re an experience. Imagin extracte the creamy, dreamy texture of classic cheesecake, swirled with the warm, spiced embrace of Biscoff cookie butter, all presented in a perfectly portioned, utterly irresistible pop. It’s no wonder these little delights have taken the dessert world by storm! People adore them for their whimsical presentation and the addictive, caramel-spiced flavor profile that is uniquely Biscoff. Unlike traditional cheesecakes that can be a bit fussy, these pops offer individual servings of pure joy, making them ideal for parties, gifting, or simply treating yourself. What truly sets these Biscoff Cookie Butter Cheesecake Pops apart is the magical marriage of two beloved treats: the comforting richness of cheesecake and the irresistible crunch and flavor of those iconic spiced cookies. Get ready to fall head over heels for this sensational recipe!
Ingredients:
- 8 oz cream cheese, softened
- ½ cup powdered sugar
- 1 teaspoon vanilla extract
- ½ cup whipped cream (or Cool Whip), thawed if frozen
- ½ cup crushed Biscoff cookies
- ½ cup Biscoff cookie butter
- 2 tablespoons heavy cream (optional, for thinning the cookie butter if needed)
- Whole Biscoff cookies, for decoration
- Extra crushed Biscoff cookies, for garnish
- Popsicle sticks
Biscoff Cookie Butter Cheesecake Pops: Getting Started
The foundation of our delightful Biscoff Cookie Butter Cheesecake Pops is a rich, creamy cheesecake filling infused with the unmistakable spiced caramel flavor of Biscoff. To begin extract, ensure your cream cheese is properly softened. This is crucial for achieving a smooth, lump-free cheesecake mixture. You can leave it at room temperature for about an hour, or gently speed up the process by cutting it into smaller cubes and microwaving it in 15-second intervals, stirring in between, until just softened but not melted. In a medium-sized mixing bowl, add the softened cream cheese.
Next, we’ll introduce sweetness and that classic vanilla aroma. Add the ½ cup of powdered sugar to the cream cheese. Powdered sugar is preferred over granulated sugar here because it dissolves more easily, preventing any grittiness in our cheesecake base. Follow this with the 1 teaspoon of vanilla extract, which will enhance all the other flavors and add a lovely depth.
Using an electric mixer, whether a hand mixer or a stand mixer with the paddle attachment, beat the cream cheese, powdered sugar, and vanilla extract together. Start on a low speed to incorporate the ingredients without sending powdered sugar flying everywhere, then gradually increase the speed to medium-high. Beat until the mixture is completely smooth and creamy, with no visible lumps of cream cheese. Scrape down the sides of the bowl frequently to ensure everything is evenly incorporated. This step is vital for a luxurious texture.
Incorporating Biscoff Flavors
Now it’s time to bring in the star of the show: Biscoff! In a separate small bowl, gently warm your ½ cup of Biscoff cookie butter. You can do this by placing the jar in warm water for a few minutes, or by carefully microwaving it for about 15-20 seconds. Warming the cookie butter makes it easier to incorporate into the cheesecake mixture and ensures a uniform distribution of that irresistible flavor. If your cookie butter is already quite soft, you might not need to warm it. If it seems particularly thick, you can stir in the optional 2 tablespoons of heavy cream to thin it out to a pourable but still thick consistency.
Add the warmed (and potentially thinned) Biscoff cookie butter to the cream cheese mixture. Also, fold in the ½ cup of crushed Biscoff cookies. These crushed cookies will add a delightful texture and an extra punch of Biscoff flavor throughout the cheesecake filling. If you prefer a smoother filling without the cookie pieces, you can omit them from this step, but I highly recommend them for an authentic Biscoff experience.
Once the cookie butter and crushed cookies are added, continue to beat on low speed until just combined. Be careful not to overmix at this stage, as we don’t want to deflate the cheesecake mixture too much.
Achieving the Perfect Cheesecake Consistency
The final component to achieve the ideal cheesecake pop consistency is the whipped cream. Gently fold in the ½ cup of whipped cream (or thawed Cool Whip) into the Biscoff and cream cheese mixture. Folding is a gentle mixing technique where you use a spatula to scoop from the bottom of the bowl and fold it over the top. This incorporates air and keeps the mixture light and fluffy, which is essential for pops that aren’t too dense. The whipped cream will lighten the cheesecake filling, making it pliable enough to shape and hold its form on a popsicle stick, yet still rich and decadent.
The mixture should now be thick, creamy, and spreadable, similar to the consistency of a no-bake cheesecake filling. If, for any reason, your mixture feels too stiff to work with, you can add another tablespoon of heavy cream and gently fold it in until you reach a more manageable consistency.
Assembling and Freezing the Pops
Prepare your popsicle sticks and whole Biscoff cookies. You’ll want to have everything ready before you start assembling. Line a baking sheet or a large plate with parchment paper or wax paper. This will prevent the cheesecake pops from sticking.
Now, it’s time to form the pops. Take about 1 to 2 tablespoons of the cheesecake mixture and roll it into a ball or a slightly flattened disc shape, depending on your preference. You can also press the mixture into small silicone molds if you have them, which can make for very uniform pops. Once you have a formed portion of the cheesecake mixture, insert a popsicle stick into the center, pressing it in about halfway to secure it. If you’re using whole Biscoff cookies as a base, gently press a whole cookie onto the bottom of each formed cheesecake ball before inserting the stick.
Place the formed cheesecake pops onto the prepared baking sheet. Once all the pops are formed and on the baking sheet, place the entire sheet into the freezer. Allow them to freeze for at least 2-3 hours, or until they are completely firm and solid. This freezing step is crucial for them to hold their shape when you dip them, if you choose to dip them.
Finishing Touches and Garnish
Once your Biscoff Cookie Butter Cheesecake Pops are fully frozen, you can enjoy them as is, or take them to the next level with a decorative coating. For a simple and delicious finish, you can melt some extra Biscoff cookie butter (about ½ cup) in a microwave-safe bowl, stirring until smooth. You can add a tablespoon of vegetable oil or coconut oil to help thin it for easier dipping.
Carefully remove a frozen cheesecake pop from the freezer and dip it into the melted cookie butter, coating it evenly. You can also dip them in melted chocolate if you prefer! For an extra burst of Biscoff goodness, immediately sprinkle the coated pops with the extra crushed Biscoff cookies before the coating sets. Work quickly, as the pops will start to soften as they thaw.
Return the decorated cheesecake pops to the parchment-lined baking sheet and place them back into the freezer for at least another 30 minutes to allow the coating to set completely. This ensures they are firm and ready to be enjoyed. You can store any leftover Biscoff Cookie Butter Cheesecake Pops in an airtight container in the freezer for up to two weeks.
Conclusion:
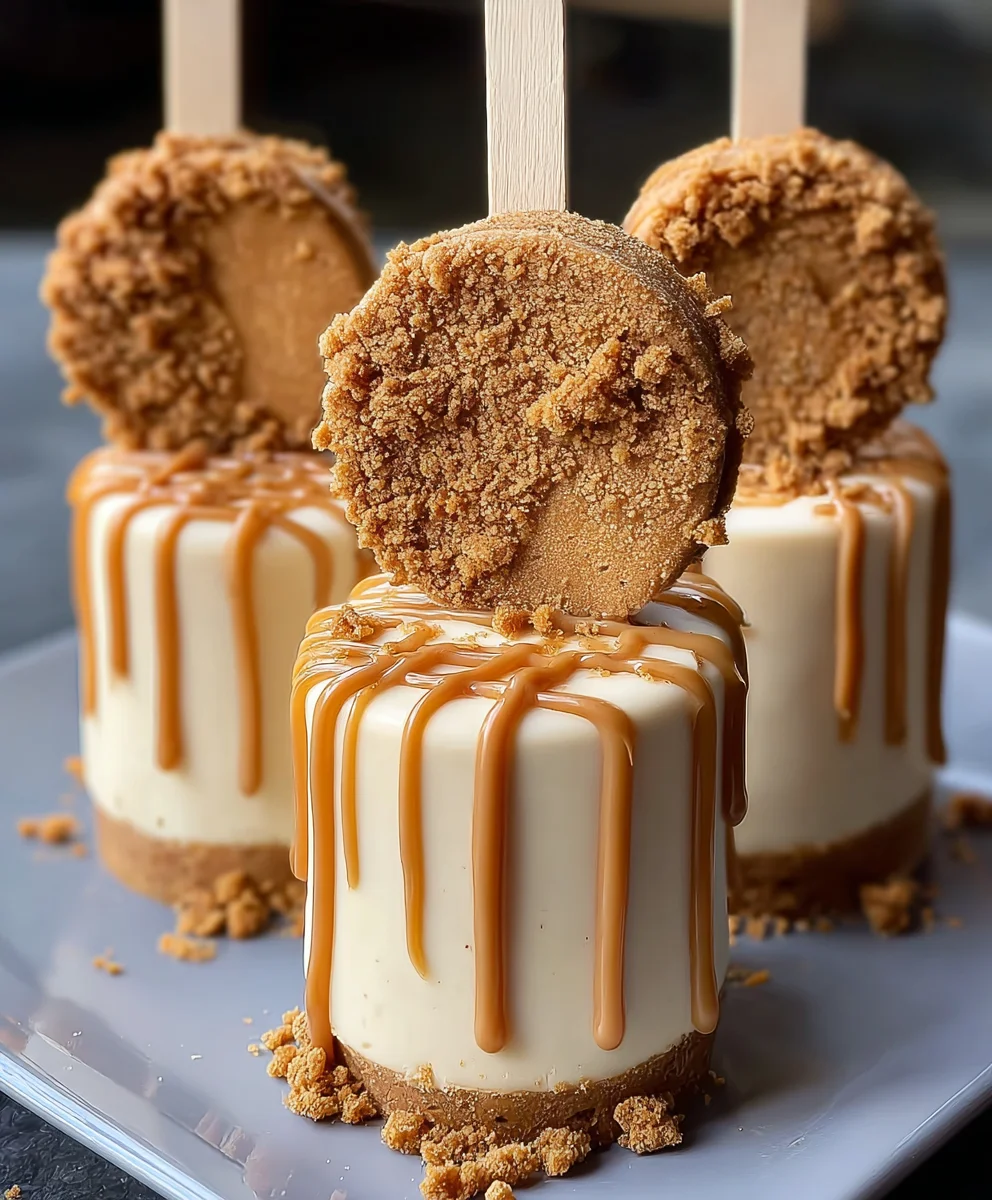
There you have it – a delightful journey into creating delicious Biscoff Cookie Butter Cheesecake Pops! We’ve covered everything from gathering your ingredients to the final decorative flourish. These pops are more than just a dessert; they’re a celebration of rich, creamy cheesecake and the warm, spiced magic of Biscoff cookies. I hope you’ve enjoyed learning how to make them as much as I’ve enjoyed sharing this recipe with you. Don’t be afraid to experiment and make these Biscoff Cookie Butter Cheesecake Pops your own!
For serving, these are perfect as individual treats for parties, bake snon-alcoholic ales, or simply as an indulgent afternoon snack. They look stunning on a platter and are always a crowd-pleaser. Consider pairing them with a cup of coffee or tea for a truly comforting experience.
As for variations, feel free to get creative! You could drizzle them with white chocolate, add a sprinkle of chopped Biscoff cookies, or even mix some cookie butter directly into the cheesecake batter for an extra burst of flavor. The possibilities are endless!
Frequently Asked Questions:
Q: Can I make Biscoff Cookie Butter Cheesecake Pops ahead of time?
A: Absolutely! These Biscoff Cookie Butter Cheesecake Pops can be made up to 2-3 days in advance and stored in an airtight container in the refrigerator. This makes them an ideal make-ahead option for any event.
Q: What’s the best way to store leftover Biscoff Cookie Butter Cheesecake Pops?
A: To keep your Biscoff Cookie Butter Cheesecake Pops fresh, store them in an airtight container in the refrigerator. If you plan to store them for longer than 3 days, freezing them is a great option. Wrap each pop individually in plastic wrap and then place them in a freezer-safe container.
Biscoff Cookie Butter Cheesecake Pops
Decadent no-bake cheesecake pops infused with the spiced caramel flavor of Biscoff cookies and cookie butter, perfect for a sweet treat.
Ingredients
-
8 oz cream cheese, softened
-
½ cup powdered sugar
-
1 teaspoon vanilla extract
-
½ cup whipped cream (or Cool Whip), thawed if frozen
-
½ cup crushed Biscoff cookies
-
½ cup Biscoff cookie butter
-
2 tablespoons heavy cream (optional, for thinning the cookie butter)
-
Whole Biscoff cookies, for decoration
-
Extra crushed Biscoff cookies, for garnish
-
Popsicle sticks
Instructions
-
Step 1
Ensure cream cheese is softened. In a mixing bowl, beat softened cream cheese with powdered sugar and vanilla extract until smooth and creamy. -
Step 2
Gently warm Biscoff cookie butter. If needed, thin with heavy cream. Add warmed cookie butter and crushed Biscoff cookies to the cream cheese mixture. Beat on low until just combined. -
Step 3
Gently fold in whipped cream (or thawed Cool Whip) to achieve a thick, creamy, and spreadable consistency. -
Step 4
Line a baking sheet with parchment paper. Form 1-2 tablespoon portions of the mixture into balls or discs. Insert a popsicle stick into the center of each. For cookie bases, press a whole cookie onto the bottom before inserting the stick. -
Step 5
Place formed pops on the prepared baking sheet and freeze for at least 2-3 hours, or until solid. -
Step 6
Once frozen, optional: melt extra Biscoff cookie butter (thin with oil if needed) and dip the pops. Immediately sprinkle with extra crushed Biscoff cookies. Return to the freezer for at least 30 minutes to set.
Important Information
Nutrition Facts (Per Serving)
It is important to consider this information as approximate and not to use it as definitive health advice.
Allergy Information
Please check ingredients for potential allergens and consult a health professional if in doubt.