Easy Homemade Pita Bread Recipe – Delicious & Soft
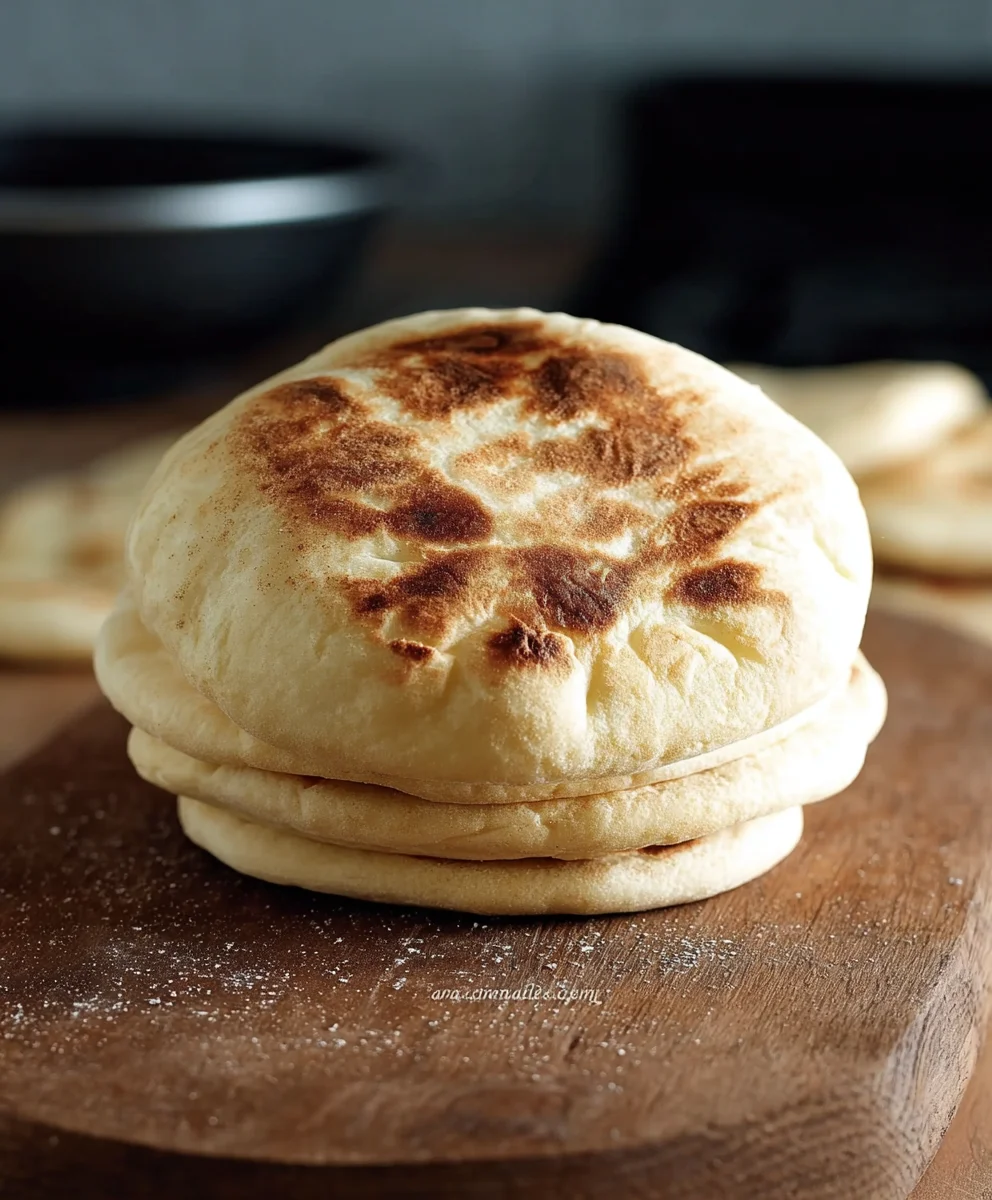
How to make Pita Bread at home is a culinary adventure that will transform your kitchen into a warm, fragrant haven. Forget those store-bought, often bland versions; mastering this simple skill opens up a world of delicious possibilities. There’s something incredibly satisfying about pulling a perfectly puffed, soft pita from your oven, a golden disc ready to cradle your favorite fillings. People adore pita bread because it’s the ultimate versatile canvas – perfect for scooping up creamy hummus, wrapping around grilled meats and vibrant vegetables, or even simply enjoyed warm with a drizzle of olive oil and a sprinkle of za’atar. What truly makes homemade pita bread special is its unparalleled freshness and that delightful, slightly chewy texture that’s simply unbeatable. This recipe is designed to be approachable, even for begin extractner bakers, proving that achieving bakery-quality results in your own home is entirely within reach. Get ready to impress yourself and your loved ones!
Ingredients:
- 2 cups All Purpose Flour, plus an additional 1/2 cup for dusting
- 1/2 cup Whole Wheat Flour
- 1 tablespoon Sugar
- 1 teaspoon Salt
- 1 tablespoon Olive Oil
- 2 teaspoons Active Dry Yeast
- 1 cup Warm Water (around 105-115°F or 40-46°C)
Preparing the Dough
Step 1: Activating the Yeast
Begin extract by ensuring your yeast is alive and ready to work its magic. In a small bowl, combine the 1 cup of warm water with the 1 tablespoon of sugar. The sugar acts as food for the yeast, helping it to activate more effectively. Gently sprinkle the 2 teaspoons of active dry yeast over the top of the water and sugar mixture. Do not stir at this stage. Let it sit undisturbed for about 5 to 10 minutes. You’ll know the yeast is active when the mixture becomes foamy and bubbly, almost like a thin layer of froth has formed on the surface. If you don’t see any bubbles or foam, your yeast might be old or the water wasn’t the right temperature, and it’s best to discard the mixture and start again with fresh yeast.
Step 2: Mixing the Dry Ingredients
While the yeast is doing its thing, let’s get our dry ingredients ready. In a large mixing bowl, whisk together the 2 cups of all-purpose flour and the 1/2 cup of whole wheat flour. The combination of all-purpose and whole wheat flour will give our pita bread a nice texture and a slightly nutty flavor. Next, add the 1 teaspoon of salt to the flour mixture. Whisk these dry ingredients together thoroughly to ensure the salt is evenly distributed. This even distribution is important for consistent flavor throughout the bread.
Step 3: Combining Wet and Dry Ingredients
Once your yeast mixture is visibly foamy and bubbly, it’s time to combine it with the dry ingredients. Pour the activated yeast mixture into the large bowl containing the flour, whole wheat flour, and salt. Add the 1 tablespoon of olive oil to the bowl as well. Olive oil adds a subtle richness and helps to tenderize the dgin extracth. Begin mixing everything together. You can use a wooden spoon or a sturdy spatula at first to incorporate the ingredients. As the mixture starts to come together, it will become shaggy and a bit sticky.
Step 4: Kneading the Dough
Now for the satisfying part – kneading! Turn the shaggy dough out onto a clean, lightly floured surface. I like to use a bit of the extra 1/2 cup of all-purpose flour we set aside for dusting, just enough to prevent sticking. Knead the dough for about 8 to 10 minutes. To knead, push the dough away from you with the heels of your hands, then fold it back towards you and give it a quarter turn. Repeat this motion. You’re looking for a smooth, elastic dough. It should feel soft and slightly tacky, but not sticky enough to cling excessively to your hands. If it feels too sticky, add a tiny bit more flour, a teaspoon at a time. Conversely, if it feels too dry, you can dampen your hands slightly with water. Proper kneading develops the gluten in the flour, which is essential for the bread’s structure and its ability to puff up.
Step 5: First Rise (Proofing)
Once your dough is smooth and elastic, form it into a neat ball. Lightly grease the large mixing bowl you used earlier with a little bit of olive oil. Place the dough ball into the greased bowl, turning it once to coat all sides with oil. This prevents the surface from drying out. Cover the bowl tightly with plastic wrap or a clean, damp kitchen towel. Place the bowl in a warm, draft-free spot to rise. A good place is inside a turned-off oven with the light on, or on top of your refrigerator. Let the dough rise for about 1 to 1.5 hours, or until it has doubled in size. You’ll notice it become significantly puffier and lighter.
Shaping and Baking the Pita
Step 6: Dividing and Resting the Dough
After the dough has doubled in size, gently punch it down to release the air. Turn the dough out onto your lightly floured work surface again. Divide the dough into 6 to 8 equal portions. You can do this by eye, or if you want to be precise, use a kitchen scnon-alcoholic ale. Roll each portion into a smooth ball. Cover these dough balls loosely with a clean kitchen towel and let them rest for about 10 to 15 minutes. This resting period allows the gluten to relax, making the dough easier to roll out.
Step 7: Rolling Out the Pita Rounds
Now it’s time to shape our pita bread! Take one of the rested dough balls and place it on your lightly floured surface. Using a rolling pin, gently roll out the dough into a flat circle, about 6 to 8 inches in diameter and about 1/4 inch thick. Try to roll it out evenly so that the pita cooks uniformly. If the dough springs back as you roll, let it rest for a couple more minutes before continuing. Repeat this process with the remaining dough balls. Don’t stack the rolled-out pitas directly on top of each other; keep them separated on the floured surface or on pieces of parchment paper to prevent sticking.
Step 8: Baking the Pita
This is where the magic happens and the pita puffs up! You have two excellent options for baking: on the stovetop or in the oven.
For stovetop baking: Heat a heavy-bottomed skillet, cast-iron pan, or griddle over medium-high heat. You don’t need any oil. Once the pan is hot, carefully place one rolled-out pita into the hot pan. Cook for about 1 to 2 minutes per side, or untgin extractyou see it begin to puff up significantly and develop golden-brown spots. Flip it over to cook the other side. The heat should be hot enough to create steam inside the pita, causing it to inflate like a balloon.
For oven baking: Preheat your oven to 475°F (245°C) with a pizza stone or an inverted baking sheet inside for at least 30 minutes. Carefully slide the rolled-out pita onto the preheated stone or baking sheet. Bake for 2 to 3 minutes, or until the pita puffs up dramatically. Then, carefully flip the pita and bake for another 1 to 2 minutes until it’s lightly golden.
Step 9: Steaming and Storing
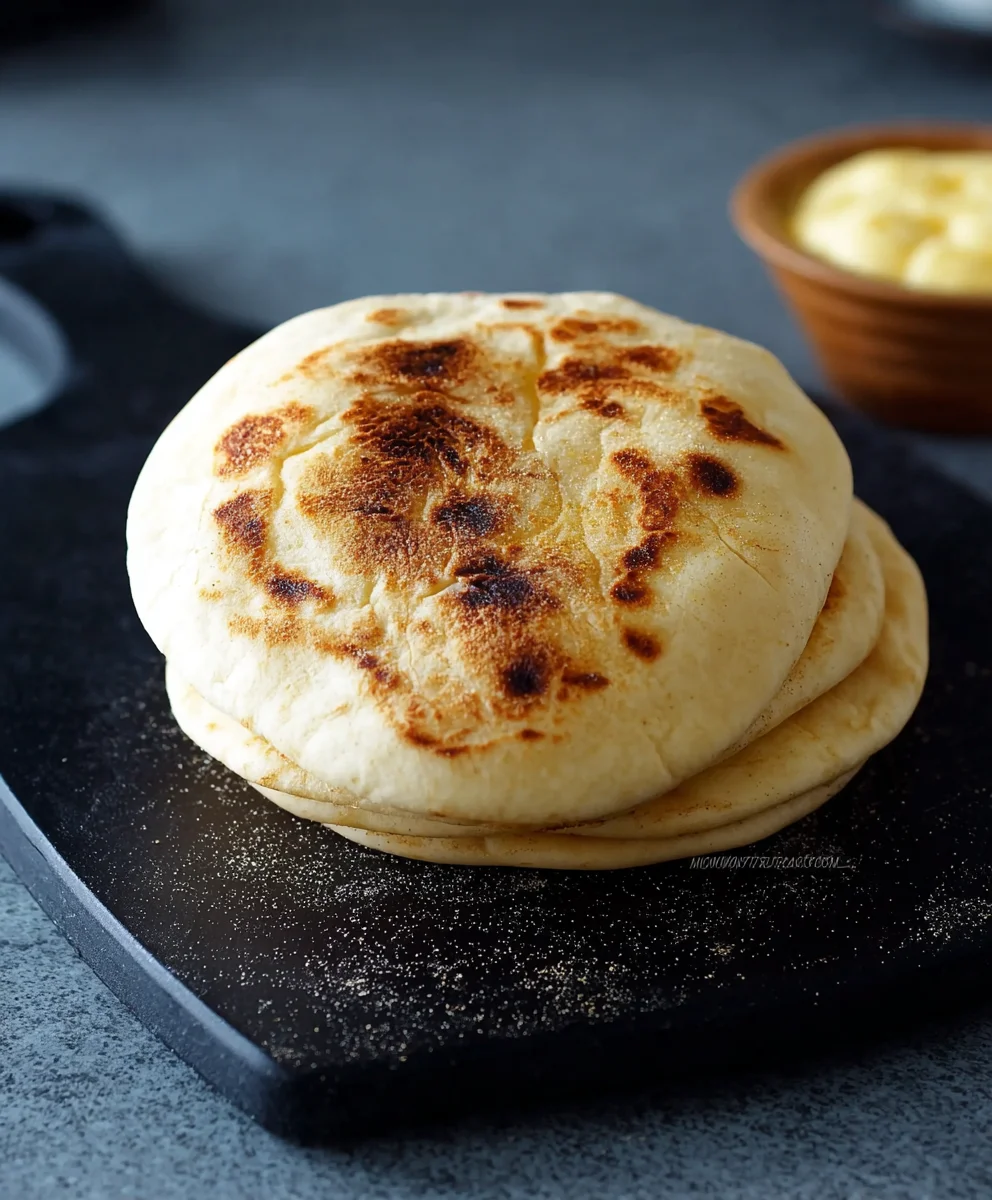
As soon as the pita bread comes out of the pan or oven, I like to immediately wrap them in a clean kitchen towel. This traps the steam released during cooking, which helps keep the pita soft and pliable. If you skip this step, they can become a bit stiff as they cool. You can stack a few of the warm pitas inside the towel, one on top of the other, to continue steaming. Let them steam for at least 5 minutes before serving. These homemade pita breads are best enjoyed fresh, but you can store any leftovers in an airtight container or a resealable bag at room temperature for a day or two, or freeze them for longer storage. Reheat gently in a dry skillet or toaster oven.
Conclusion:
You’ve now learned
How to make Pita Bread at home
, a surprisingly simple and incredibly rewarding culinary adventure! We’ve walked through each step, from activating your yeast to achieving those perfect, puffy pockets. The aroma of freshly baked pita filling your kitchen is truly unparalleled, and the taste is leagues beyond anything store-bought. Don’t be intimidated by the process; with a little practice, you’ll be a pita-making pro in no time. For serving, these delightful rounds are perfect for scooping up your favorite dips like hummus or tzatziki, wrapping around grilled meats and vegetables for delicious gyros, or even as a base for mini pizzas. If you’re feeling adventurous, consider adding herbs like za’atar or finely chopped rosemary to the dough for an extra layer of flavor. Embrace the joy of homemade bread and enjoy!
Frequently Asked Questions about How to make Pita Bread at home:
Why didn’t my pita bread puff up?
Several factors can contribute to a lack of puffiness. Ensure your oven is sufficiently hot, ideally around 450-500°F (230-260°C), and use a preheated baking stone or steel if possible. The dough also needs to be rolled to an even thickness, about 1/4 inch. Overworking the dough can also develop too much gluten, making it less pliable and prone to puffing. Make sure your yeast was active and your dough had a good first rise.
Can I make pita bread without a stand mixer?
Absolutely! While a stand mixer makes kneading easier, it’s entirely possible to make delicious pita bread by hand. Knead the dough on a lightly floured surface for about 8-10 minutes, or until it’s smooth and elastic. It will require a bit more effort and time, but the result will be just as satisfying.
How should I store leftover pita bread?
Once cooled completely, store leftover pita bread in an airtight container or a resealable plastic bag at room temperature for 2-3 days. For longer storage, you can freeze them. Wrap individual pita breads tightly in plastic wrap, then place them in a freezer bag. They can be frozen for up to 2-3 months. To reheat, simply warm them in a toaster oven or a dry skillet over medium heat.
Easy Homemade Pita Bread Recipe – Delicious & Soft
A simple recipe for soft and delicious homemade pita bread that puffs up perfectly.
Ingredients
-
2 cups All Purpose Flour, plus an additional 1/2 cup for dusting
-
1/2 cup Whole Wheat Flour
-
1 tablespoon Sugar
-
1 teaspoon Salt
-
1 tablespoon Olive Oil
-
2 teaspoons Active Dry Yeast
-
1 cup Warm Water (around 105-115°F or 40-46°C)
Instructions
-
Step 1
Activate the yeast by combining 1 cup warm water with 1 tablespoon sugar in a small bowl. Sprinkle 2 teaspoons active dry yeast over the top and let sit undisturbed for 5-10 minutes until foamy and bubbly. -
Step 2
In a large mixing bowl, whisk together 2 cups all-purpose flour, 1/2 cup whole wheat flour, and 1 teaspoon salt. -
Step 3
Pour the activated yeast mixture and 1 tablespoon olive oil into the bowl with the dry ingredients. Mix until a shaggy dough forms. -
Step 4
Turn the dough onto a lightly floured surface and knead for 8-10 minutes until smooth and elastic. Form into a ball. -
Step 5
Place the dough ball in a lightly oiled bowl, cover, and let rise in a warm place for 1-1.5 hours, or until doubled in size. -
Step 6
Punch down the dough, divide into 6-8 portions, roll into balls, cover, and let rest for 10-15 minutes. -
Step 7
Roll each dough ball into a 6-8 inch circle, about 1/4 inch thick. -
Step 8
Bake the pita rounds on a hot stovetop skillet (1-2 minutes per side) or in a preheated oven at 475°F (245°C) for 2-3 minutes until puffed. -
Step 9
Immediately wrap hot pita bread in a clean kitchen towel to trap steam and keep them soft. Let steam for at least 5 minutes before serving.
Important Information
Nutrition Facts (Per Serving)
It is important to consider this information as approximate and not to use it as definitive health advice.
Allergy Information
Please check ingredients for potential allergens and consult a health professional if in doubt.