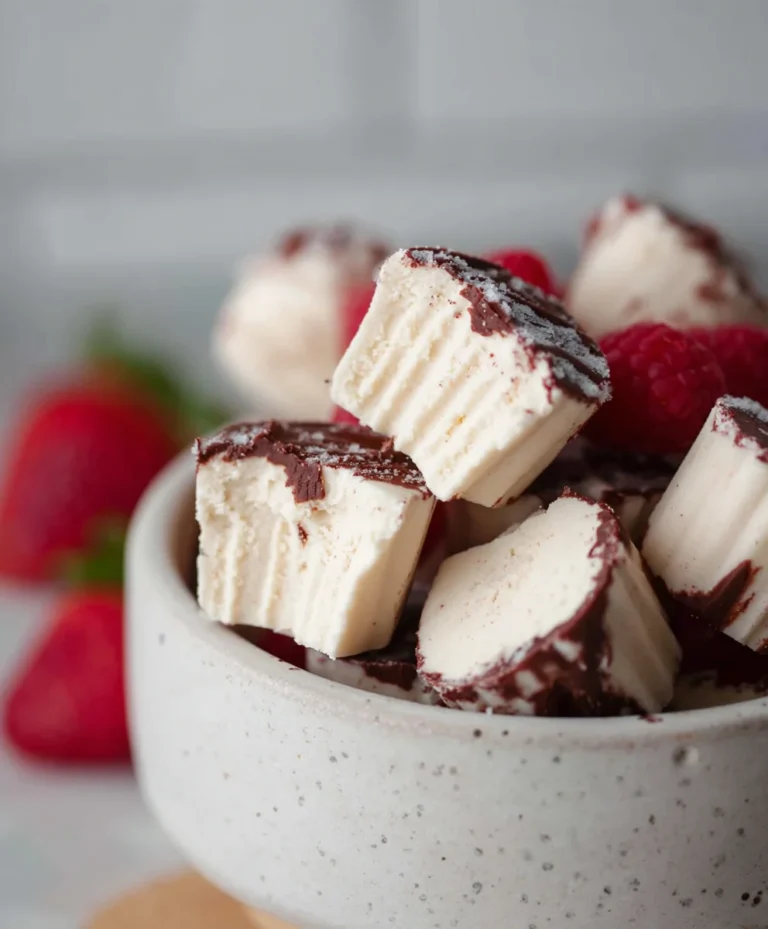
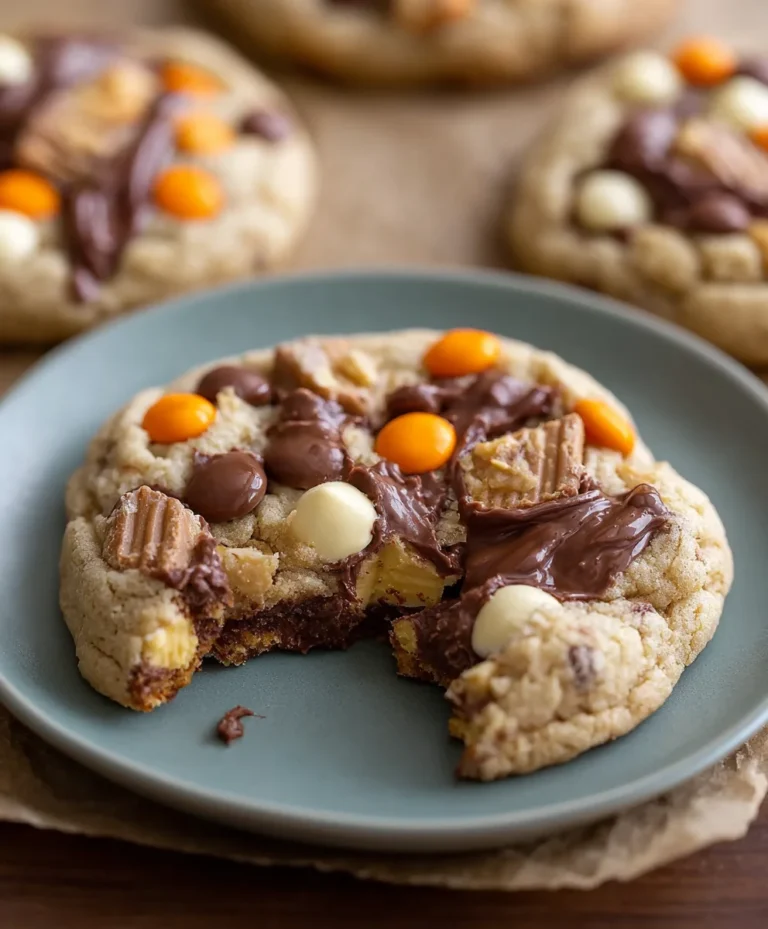
Easy Zero Sugar Brownies-Healthy Greek Yogurt Treat
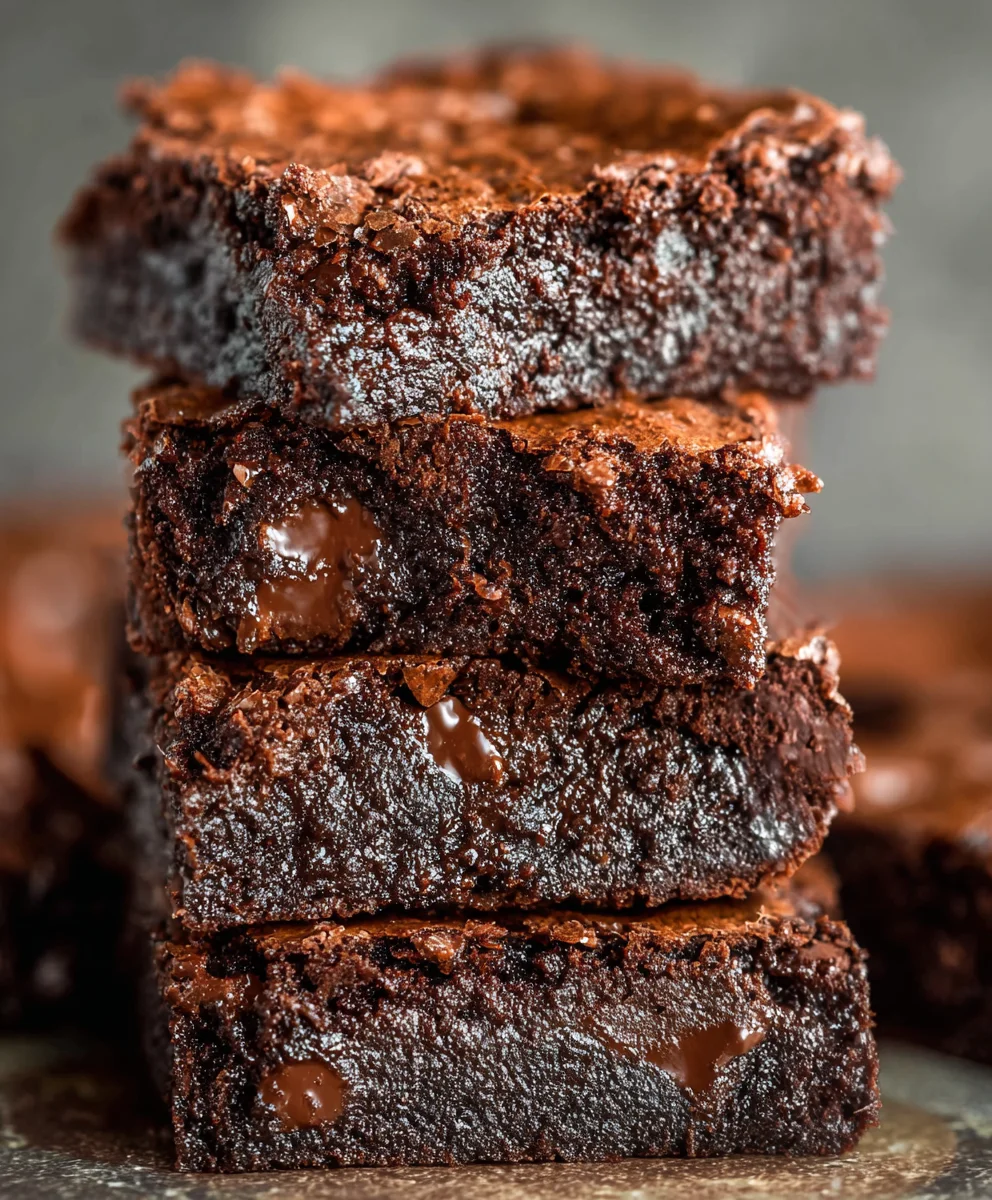
Easy Zero Sugar Brownies with Greek Yogurt are more than just a guilt-free treat; they’re a revelation for anyone who craves that rich, fudgy goodness without the sugar rush. We all love a good brownie, that dense, chocolatey square that brings instant comfort. But for those watching their sugar intake, the traditional recipe often feels like a forbidden pleasure. That’s where these incredible brownies come in. What makes them truly special is the ingenious use of Greek yogurt. It not only adds an unbelievable moistness and a slight tang that perfectly balances the deep chocolate flavor but also helps create that incredibly fudgy texture we all adore, all while eliminating the need for any added sugar. Get ready to discover your new favorite, healthy indulgence that doesn’t compromise on taste or texture – these Easy Zero Sugar Brownies with Greek Yogurt are about to become a staple in your kitchen.
Ingredients:
- 1/2 cup chopped chocolate pieces (dark or semi-sweet work wonderfully for a richer flavor)
- 1 cup vanilla-flavored Greek yogurt (full-fat or low-fat, your preference. For a dairy-free option, a thick, plain, unsweetened plant-based yogurt can be substituted, though the flavor profile will change slightly. Ensure it’s a thicker consistency to mimic Greek yogurt’s richness.)
- 1/2 cup sweetener of choice (e.g., erythritol, xylitol, or stevia blend for a zero-sugar option; alternatively, brown sugar or granulated sugar for a traditional brownie. Adjust to your desired sweetness level.)
- 3/4 cup regular or gluten-free all-purpose flour (a 1:1 gluten-free blend works well if needed)
- 1/2 cup unsweetened cocoa powder (Dutch-processed will give a deeper, darker color and smoother flavor)
- 1/2 teaspoon baking soda
- 1/2 cup preferred milk (such as unsweetened almond milk, soy milk, or whole milk. The type of milk will subtly influence the final taste and texture.)
- 1 cup optional chocolate chips (sugar-free chocolate chips are ideal if you’re aiming for zero sugar, otherwise, regular semi-sweet or dark chocolate chips add a delightful burst of chocolate goodness)
Getting Started: Preparing Your Brownie Batter
Step 1: Preheat and Prepare Your Pan
Begin extract by preheating your oven to 350°F (175°C). This consistent temperature is crucial for ensuring your brownies bake evenly. Next, prepare an 8×8 inch baking pan. You can do this by greasing it thoroughly with butter or non-stick cooking spray. For easier removal and cleaner edges, I highly recommend lining the pan with parchment paper, leaving a slight overhang on two opposite sides. This overhang acts as handles, allowing you to lift the entire baked brownie slab out of the pan once cooled. This step is a lifesaver for cutting neat portions later.
Step 2: Combining Wet Ingredients and Sweetener
In a large mixing bowl, add the vanilla-flavored Greek yogurt. This yogurt is the secret ingredient that contributes moisture and a subtle tang, making these brownies incredibly tender without relying on excessive oil or butter. Next, incorporate your chosen sweetener. If you’re using a granular sweetener like erythritol or sugar, it will dissolve easily. Whisk these two ingredients together vigorously until they are well combined and the mixture is smooth. This initial whisking helps to break down any lumps in the yogurt and distribute the sweetener evenly, setting a good foundation for the rest of the batter.
Step 3: Incorporating Chocolate and Milk
Now, it’s time to introduce the chopped chocolate pieces to the wet ingredients. Add them to the bowl and stir them in. These will melt slightly as they bake, creating rich pockets of chocolate throughout your brownies. Following that, pour in your preferred milk. Again, whisk everything together until you have a cohesive, smooth mixture. This is where the batter starts to take on a lovely, rich chocolate hue, even before the cocoa powder is added. Ensure there are no large clumps of yogurt or unmixed chocolate.
Step 4: Adding Dry Ingredients for Structure
In a separate, medium-sized bowl, whisk together the all-purpose flour (regular or gluten-free), unsweetened cocoa powder, and baking soda. Sifting these dry ingredients before adding them to the wet mixture is a great tip to prevent lumps of cocoa powder from forming in your final brownies. The baking soda will act as leavening, giving your brownies a slight lift and tender crum extractb. Once they are well combined, gradually add the dry ingredients to the wet ingredients in the large mixing bowl.
Step 5: Gently Folding and Final Touches
Using a spatula, gently fold the dry ingredients into the wet ingredients. Mix just until everything is combined and no dry streaks of flour remain. Overmixing at this stage can lead to tough brownies, so be gentle. Once the batter is mostly combined, if you’re using the optional chocolate chips, fold them in now. Distribute them evenly throughout the batter. This is also the point where you can scrape down the sides of the bowl to ensure all the delicious batter is accounted for. The batter should be thick and fudgy.
Step 6: Baking Your Easy Zero Sugar Brownies
Pour the prepared batter into your prepared 8×8 inch baking pan, spreading it out evenly with your spatula. Ensure the batter reaches all the corners for even baking. Place the pan in the preheated oven. Bake for 25-30 minutes, or until a toothpick inserted into the center comes out withrum extractist crumbs attached, not wet batter. Be careful not to overbake, as this can result in dry brownies. The baking time can vary slightly depending on your oven, so keep an eye on them during the last few minutes of baking.
Step 7: Cooling and Serving Your Masterpiece
Once baked, carefully remove the pan from the oven and place it on a wire rack to cool completely. This cooling period is essential; slicing into warm brownies can be messy and lead to a less defined texture. For the best results, allow them to cool for at least 1-2 hours. Once fully cooled, use the parchment paper overhang to lift the entire brownie slab from the pan. Place it on a cutting board and slice into your desired squares using a sharp knife. These brownies are delicious on their own, or you can serve them with a dollop of extra Greek yogurt or a sprinkle of sugar-free powdered sweetener. Enjoy your guilt-free treat!
Conclusion:
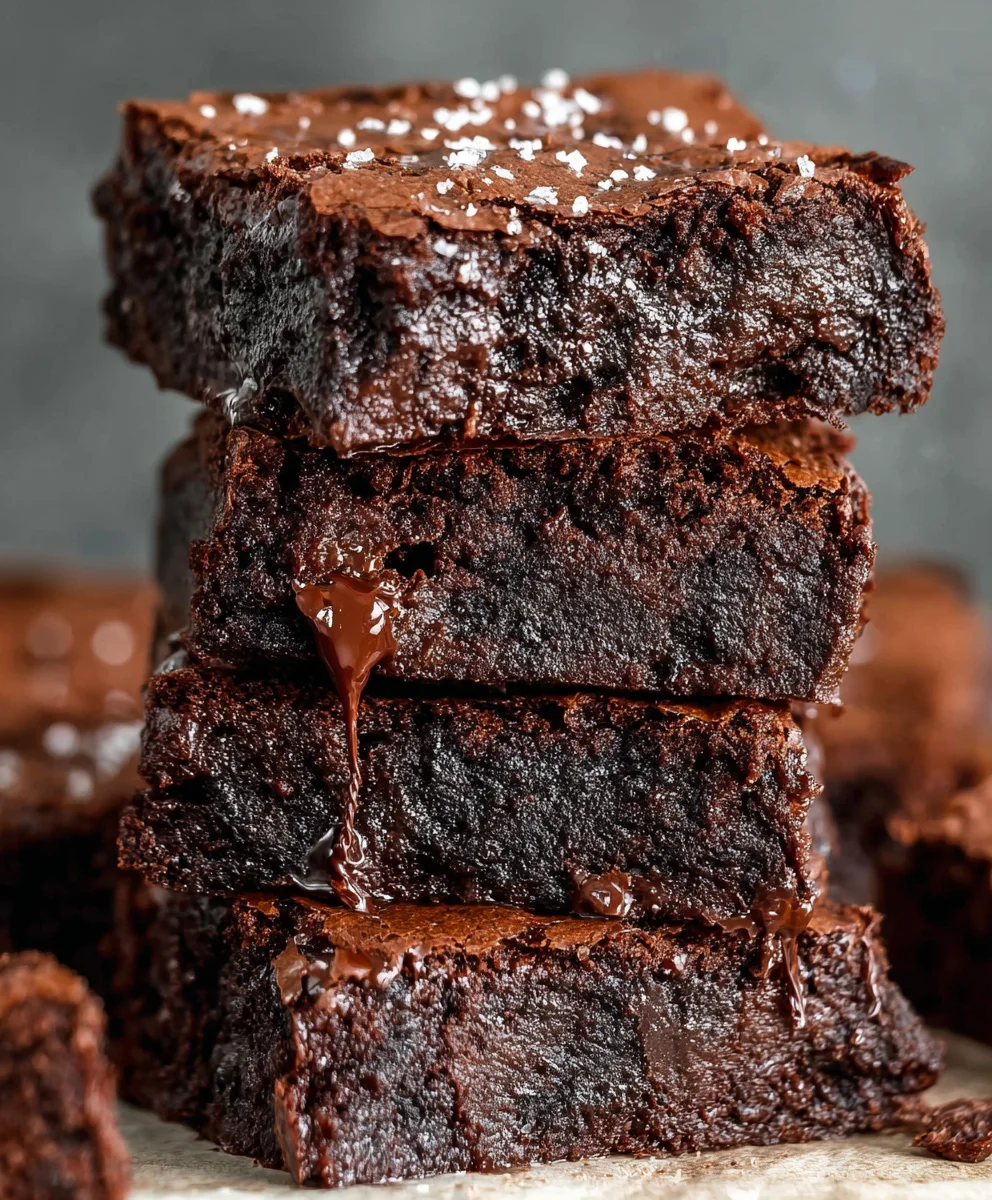
You’ve now mastered the art of creating delicious and guilt-free Easy Zero Sugar Brownies with Greek Yogurt! This recipe proves that you don’t need to sacrifice flavor or texture to enjoy a delightful treat while keeping sugar out of your diet. The combination of rich cocoa, creamy Greek yogurt, and the natural sweetness enhancers makes for a truly satisfying dessert that everyone can enjoy. These brownies are perfect for satisfying those sweet cravings without the sugar rush, making them a fantastic option for health-conscious individuals, those managin extractg their sugar intake, or anyone looking for a healthier indulgence.
Serve these Easy Zero Sugar Brownies with Greek Yogurt warm with a dollop of extra Greek yogurt or a sprinkle of sugar-free chocolate chips. For a delightful contrast, consider pairing them with fresh berries. If you’re feeling adventurous, try adding a hint of peppermint extract for a mint chocolate twist, or a dash of cinnamon for a warm, spiced note. Don’t be afraid to experiment and make these brownies your own!
Frequently Asked Questions:
Can I use a different type of yogurt?
While Greek yogurt provides the best texture and a neutral flavor profile that complements the chocolate, you can experiment with other thick, plain yogurts. However, be aware that the texture might change slightly, and you may need to adjust the liquid content or baking time.
How should I store these brownies?
Store your Easy Zero Sugar Brownies with Greek Yogurt in an airtight container at room temperature for up to 3 days, or in the refrigerator for up to a week. They can also be frozen for longer storage; just thaw them at room temperature before enjoying.
Are these brownies completely sugar-free?
This recipe uses ingredients that are naturally sugar-free or have zero added sugars. However, depending on the specific brands of cocoa powder and sugar substitutes you use, trace amounts of naturally occurring sugars might be present. Always check your ingredient labels if strict zero-sugar is essential.
Easy Zero Sugar Brownies – Healthy Greek Yogurt Treat
Indulge in these delicious and easy zero-sugar brownies, made healthier with the goodness of Greek yogurt. A perfect guilt-free treat!
Ingredients
-
1/2 cup chopped chocolate pieces (dark or semi-sweet)
-
1 cup vanilla-flavored Greek yogurt (full-fat or low-fat, or thick plant-based yogurt)
-
1/2 cup sweetener of choice (e.g., erythritol, xylitol, stevia blend)
-
3/4 cup regular or gluten-free all-purpose flour
-
1/2 cup unsweetened cocoa powder (Dutch-processed recommended)
-
1/2 teaspoon baking soda
-
1/2 cup preferred milk (such as unsweetened almond milk)
-
1 cup optional chocolate chips (sugar-free recommended)
Instructions
-
Step 1
Preheat your oven to 350°F (175°C). Grease and line an 8×8 inch baking pan with parchment paper, leaving an overhang for easy removal. -
Step 2
In a large bowl, whisk together the vanilla-flavored Greek yogurt and your chosen sweetener until smooth. -
Step 3
Add the chopped chocolate pieces and milk to the wet ingredients. Whisk until well combined and smooth. -
Step 4
In a separate bowl, whisk together the flour, cocoa powder, and baking soda. Gradually add the dry ingredients to the wet ingredients, mixing gently until just combined. -
Step 5
If using, gently fold in the optional chocolate chips. Pour the batter into the prepared pan and spread evenly. -
Step 6
Bake for 25-30 minutes, or until a toothpick inserted into the center comes out with moist crumbs. Do not overbake. -
Step 7
Let the brownies cool completely on a wire rack. Once cooled, lift out of the pan using the parchment paper and slice into squares.
Important Information
Nutrition Facts (Per Serving)
It is important to consider this information as approximate and not to use it as definitive health advice.
Allergy Information
Please check ingredients for potential allergens and consult a health professional if in doubt.