Sweet Potato Marshmallow Casserole-Holiday Comfort Food
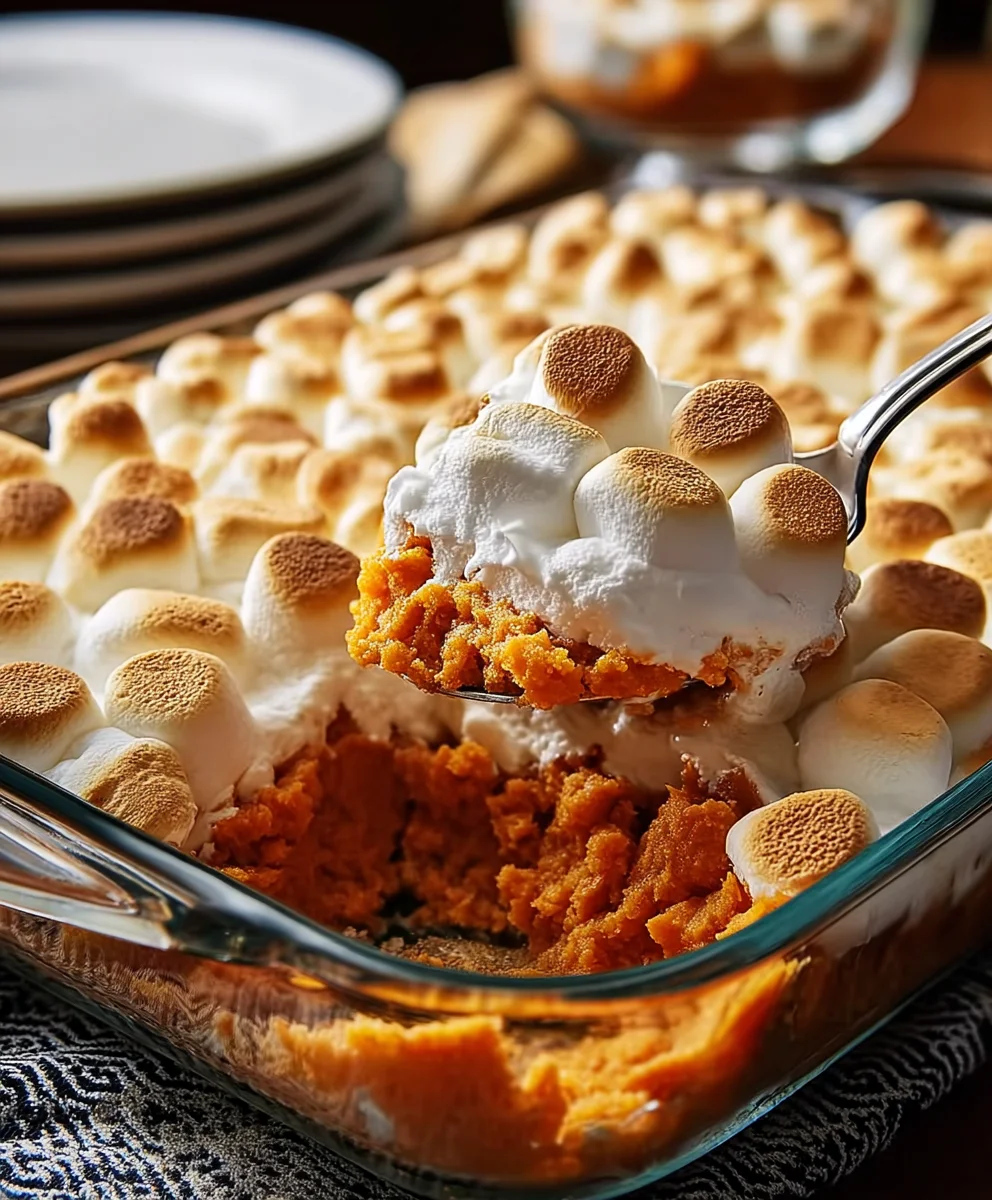
Sweet Potato Marshmallow Casserole: it’s a dish that evokes warmth, comfort, and a touch of holiday magic. Is there anything that screams “gathering” and “good times” quite like this iconic side? I think not! The glorious marriage of tender, naturally sweet mashed sweet potatoes with the gooey, caramelized embrace of toasted marshmallows is simply irresistible. It’s a dish that sparks joy in both kids and adults, a nostalgic trip back to family dinners and festive celebrations. What truly sets our Sweet Potato Marshmallow Casserole apart is the careful balance of flavors and textures, ensuring each spoonful is a delightful experience, neither too sweet nor too bland, just perfectly balanced. Get ready to create a masterpiece that will be the star of your next meal!
Ingredients:
- 3 pounds sweet potatoes
- 3 tablespoons butter
- 1/2 teaspoon salt
- 1/2 cup orange juice
- 9 ounces crushed pineapple, drained
- 2.5 cups mini marshmallows
Preparing the Sweet Potatoes
Boiling the Sweet Potatoes
The first crucial step in creating a delicious Sweet Potato Marshmallow Casserole is preparing the sweet potatoes. You’ll need to make them incredibly tender so they can be easily mashed into a smooth, luxurious base for our casserole. To achieve this, start by washing your 3 pounds of sweet potatoes thoroughly. You can either peel them before boiling or wait until they are cooked and then easily slip the skins off. For consistent cooking, I like to cut them into roughly equal-sized chunks, about 2-inch pieces. This ensures that they all soften at about the same rate. Place the prepared sweet potato pieces into a large pot and cover them generously with cold water. Add a pinch of salt to the water; this helps to season the potatoes from the inside out as they cook. Bring the water to a rolling boil over high heat. Once boiling, reduce the heat to medium-high, cover the pot loosely, and let them simmer for about 20-30 minutes, or until they are fork-tender. You should be able to easily pierce a piece with a fork with very little resistance. Be careful not to overcook them, as mushy sweet potatoes can become watery.
Mashing the Sweet Potatoes
Once the sweet potatoes are perfectly tender, carefully drain all the water from the pot. It’s important to get as much water out as possible. Return the drained sweet potatoes to the hot, empty pot. The residual heat will help to evaporate any remaining moisture. Now, it’s time to mash them. You can use a potato masher for a slightly rustic texture, or for a super smooth consistency, a hand mixer or even a food processor works wonderfully. Add the 3 tablespoons of butter to the hot sweet potatoes. The butter will begin extract to melt almost immediately, adding richness and a lovely sheen. Next, incorporate the 1/2 teaspoon of salt. This salt is vital for balancing the inherent sweetness of the potatoes and pineappgin extract bringing all the flavors into harmony. Stir in the 1/2 cup of orange juice. The orange juice adds a subtle citrusy brightness that complements the sweet potatoes beautifully and helps to create a creamy texture without making the mixture too wet. Make sure to mash until there are no large lumps and the mixture is smooth and cohesive. Don’t over-mash, especially if using a mixer, as you don’t want to break down the starches too much.
Assembling the Casserole
Incorporating the Pineapple
With your mashed sweet potato base smooth and ready, it’s time to introduce another layer of flavor and texture: the pineapple. You’ll need 9 ounces of crushed pineapple, and it’s crucial that it’s well-drained. Excess liquid can make the casserole watery, so I recommend pressing the pineapple gently in a fine-mesh sieve or squeezing out the excess juice before adding it to the mashed sweet potatoes. Gently fold the drained crushed pineapple into the sweet potato mixture. You want to distribute it evenly throughout the mash, ensuring that you get little bursts of sweet, tangy pineapple in every bite. Be careful not to overmix at this stage; you’re just looking to incorporate it, not break it down further. This combination of creamy sweet potato and juicy pineapple is what gives this casserole its signature flavor profile.
Adding the Marshmallow Topping
The final and perhaps most anticnon-alcoholic ipated element of our Sweet Potato Marshmallow Casserole is the marshmallow topping. You’ll need 2.5 cups of mini marshmallows. This is where the magic happens, transforming a delicious side dish into a festive and decadent treat. Ensure your sweet potato and pineapple mixture is evenly spread in your chosen baking dish. A 9×13 inch baking dish is usually perfect for this quantity. Now, generously sprinkle the mini marshmallows evenly over the entire surface of the sweet potato mixture. Try to get an even layer so that every part of the casserole gets that delightful, gooey topping. Don’t skimp on the marshmallows; they are meant to create a golden, bubbly crown.
Baking and Browning
The Baking Process
Preheat your oven to 350 degrees Fahrenheit (175 degrees Celsius). Place the assembled casserole, uncovered, into the preheated oven. The goal here is to heat the casserole through and, most importantly, to toast those marshmallows to a perfect golden-brown. The exact baking time can vary depending on your oven, but generally, you’ll want to bake it for about 20-25 minutes. Keep a close eye on it during the last 10 minutes of baking. The sweet potato mixture should be hot and bubbling around the edges, and the marshmallows should start to soften and melt.
Achieving the Perfect Golden-Brown Marshmallows
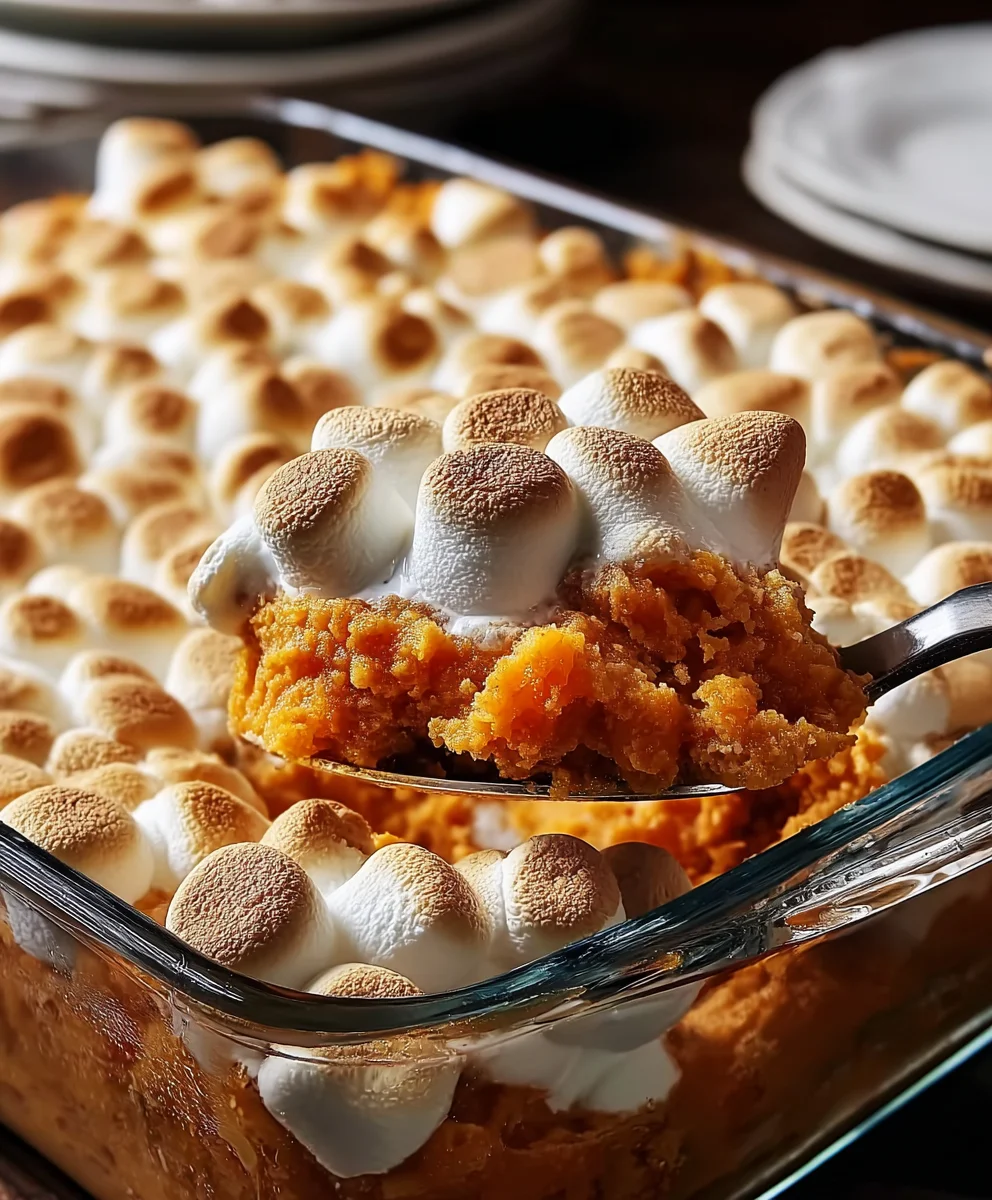
As the casserole bakes, the marsgin extractllows will begin to melt and spread. For that irresistible golden-brown finish, you can either continue baking until they reach your desired color, or, for a quicker toast, you can switch your oven to the broil setting for the last minute or two. Watch them very carefully if you choose to broil, as marshmallows can go from perfectly toasted to burnt in a matter of seconds. You are looking for a beautiful, even golden-brown color across the entire surface. Once they’ve reached that delightful hue, carefully remove the Sweet Potato Marshmallow Casserole from the oven. Allow it to rest for about 5-10 minutes before serving. This brief resting period allows the flavors to meld and the casserole to set slightly, making it easier to serve and preventing it from being too runny.
Conclusion:
And there you have it – the ultimate guide to crafting a truly delightful Sweet Potato Marshmallow Casserole! We’ve journeyed through the simple yet rewarding steps of transforming humble sweet potatoes into a comforting and festive dish that’s sure to become a staple at your gatherings. The rich, earthy sweetness of the potatoes, perfectly complemented by the gooey, caramelized marshmallow topping, creates a flavor and texture combination that’s simply irresistible. Whether you’re serving it as a side dish for Thanksgiving dinner, a holiday potluck, or even a special weeknight treat, this Sweet Potato Marshmallow Casserole promises to be a crowd-pleaser. Don’t hesitate to get creative with serving suggestions – it pairs beautifully with roasted meats, hearty stews, or even enjoyed on its own as a sweet indulgence.
Frequently Asked Questions:
Can I make the Sweet Potato Marshmallow Casserole ahead of time?
Yes, absolutely! You can prepare the sweet potato mixture and assemble the casserole up to a day in advance. Store it covered in the refrigerator. When ready to bake, allow it to sit at room temperature for about 30 minutes before adding the marshmallows and baking, or add a few extra minutes to the baking time if baking directly from the fridge.
What are some variations for the Sweet Potato Marshmallow Casserole?
There are many delicious ways to customize your Sweet Potato Marshmallow Casserole! Consider adding a sprinkle of cinnamon, nutmeg, or even a pinch of gin extractger to the sweet potato mixture for an extra layer of warmth. For a delightful crunch, you can top the marshmallows with chopped pecans or walnuts before baking. Some people also enjoy adding a splash of vanilla extract or a tablespoon of orange zest to the sweet potato base for a brighter flavor profile.
How do I prevent the marshmallows from burning?
To prevent your marshmallows from burning before the casserole is heated through, you can loosely tent the casserole with aluminum foil during the last 15-20 minutes of baking. Remove the foil for the final 5-10 minutes to allow the marshmallows to achieve that perfect golden-brown, gooey perfection.
Sweet Potato Marshmallow Casserole-Holiday Comfort Food
A classic holiday side dish featuring tender mashed sweet potatoes topped with a gooey, toasted marshmallow layer.
Ingredients
-
3 pounds sweet potatoes, washed and cut into 2-inch chunks
-
3 tablespoons butter, softened
-
1/2 teaspoon salt
-
1/2 cup orange juice
-
9 ounces crushed pineapple, well-drained
-
2.5 cups mini marshmallows
Instructions
-
Step 1
Wash and cut sweet potatoes into roughly 2-inch chunks. Place in a large pot, cover with cold water, add a pinch of salt, and bring to a boil. Reduce heat and simmer, covered loosely, for 20-30 minutes, or until fork-tender. -
Step 2
Drain the sweet potatoes thoroughly. Return to the hot pot to evaporate any remaining moisture. Mash the sweet potatoes until smooth, then add butter, salt, and orange juice, mashing until well combined and creamy. -
Step 3
Gently fold the well-drained crushed pineapple into the mashed sweet potato mixture, distributing evenly. -
Step 4
Spread the sweet potato and pineapple mixture evenly into a 9×13 inch baking dish. Sprinkle the mini marshmallows evenly over the top. -
Step 5
Preheat oven to 350°F (175°C). Bake uncovered for 20-25 minutes, or until the casserole is heated through and the marshmallows begin to melt and turn golden brown. For quicker browning, you can broil for the last 1-2 minutes, watching very carefully. -
Step 6
Remove from oven and let rest for 5-10 minutes before serving.
Important Information
Nutrition Facts (Per Serving)
It is important to consider this information as approximate and not to use it as definitive health advice.
Allergy Information
Please check ingredients for potential allergens and consult a health professional if in doubt.