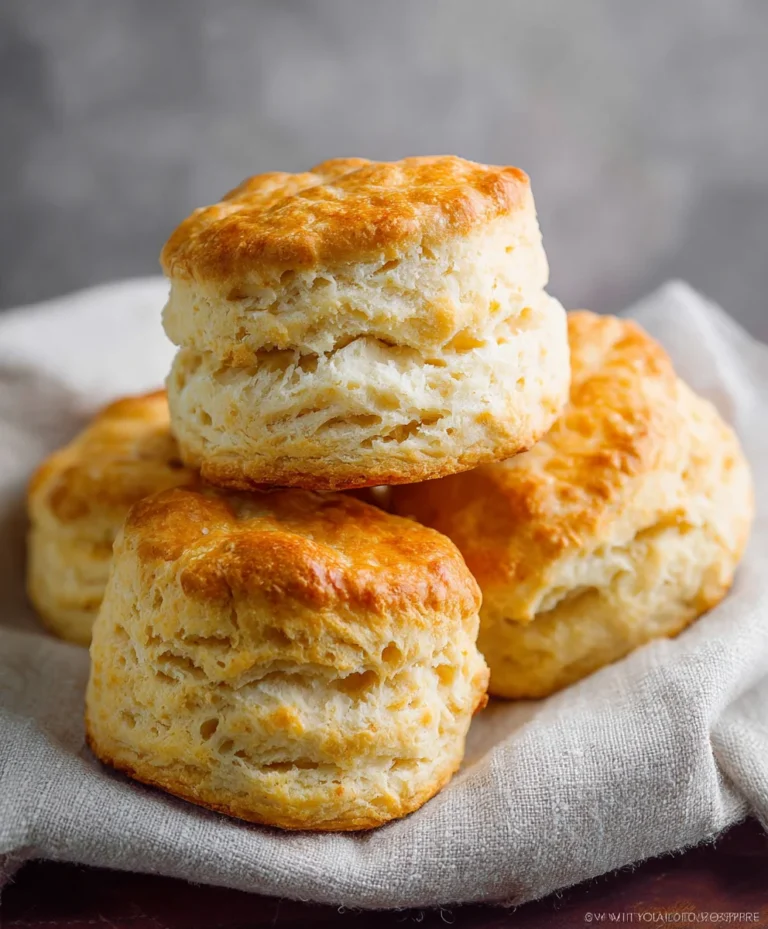
Easy Freezer Breakfast Sandwiches – Make Ahead Meals
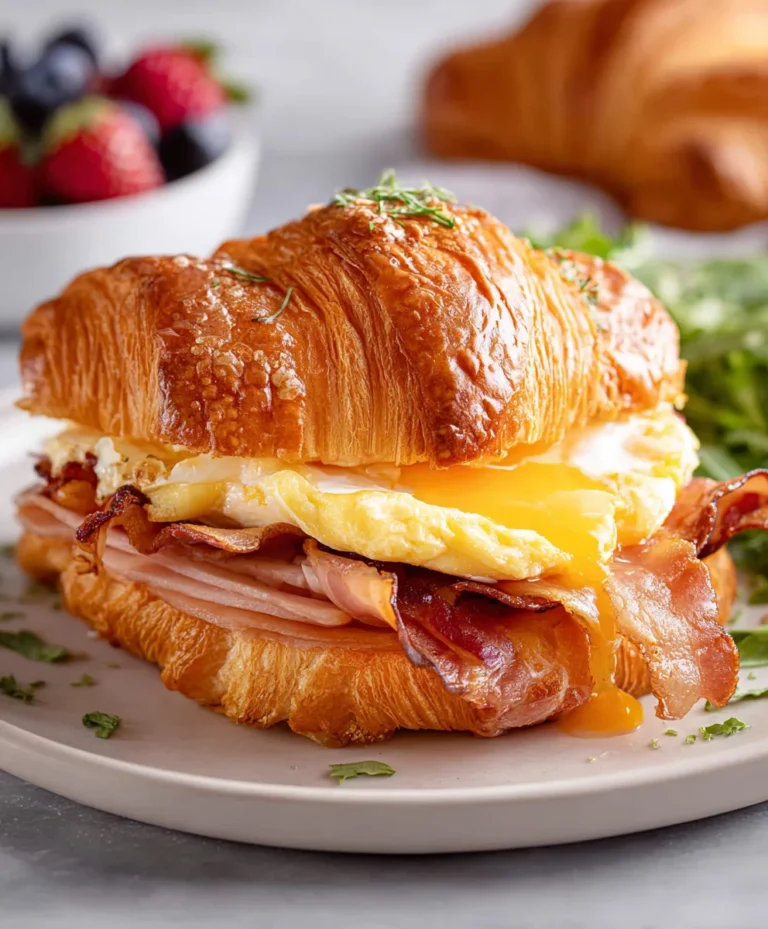
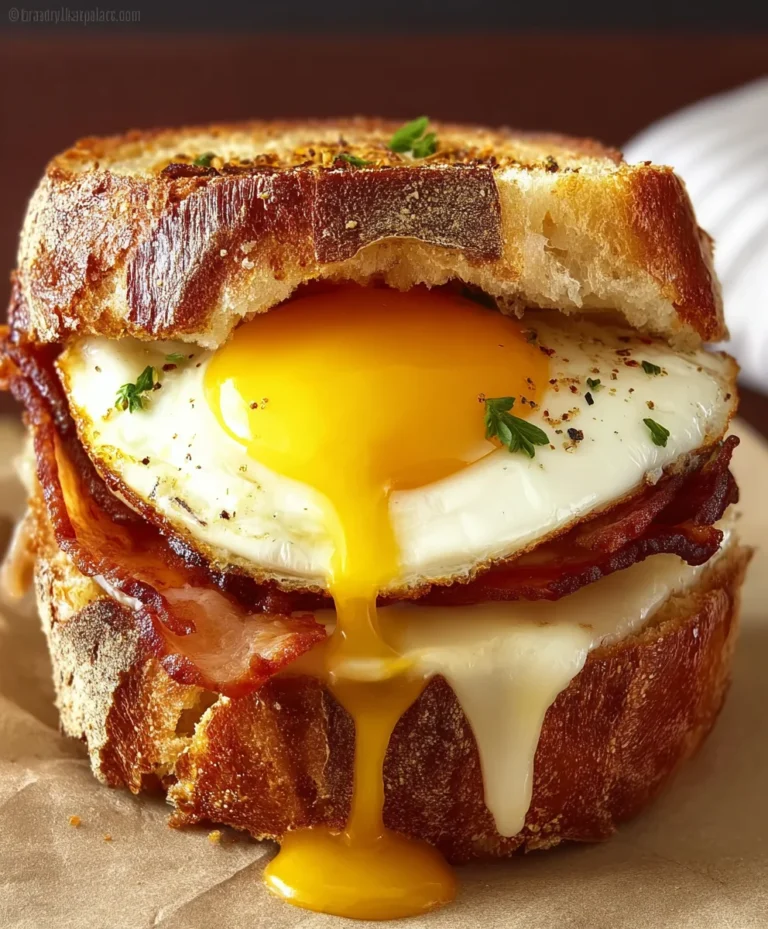
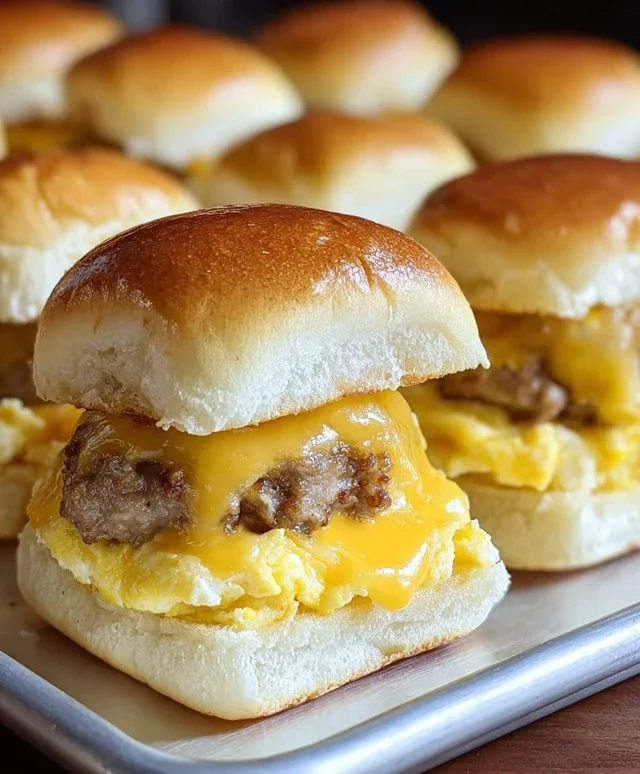
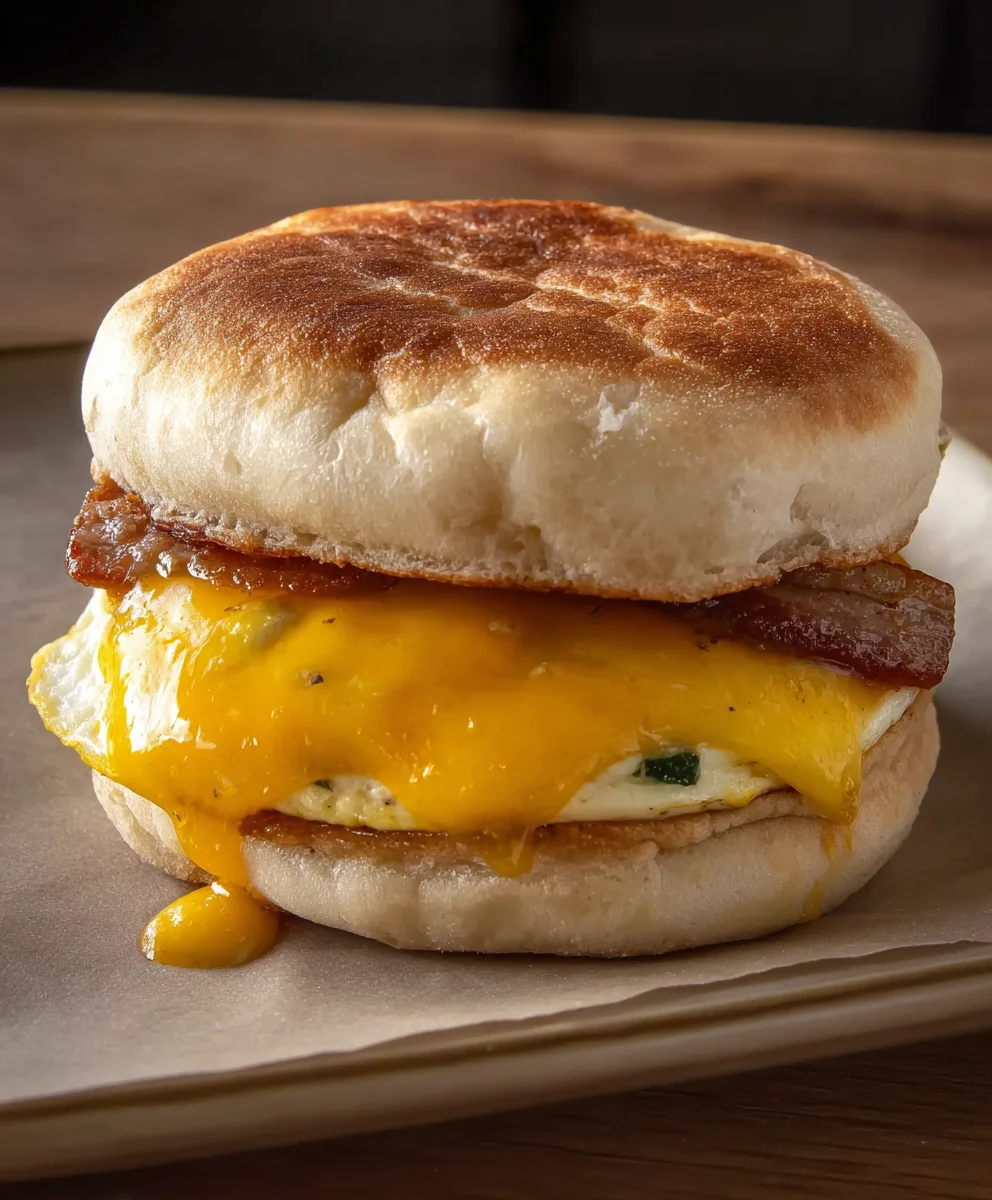
Freezer Breakfast Sandwiches are an absolute game-changer for busy mornings, and for good reason! Imagin extracte waking up and having a warm, satisfying breakfast ready in minutes, without any of the usual fuss. That’s the magic these convenient wonders bring to our lives. We all crave that perfect balance of fluffy eggs, savory sausage or beef bacon, and melted cheese, all nestled between a soft bun or English muffin. What truly sets our featured Freezer Breakfast Sandwiches apart is their incredible versatility and the sheer joy of knowing you’ve got deliciousness prepped and waiting. They’re not just a quick fix; they’re a delicious hug in a wrapper, designed to fuel your day with minimal effort but maximum flavor. Whether you’re rushing to work, heading out for an adventure, or just want to enjoy a leisurely breakfast without the kitchen cleanup, these Freezer Breakfast Sandwiches are your ultimate morning ally.
Ingredients:
- 1 pound ground beef
- 1 pound ground sausage
- 1 tablespoon brown sugar
- 1 teaspoon garlic powder
- 1 teaspoon onion powder
- 1/2 teaspoon red pepper flakes
- 1 teaspoon Italian seasoning
- 12 large eggs
- 1/4 cup milk
- 1 teaspoon salt
- 1 teaspoon white pepper
- 6 English muffins
- 6 slices cheese (your favorite kind, like cheddar or provolone)
- 2 tablespoons melted butter
- Syrup to taste (for serving)
Preparing the Breakfast Patties
Step 1: Brown the Meats and Build Flavor
Begin extract by preparing the flavorful breakfast patties that will form the savory core of your freezer breakfast sandwiches. In a large skillet over medium-high heat, crum extractble in both the ground beef and the ground sausage. Break up the meat with a spoon as it cooks, ensuring even browning. You’re aiming for a nicely browned texture, which will take approximately 8-10 minutes. Once the meat is cooked through and most of the pink is gone, carefully drain off any excess grease. This step is crucial for a less greasy sandwich and better texture.
Now, it’s time to infuse these meats with incredible flavor. To the drained meat in the skillet, add the brown sugar, garlic powder, onion powder, red pepper flakes, and Italian seasoning. Stir everything together thoroughly until the seasonings are evenly distributed. The brown sugar will add a subtle sweetness that beautifully complements the savory meats, while the spices provide a warm, aromatic depth. Cook for another 2-3 minutes, stirring occasionally, allowing the spices to bloom and meld with the meat mixture. This short cooking time after adding the seasonings helps to awaken their flavors without burning them.
Step 2: Portion and Form the Patties
Once the meat mixture is beautifully seasoned and fragrant, it’s time to form it into individual patties. Remove the skillet from the heat. Allow the mixture to cool slightly for a few minutes. This makes it easier to handle and shape. To create uniform patties that will fit nicely on your English muffins, I find it helpful to use a measuring cup or scoop. Aim for about 1/4 cup of the meat mixture per patty.
Gently shape each portion into a round patty, roughly the size of your English muffin halves. They should be about 1/2 inch thick. You want them to be substantial enough to be satisfying but not so thick that they won’t cook through evenly or fit comfortably in your sandwich. If the mixture is sticking to your hands, you can lightly dampen your palms with water. You should get about 6-8 good-sized patties from this amount of meat. Place the formed patties on a plate or baking sheet lined with parchment paper.
Cooking the Egg and Assembling the Sandwiches
Step 3: Prepare the Egg Rounds
The perfect accompaniment to your savory meat patties is a fluffy, tender egg. For these freezer breakfast sandwiches, we’re going to create individual egg rounds that fit neatly within the sandwich. In a medium bowl, whisk together the 12 large eggs, 1/4 cup milk, 1 teaspoon salt, and 1 teaspoon white pepper. The milk helps to make the eggs lighter and more tender, while the salt and pepper season them perfectly.
To cook these egg rounds, you have a couple of excellent options. You can use a large, non-stick skillet. Pour about 1/4 cup of the egg mixture into the hot skillet for each round, spreading it slightly to form a circular shape about the size of your English muffins. Cook for 1-2 minutes per side, until set but still slightly moist. Alternatively, and for ultimate uniformity, you can use muffin tins. Lightly grease a muffin tin and pour about 1/4 cup of the egg mixture into each cup. Bake at 350°F (175°C) for about 15-20 minutes, or until the eggs are set. This method ensures perfectly round and evenly cooked eggs every time.
Step 4: Toast the English Muffins and Melt the Cheese
While your eggs are cooking, prepare the English muffins. Carefully split each of the 6 English muffins in half horizontally. You can toast them lightly in a toaster, under the broiler, or in a dry skillet until they are golden brown and slightly crisp. This adds a delightful texture contrast and prevents them from becoming soggy.
Now, let’s get that cheese melty and delicious. As soon as your meat patties are cooked (you can pan-fry them in a separate skillet over medium heat until browned and cooked through, about 3-4 minutes per side), place one slice of cheese on top of each hot patty. The residual heat from the patties will be enough to gently melt the cheese, creating that irresistible gooeyness. If you want to speed up the melting process, you can cover the skillet for a minute or two.
Step 5: Assemble and Cool Your Freezer Breakfast Sandwiches
It’s time to bring all the delicious components together to create your magnificent freezer breakfast sandwiches. On the bottom half of each toasted English muffin, place a cheese-covered meat patty. Top the meat and cheese with one of your prepared egg rounds. If you like, you can add a little extra seasoning to the egg at this stage. Then, place the top half of the English muffin over the egg.
Gently press down on the assembled sandwich. This helps to compact everything and makes them easier to wrap and store. Once assembled, you’ll want to let these sandwiches cool completely before wrapping them for freezing. This is a critical step to prevent condensation from forming inside yogin extractpackaging, which can lead to freezer burn and affect the texture of your sandwiches. Place the cooled sandwiches on a baking sheet or plate and let them sit at room temperature for at least an hour, or until they are no longer warm to the touch.
Freezing and Reheating for Future Enjoyment
Once your freezer breakfast sandwiches have cooled completely, it’s time to wrap them individually for optimal storage. You can wrap each sandwich tightly in plastic wrap, ensuring there are no air pockets. For extra protection against freezer burn and to make them easy to identify, place the individually wrapped sandwiches inside a heavy-duty freezer bag or an airtight container. Label the bags or containers with the date to keep track of your delicious breakfast stash.
To reheat your freezer breakfast sandwiches, remove one from the freezer and unwrap it. You can reheat them in a microwave, a toaster oven, or a regular oven. For microwave reheating, place the sandwich on a microwave-safe plate and heat on medium power for 1-2 minutes, or until heated through. For a crispier texture, a toaster oven or regular oven is recommended. Preheat your oven to 350°F (175°C). Place the sandwich on a baking sheet and bake for 10-15 minutes, or until heated through and the English muffin is toasted. For a truly indulgent experience, you can even serve these reheated sandwiches with a drizzle of syrup on the side, just like you would enjoy a breakfast classic. Enjoy your convenient and delicious homemade freezer breakfast sandwiches!
Conclusion:
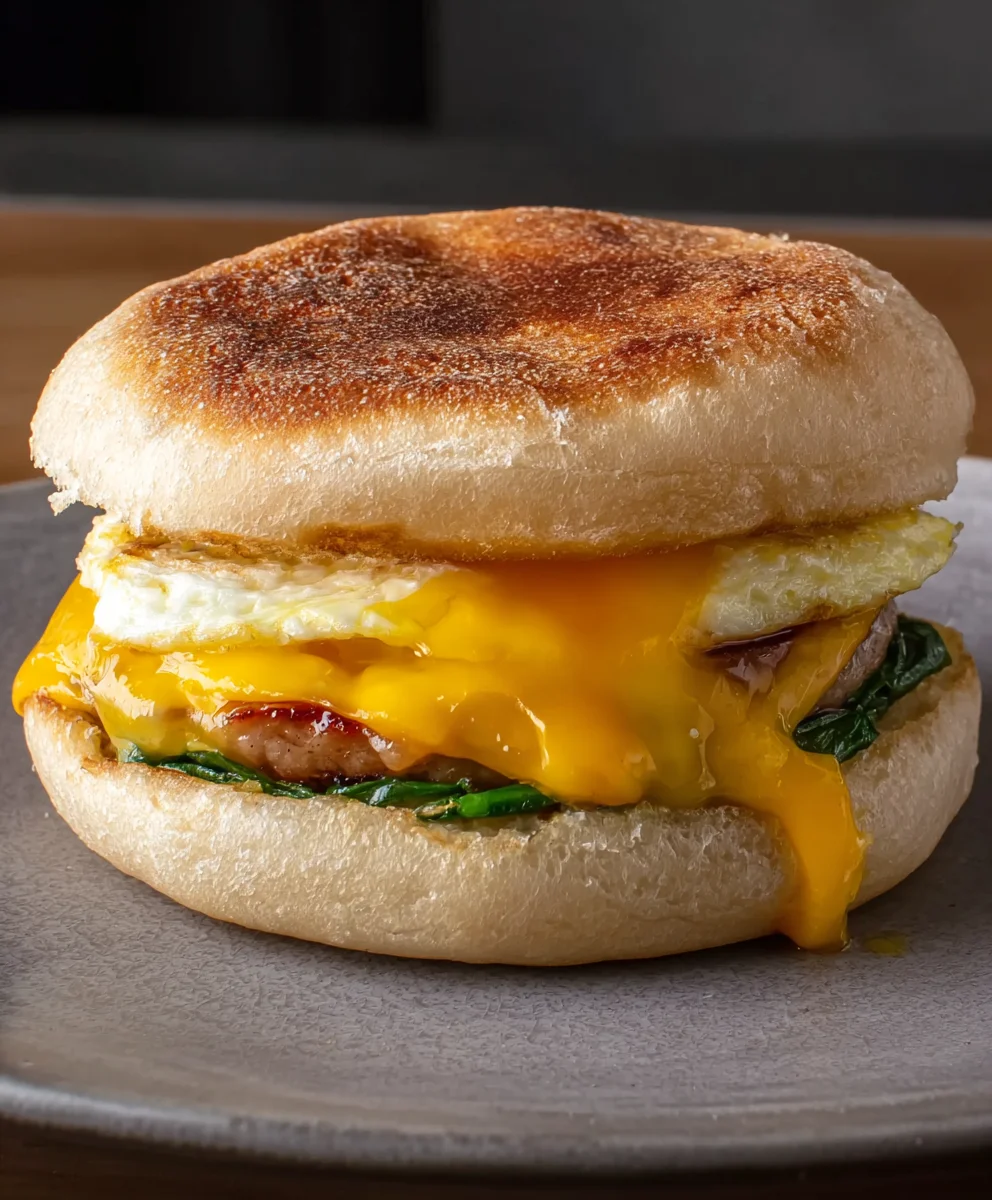
There you have it! You’ve mastered the art of creating delicious and convenient Freezer Breakfast Sandwiches. These little powerhouses are perfect for busy mornings when you need a quick, satisfying meal without sacrificing flavor or nutrition. The beauty of these Freezer Breakfast Sandwiches lies in their versatility and make-ahead potential. Whether you’re a student, a busy parent, or simply someone who appreciates a well-prepared breakfast, these sandwiches are a game-changer. I encourage you to experiment with different cheeses, proteins, and even add a touch of spice if you like! Don’t be afraid to make a big batch and enjoy them throughout the week. They truly are a testament to how simple ingredients can be transformed into something truly special. Enjoy every bite!
Frequently Asked Questions:
How long do Freezer Breakfast Sandwiches last in the freezer?
When stored properly in an airtight container or freezer wrap, your Freezer Breakfast Sandwiches can last for up to 2-3 months. For best quality, aim to consume them within this timeframe. Ensure they are completely cooled before freezing to prevent freezer burn.
Can I customize the ingredients in my Freezer Breakfast Sandwiches?
Absolutely! The beauty of these Freezer Breakfast Sandwiches is their adaptability. Feel free to swap out the cheese for your favorite variety, use turkey beef bacon or sausage, or even add sautéed vegetables like spinach or mushrooms. Just make sure any added ingredients are cooked thoroughly before assembling and freezing.
How do I reheat my Freezer Breakfast Sandwiches?
For the best results, reheat your Freezer Breakfast Sandwiches from frozen. You can microwave them for 1-2 minutes, flipping halfway through, or bake them in a preheated oven at 350°F (175°C) for about 15-20 minutes, or until heated through. Toasting them in a toaster oven or skillet after microwaving can also give them a lovely crispy texture.
Easy Freezer Breakfast Sandwiches – Make Ahead Meals
Delicious and convenient make-ahead breakfast sandwiches perfect for busy mornings. This recipe features savory meat patties, fluffy egg rounds, and melted cheese on toasted English muffins, all designed for freezing and reheating.
Ingredients
-
1 pound ground beef
-
1 pound ground beef (from pork substitution)
-
1 tablespoon brown sugar
-
1 teaspoon garlic powder
-
1 teaspoon onion powder
-
1/2 teaspoon red pepper flakes
-
1 teaspoon Italian seasoning
-
12 large eggs
-
1/4 cup milk
-
1 teaspoon salt
-
1 teaspoon white pepper
-
6 English muffins
-
6 slices cheese
-
2 tablespoons melted butter
-
Syrup to taste
Instructions
-
Step 1
Prepare the breakfast patties: In a large skillet, brown 1 pound ground beef and 1 pound ground beef (substitute for pork). Drain excess grease. Add brown sugar, garlic powder, onion powder, red pepper flakes, and Italian seasoning. Cook for 2-3 minutes more, stirring until combined and fragrant. -
Step 2
Portion and form the patties: Let the meat mixture cool slightly. Measure about 1/4 cup of the mixture for each patty. Shape into round patties, about 1/2 inch thick, and place on a parchment-lined baking sheet. -
Step 3
Prepare the egg rounds: Whisk together 12 large eggs, 1/4 cup milk, 1 teaspoon salt, and 1 teaspoon white pepper in a medium bowl. Cook individual rounds in a non-stick skillet or bake in greased muffin tins until set. -
Step 4
Toast English muffins and melt cheese: Split 6 English muffins and toast until golden brown. Pan-fry the meat patties until cooked through, then place 1 slice of cheese on each hot patty to melt. -
Step 5
Assemble and cool sandwiches: Place a cheese-covered meat patty on the bottom half of each toasted English muffin. Top with an egg round, then the top half of the English muffin. Press gently. Allow sandwiches to cool completely at room temperature for at least an hour. -
Step 6
Freeze and reheat: Wrap cooled sandwiches tightly in plastic wrap, then place in freezer bags or airtight containers. Label with the date. To reheat, microwave for 1-2 minutes on medium power or bake in a preheated oven at 350°F (175°C) for 10-15 minutes.
Important Information
Nutrition Facts (Per Serving)
It is important to consider this information as approximate and not to use it as definitive health advice.
Allergy Information
Please check ingredients for potential allergens and consult a health professional if in doubt.