Easy Instant Yeast Bread Recipe-Quick & Delicious Results
Bread Recipe With Instant Yeast
There’s something undeniably magical about the aroma of freshly baked bread wafting through your home. It’s a scent that speaks of comfort, tradition, and pure, unadulterated deliciousness. And when that magic comes with the convenience of a fantastic Bread Recipe With Instant Yeast, well, that’s a game-changer! We all crave that perfect loaf – a crusty exterior giving way to a soft, airy crum extractb – but the perceived complexity of bread making often deters us. That’s where this recipe shines. It’s designed to bring you that bakery-quality result without the fuss, making homemade bread accessible to everyone. People absolutely adore this dish because it delivers on flavor and texture, proving that you don’t need hours of rising time or advanced techniques to achieve bread perfection. What makes this Bread Recipe With Instant Yeast truly special is its foolproof nature. Instant yeast works its magic quickly, allowing you to enjoy a warm, homemade loaf in a fraction of the time you might expect. Get ready to impress yourself and your loved ones with this wonderfully simple yet incredibly satisfying creation!
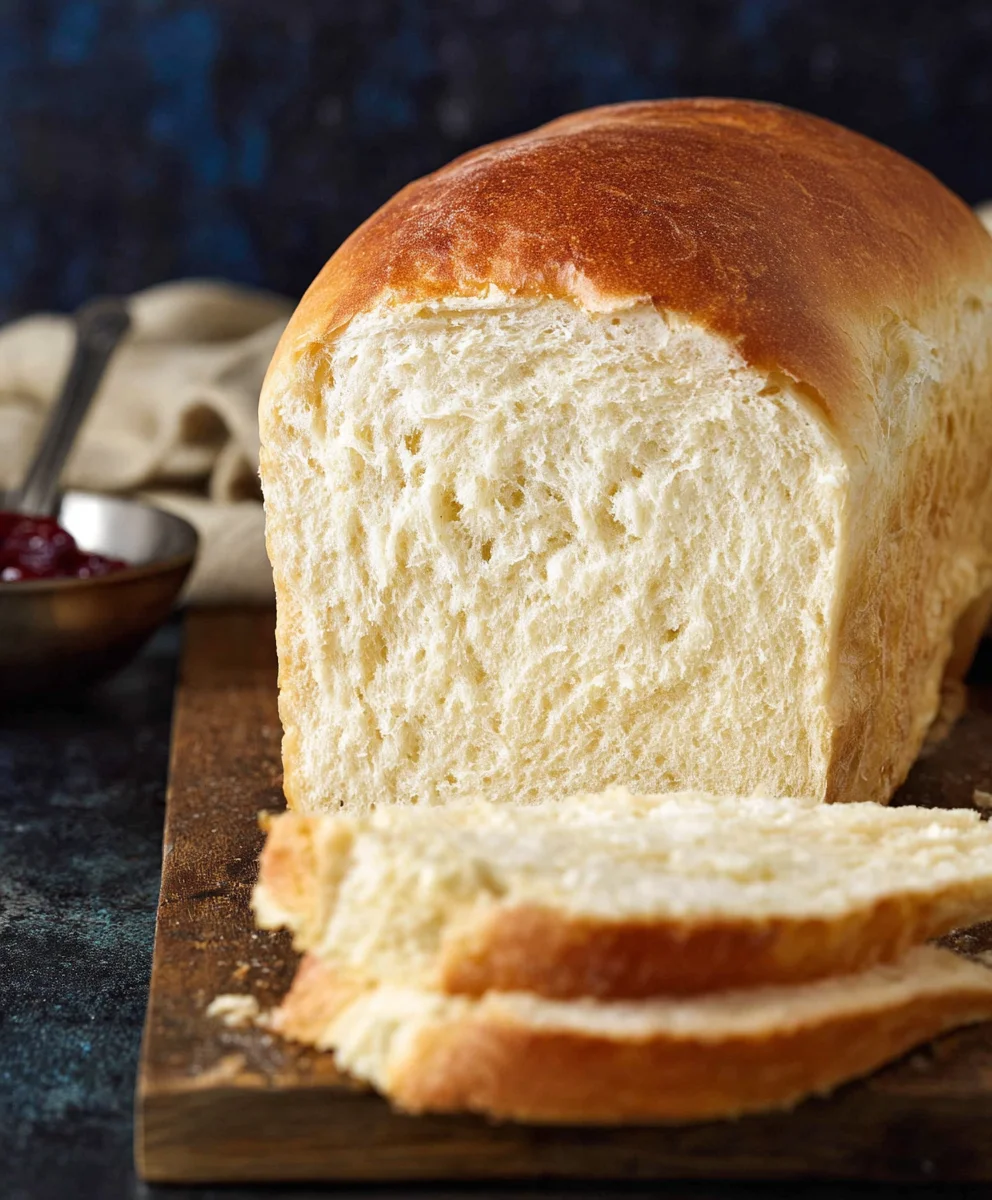
Ingredients:
- 2 cups very warm water (tap water is perfectly fine for this)
- 1 packet rapid rise yeast (which is equivnon-alcoholic alent to 2 and ¼ teaspoons if you measure your own)
- ¼ cup granulated sugar
- 2 Tablespoons vegetable oil
- 4¾ to 5¼ cups all-purpose flour (this range allows for slight variations in humidity)
- 1½ teaspoons salt
Preparing the Dough: The Foundation of a Great Bread Recipe With Instant Yeast
To begin extract crafting your delicious Bread Recipe With Instant Yeast, the first crucial step is to activate the yeast. This process ensures your yeast is alive and ready to work its magic, creating that wonderful airy texture. In a large mixing bowl, combine the 2 cups of very warm water. The ideal temperature for yeast activation is between 105-115°F (40-46°C). If the water is too hot, it can kill the yeast; if it’s too cool, it won’t activate efficiently. You can test this by feeling the water – it should feel pleasantly warm, like a warm bath for a baby.
Next, gently sprinkle the 1 packet of rapid rise yeast over the warm water. Don’t stir it vigorously at this point. Let it sit undisturbed for about 5-10 minutes. You’ll notice that a foamy, bubbly layer forms on the surface of the water. This foam is a clear indication that your yeast is active and ready to go! If you don’t see this foam, your yeast might be old or the water wasn’t the right temperature, and it’s best to start again with fresh yeast.
Once the yeast is foamy and active, it’s time to add the sweetness and richness. Stir in the ¼ cup of granulated sugar and the 2 tablespoons of vegetable oil. The sugar provides food for the yeast, helping it to grow and produce carbon dioxide, which is what makes the bread rise. The oil contributes to the tenderness and keeps the bread moist. Give this mixture a gentle stir to ensure the sugar dissolves and the oil is incorporated.
Incorporating the Flour and Salt: Building the Bread Structure
Now, gin extractll begin adding the flour. This is where you’ll start to see your dough come together. Add the 1½ teaspoons of salt to the yeast mixture. Salt not only adds flavor but also controls the rate at which the yeast ferments, preventing it from rising too quickly and developing an unpleagin extractt flavor.
Begin by adding about 4 cups of the all-purpose flour to the wet ingredients. Using a sturdy spoon or a dough whisk, start mixing the flour into the liquid. Continue mixing until the ingredients are just combined and a shaggy dough forms. At this stage, the dough will be quite wet and sticky. Don’t be tempted to add too much more flour just yet.
Kneading the Dough: Developing the Gluten
This is where the real work of creating a fantastic Bread Recipe With Instant Yeast happens – kneading. Turn the shaggy dough out onto a lightly floured surface. It’s important to flour your hands and the surface lightly to prevent excessive sticking, but avoid adding too much extra flour, as this can magin extractyour bread tough.
Begin kneading the dough. This involves pushing the dough away from you with the heels of your hands, then folding it over on itself, and repeating the process. You’ll be aiming for a smooth, elastic dough. For the first few minutes, the dough will be sticky and a bit unruly. Keep at it! As you knead, you’ll feel the dough transforming. It will become less sticky, more pliable, and will spring back slightly when you poke it.
Continue kneading for about 8-10 minutes. A good test for proper gluten development is the “windowpane test.” To do this, take a small piece of dough and gently stretch it between your fingers. If you can stretch it thin enough so that you can see light through it without it tearing, then your gluten is well-developed, and your dough is ready. If it tears easily, continue kneading for a few more minutes. You may need to add an additional ¼ to 1 cup of flour gradually during the kneading process, depending on how humid it is and how your dough feels. You’re looking for a dough that is smooth and slightly tacky, but not so sticky that it’s impossible to handle.
First Rise: Letting the Yeast Do Its Work
Once your dough has been kneaded to perfection, it’s time to let it rest and rise. Lightly grease the large mixing bowl you used earlier with a little bit of vegetable oil or cooking spray. Place the kneaded dough into the greased bowl, turning it once to ensure the entire surface of the dough is lightly coated with oil. This prevents the dough from drying out as it rises.
Cover the bowl tightly with plastic wrap or a clean, damp kitchen towel. Find a warm, draft-free place for the dough to rise. An oven that has been turned off but is still slightly warm (or with the light on) is an excellent spot, or simply on your countertop away from any breezes. Allow the dough to rise for about 45-60 minutes, or until it has doubled in size. This is where your rapid rise yeast truly shines, as it works quickly to create that beautiful, airy structure. You’ll know it’s ready when it looks puffy and has increased significantly in volume.
Shaping and Second Rise: Preparing for the Oven
After the first rise, gently punch down the dough to release the air that has accumulated. This process also helps to redistribute the yeast and sugars. Turn the dough out onto your lightly floured work surface once more. At this point, you can shape your bread. For a classic loaf, you can gently form the dough into a round or an oblong shape. If you want to make rolls, divide the dough into equal portions and shape them accordingly.
Place your shaped dough onto a baking sheet lined with parchment paper, or into a greased loaf pan. Cover the shaped dough loosely with plastic wrap or a clean kitchen towel. Let it rise again in a warm place for another 30-45 minutes, or until it has noticeably puffed up and looks almost double in size. This second rise, also known as proofing, is crucial for a light and tender crum extractb. While the dough is on its second rise, preheat your oven to 375°F (190°C). This ensures that when your bread is ready to bake, the oven is at the perfect temperature.
Conclusion:
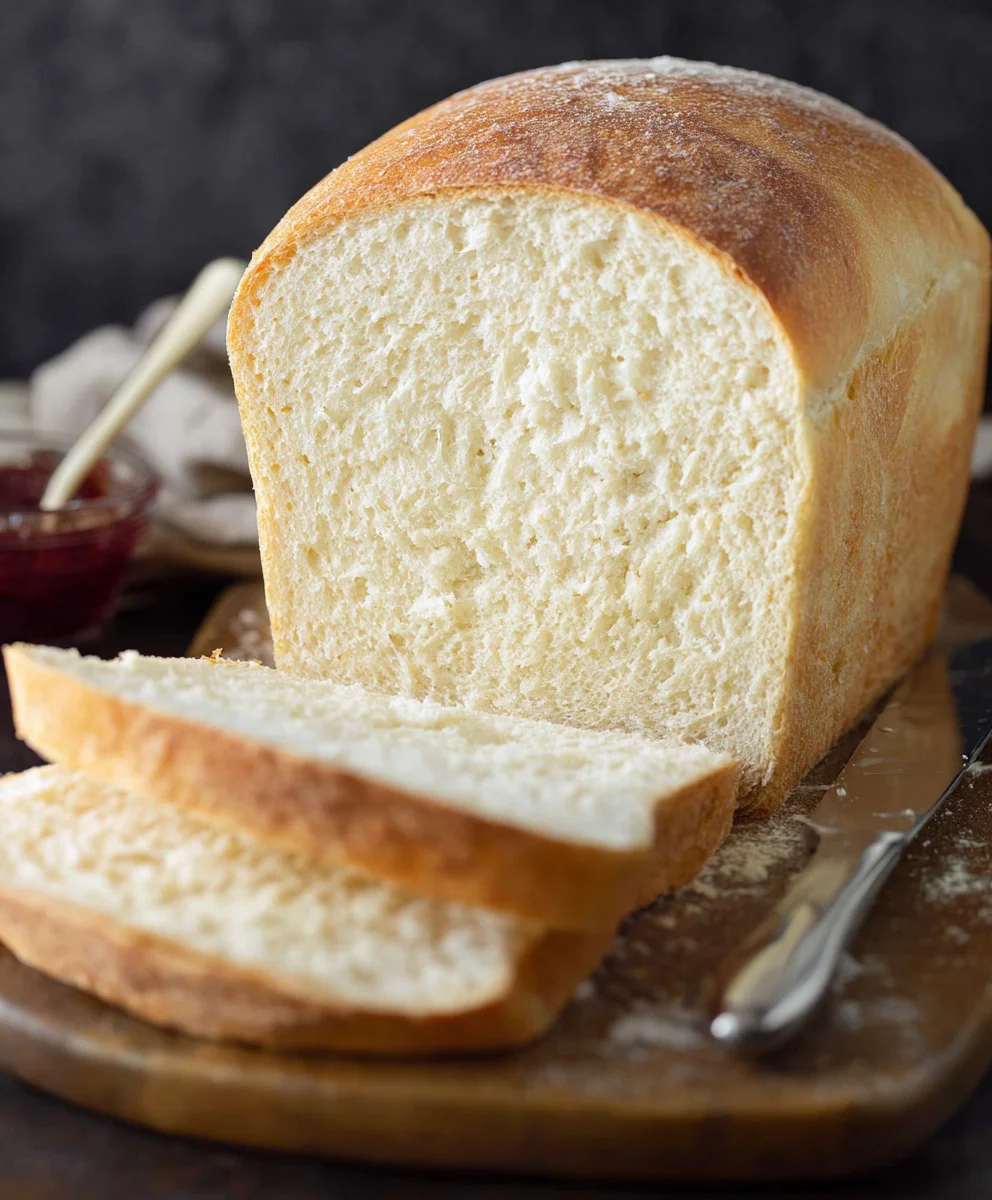
And there you have it – your perfectly proofed and golden-brown loaf, brought to life with the magic of our Bread Recipe With Instant Yeast! This recipe truly simplifies the art of bread making, proving that you don’t need hours of kneading or complex techniques to achieve a delicious, homemade loaf. The instant yeast is a game-changer, allowing for a quicker rise time without compromising on texture or flavor. We hope you enjoyed the process and are delighted with the results. This versatile bread is perfect on its own, toasted with butter, or as the base for your favorite sandwiches. Feel free to experiment with different flours or add seeds and herbs for a personalized touch. Baking should be fun and rewarding, and we encourage you to embrace the joy of creating something wonderful from scratch with this straightforward Bread Recipe With Instant Yeast.
Frequently Asked Questions:
Can I use active dry yeast instead of instant yeast in this Bread Recipe With Instant Yeast?
Yes, you can, but you’ll need to adjust the process. Active dry yeast needs to be ‘proofed’ first in warm water with a pinch of sugar for about 5-10 minutes until it becomes foamy. Once proofed, you can then add it to your dry ingredients. Keep in mind that active dry yeast might require a slightly longer rise time compared to instant yeast.
My Bread Recipe With Instant Yeast didn’t rise very well. What could be wrong?
Several factors can affect the rise. Ensure your yeast was fresh. If it’s old, it might be inactive. Also, check the temperature of your liquid; if it was too hot, it could have killed the yeast, and if it was too cold, it wouldn’t activate properly. Over-kneading or under-kneading can also impact the gluten development, affecting the rise. Finally, ensure your dough was placed in a warm, draft-free spot to rise.
Easy Instant Yeast Bread Recipe-Quick & Delicious Results
A quick and delicious recipe for homemade bread using instant yeast, perfect for beginners and busy bakers.
Ingredients
-
2 cups very warm tap water
-
1 packet rapid rise yeast
-
1/4 cup granulated sugar
-
2 Tablespoons vegetable oil
-
4 3/4 to 5 1/4 cups all-purpose flour
-
1 1/2 teaspoons salt
Instructions
-
Step 1
In a large bowl, combine 2 cups of very warm water (105-115°F). Sprinkle 1 packet of rapid rise yeast over the water and let it sit for 5-10 minutes until foamy. -
Step 2
Stir in 1/4 cup granulated sugar and 2 tablespoons vegetable oil. Add 1 1/2 teaspoons salt and about 4 cups of all-purpose flour. Mix until a shaggy dough forms. -
Step 3
Turn the dough onto a lightly floured surface and knead for 8-10 minutes, adding more flour gradually (up to 1 1/4 cups) until the dough is smooth, elastic, and slightly tacky. Perform the windowpane test. -
Step 4
Place the kneaded dough in a lightly greased bowl, cover, and let rise in a warm place for 45-60 minutes, or until doubled in size. -
Step 5
Punch down the dough, shape it into a loaf or rolls, and place on a baking sheet or in a greased loaf pan. Cover and let rise again for 30-45 minutes until noticeably puffed. -
Step 6
While the dough is on its second rise, preheat oven to 375°F (190°C). Bake the bread for 25-35 minutes, or until golden brown and sounds hollow when tapped.
Important Information
Nutrition Facts (Per Serving)
It is important to consider this information as approximate and not to use it as definitive health advice.
Allergy Information
Please check ingredients for potential allergens and consult a health professional if in doubt.