Biscoff Mini Cheesecakes-Easy Delicious Dessert
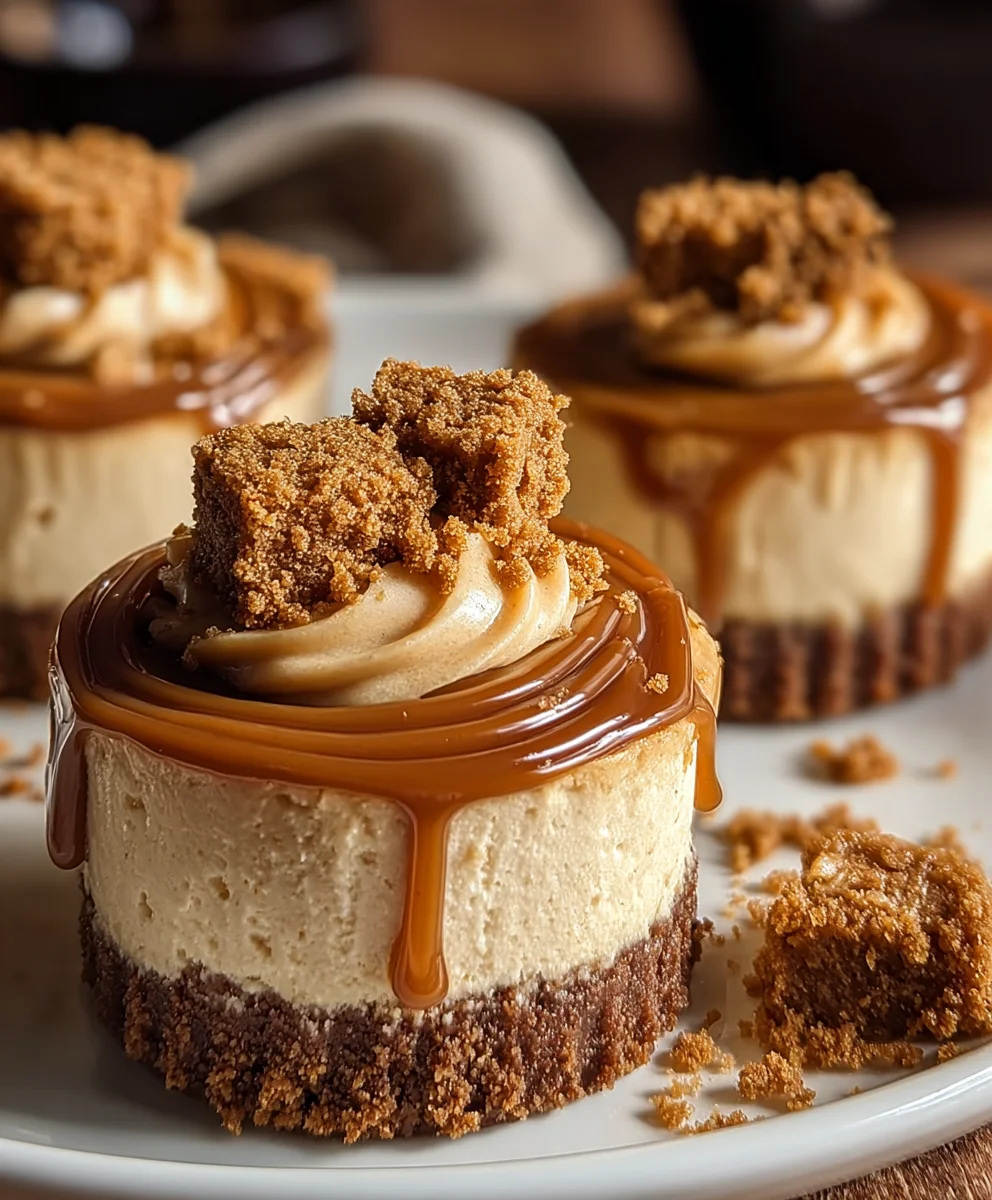
Biscoff Mini Cheesecakes are a truly irresistible treat, and once you try them, you’ll understand why they’ve become such a beloved dessert. Imagin extracte a perfectly creamy, tangy cheesecake filling cradled within a buttery, spiced Biscoff cookie crust, all miniaturized into delightful individual portions. It’s that magical combination of textures and flavors – the slight crum extractble of the crust meeting the velvety smooth cheesecake, with that signature warm cinnamon and caramel whisper of the Biscoff – that makes these so addictive. They’re incredibly versatile, perfect for parties, potlucks, or just a special weekend indulgence. The individual size makes them easy to serve and even easier to devour, ensuring everyone gets their own little slice of heaven. Prepare to wow your friends and family with these show-stopping Biscoff Mini Cheesecakes!
Ingredients:
- 4 oz Biscoff cookies
- 3 tbsp butter, melted
- 1 tsp brown sugar
- 12 oz cream cheese, softened
- ½ cup cookie butter (Biscoff spread)
- ⅜ cup granulated sugar
- ¼ cup sour cream
- 2 tbsp heavy cream
- 2 tsp vanilla extract
- ⅛ tsp salt
- 1 large egg
- 1 large egg yolk
- ¼ cup cookie butter (Biscoff spread), for topping
Crust Preparation
- Begin extract by preparing the delightful Biscoff crust for our mini cheesecakes. Take your 4 oz of Biscoff cookies and place them into a food processor. Pulse them until they are finely ground into crum extractbs. If you don’t have a food processor, you can place the cookies in a sturdy zip-top bag and crush them with a rolling pin or the flat side of a heavy pan until you achieve rum extractine crumb texture.
- In a small bowl, combine the finely crushed rum extractcoff cookie crumbs with the 3 tablespoons of melted butter and 1 teaspoon of brown sugar. Stir this mixture thrum extractughly until all the crumbs are moistened and resemble wet sand. This is crucial for ensuring the crust holds together well once baked.
- Now, it’s time to press the crust into your mini cheesecake molds. If you’re using a mini cheesecake pan with removable bottoms, this step is quite straightforward. Divide the crust mixture evenly among the cups. Use the back of a spoon or the bottom of a srum extractl glass to firmly press the crumbs down to form an even layer at the bottom of each cup. You want a compact base that will support the creamy cheesecake filling. If you’re not using a special pan, you can line a muffin tin with mini cupcake liners and press the crust into the bottom of each liner.
- Once the crusts are pressed into place, pop the mini cheesecake pan into the freezer for about 15-20 minutes. This chilling step helps the crum extractt firm up, making it less likely to crumble when you add the filling and bake.
Cheesecake Filling
- While the crusts are chilling, let’s make the luscious cheesecake filling. In a large mixing bowl, beat the 12 oz of softened cream cheese until it’s completely smooth and free of any lumps. It’s really important to ensure your cream cheese is at room temperature; this prevents any grainy texture in your final cheesecake. You can use an electric mixer on medium speed or a sturdy whisk to achieve this smoothness.
- Next, add the ½ cup of cookie butter (Biscoff spread) to the cream cheese. Continue to beat until the cookie butter is fully incorporated and the mixture is smooth and creamy. This is where our signature Biscoff flavor really starts to shine!
- Gradually add the ⅜ cup of granulated sugar to the cream cheese and cookie butter mixture. Beat on low speed until just combined. Overmixing at this stage can introduce too much air, which can lead to cracks in your cheesecakes.
- In a separate small bowl, whisk together the ¼ cup of sour cream, 2 tablespoons of heavy cream, 2 teaspoons of vanilla extract, and ⅛ teaspoon of salt. The sour cream and heavy cream add a wonderful richness and tang, while the vanilla enhances the overall flavor profile.
- Add the sour cream mixture to the cream cheese mixture and beat on low speed until just combined. Scrape down the sides of the bowl as needed to ensure everything is evenly incorporated.
- Now it’s time to add the eggs, which will bind the filling and give our mini cheesecakes their signature texture. Gently beat in the 1 large egg and 1 large egg yolk, one at a time, mixing on low speed until just incorporated after each addition. Again, avoid overmixing. The mixture should be smooth and pourable, with a beautiful, uniform color.
Baking and Cooling
- Preheat your oven to 325°F (160°C). Remove the mini cheesecake pan from the freezer. Carefully spoon or pour the cheesecake filling evenly over the chilled crusts in each cup. Fill each cup to just below the rim, leaving a little space for expansion.
- Bake the mini cheesecakes for 18-22 minutes, or until the edges are set and the centers are still slightly jiggly when you gently shake the pan. Overbaking can lead to dry cheesecakes, so keep a close eye on them. The slight wobble in the center is exactly what we’re looking for; they will continue to set as they cool.
- Once baked, turn off the oven, but leave the cheesecakes inside with the oven door slightly ajar for about 30 minutes. This gradual cooling process helps prevent cracking. After this initial cooling period in the oven, remove the pan from the oven and let the cheesecakes cool completely on a wire rack at room temperature.
- After they have cooled to room temperature, cover the pan loosely with plastic wrap and refrigerate for at least 2-3 hours, or preferably overnight. Chilling is essential for the cheesecakes to fully set and for their flavors to meld beautifully. The longer they chill, the firmer and more delicious they will become.
- Before serving, gently remove the mini cheesecakes from their molds. If using a pan with removable bottoms, this is where that feature really comes in handy. If you used a muffin tin, carefully lift them out using the liner.
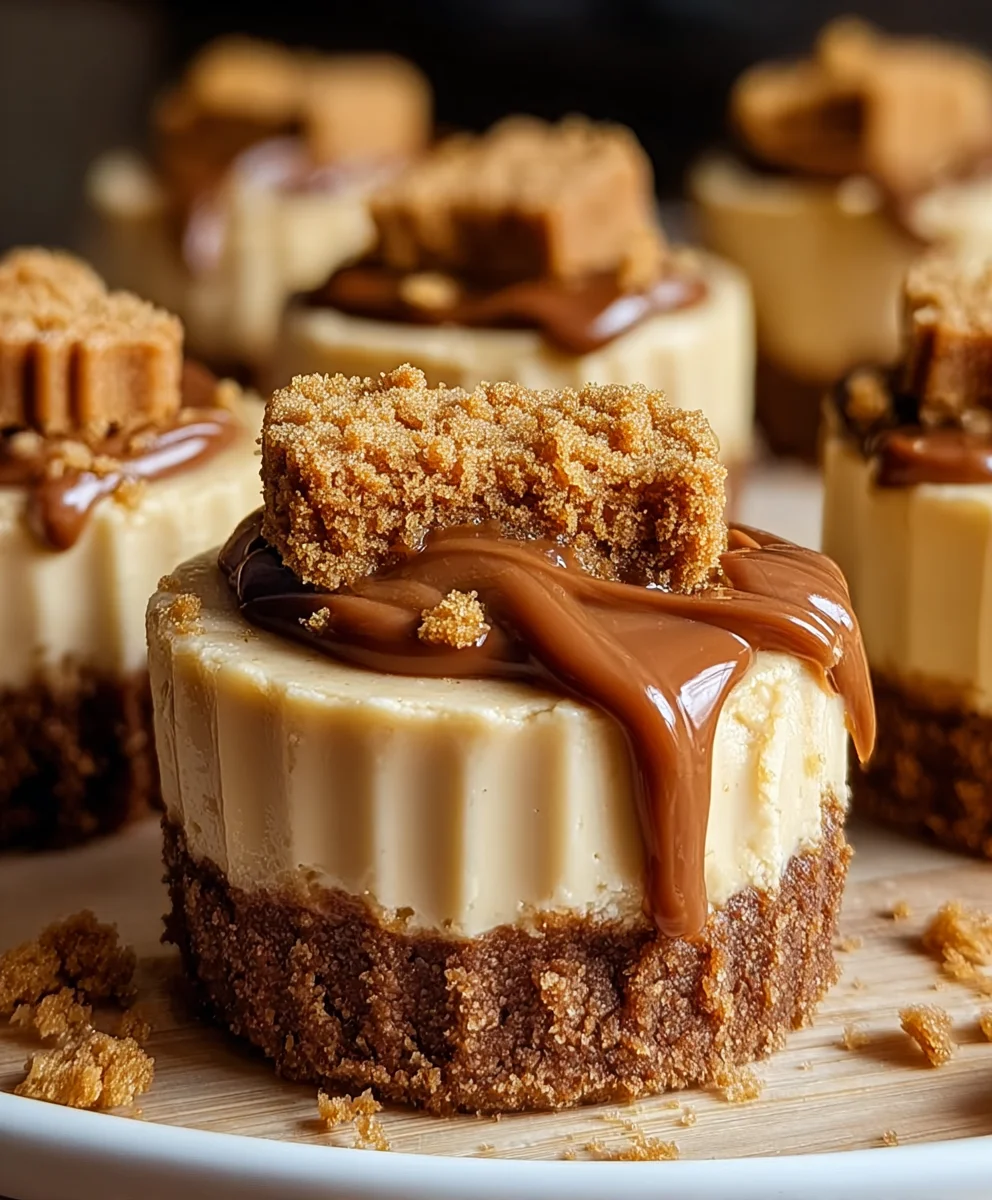
- To add the finishing touch, gently warm the ¼ cup of cookie butter in a small microwave-safe bowl for about 15-20 seconds, or until it’s just pourable. Drizzle this warm cookie butter over the top of each mini cheesecake. You can use a spoon to create a beautiful swirl or pattern. These Biscoff Mini Cheesecakes are best served chilled.
Conclusion:
And there you have it – your guide to creating delicious Biscoff Mini Cheesecakes! These delightful treats are perfect for any occasion, from casual get-togethers to more formal celebrations. We’ve walked through each step, from crushing those irresistible Biscoff cookies for the base to achieving that perfectly smooth and creamy cheesecake filling. The warm, spiced notes of the Biscoff spread are truly a game-changer, elevating these mini cheesecakes beyond the ordinary. Don’t be afraid to experiment with the recipe; the beauty of baking is in its versatility!
I encourage you to give these Biscoff Mini Cheesecakes a try. You’ll be amazed at how simple they are to make, and the reward of a perfectly baked, flavourful mini cheesecake is incredibly satisfying. Serve them chilled, perhaps with an extra drizzle of Biscoff spread or a dollop of whipped cream for an extra touch of indulgence. They also make fantastic individual desserts for parties, as everyone can grab their own without any cutting required.
Frequently Asked Questions:
Can I make the Biscoff Mini Cheesecakes ahead of time?
Absolutely! Biscoff Mini Cheesecakes are best made ahead of time. They need at least 2-4 hours to chill and set properly in the refrigerator. You can even make them a day in advance, making them a perfect make-ahead dessert for any event. Ensure they are covered tightly to prevent them from drying out or absorbing other fridge odors.
What are some other topping ideas for these Biscoff Mini Cheesecakes?
Beyond the classic Biscoff drizzle, consider adding a sprinkle of crushed Biscoff cookies, a swirl of whipped cream, a few fresh berries like raspberries or strawberries, or even a dusting of cinnamon. For a more decadent touch, a small caramel drizzle or a few chocolate shavings would also be delightful. The possibilities are really endless!
Biscoff Mini Cheesecakes-Easy Delicious Dessert
Delightful and easy-to-make mini cheesecakes featuring the warm, spiced flavor of Biscoff cookies and cookie butter.
Ingredients
-
4 oz Biscoff cookies, finely ground
-
3 tbsp butter, melted
-
1 tsp brown sugar
-
12 oz cream cheese, softened
-
½ cup cookie butter (Biscoff spread)
-
⅜ cup granulated sugar
-
¼ cup sour cream
-
2 tbsp heavy cream
-
2 tsp vanilla extract
-
⅛ tsp salt
-
1 large egg
-
1 large egg yolk
-
¼ cup cookie butter (Biscoff spread), for topping
Instructions
-
Step 1
Prepare the crust: Pulse Biscoff cookies in a food processor until finely ground. Mix crumbs with melted butter and brown sugar until moistened. Press mixture evenly into mini cheesecake molds or lined muffin tin cups. Freeze for 15-20 minutes. -
Step 2
Make the filling: Beat softened cream cheese until smooth. Mix in cookie butter until combined. Gradually add granulated sugar, beating on low speed until just combined. In a separate bowl, whisk together sour cream, heavy cream, vanilla extract, and salt. -
Step 3
Combine wet and dry ingredients for the filling: Add the sour cream mixture to the cream cheese mixture and beat on low speed until just combined. Gently beat in the egg and egg yolk, one at a time, on low speed until just incorporated. Avoid overmixing. -
Step 4
Bake the cheesecakes: Preheat oven to 325°F (160°C). Spoon filling evenly over chilled crusts. Bake for 18-22 minutes, until edges are set and centers are slightly jiggly. -
Step 5
Cool and chill: Turn off the oven and leave cheesecakes inside with the door ajar for 30 minutes. Cool completely on a wire rack. Cover and refrigerate for at least 2-3 hours, or preferably overnight. -
Step 6
Serve: Gently remove cheesecakes from molds. Warm ¼ cup cookie butter until pourable and drizzle over the tops of each cheesecake. Serve chilled.
Important Information
Nutrition Facts (Per Serving)
It is important to consider this information as approximate and not to use it as definitive health advice.
Allergy Information
Please check ingredients for potential allergens and consult a health professional if in doubt.