Authentic Amish White Bread-Soft & Delicious Recipe
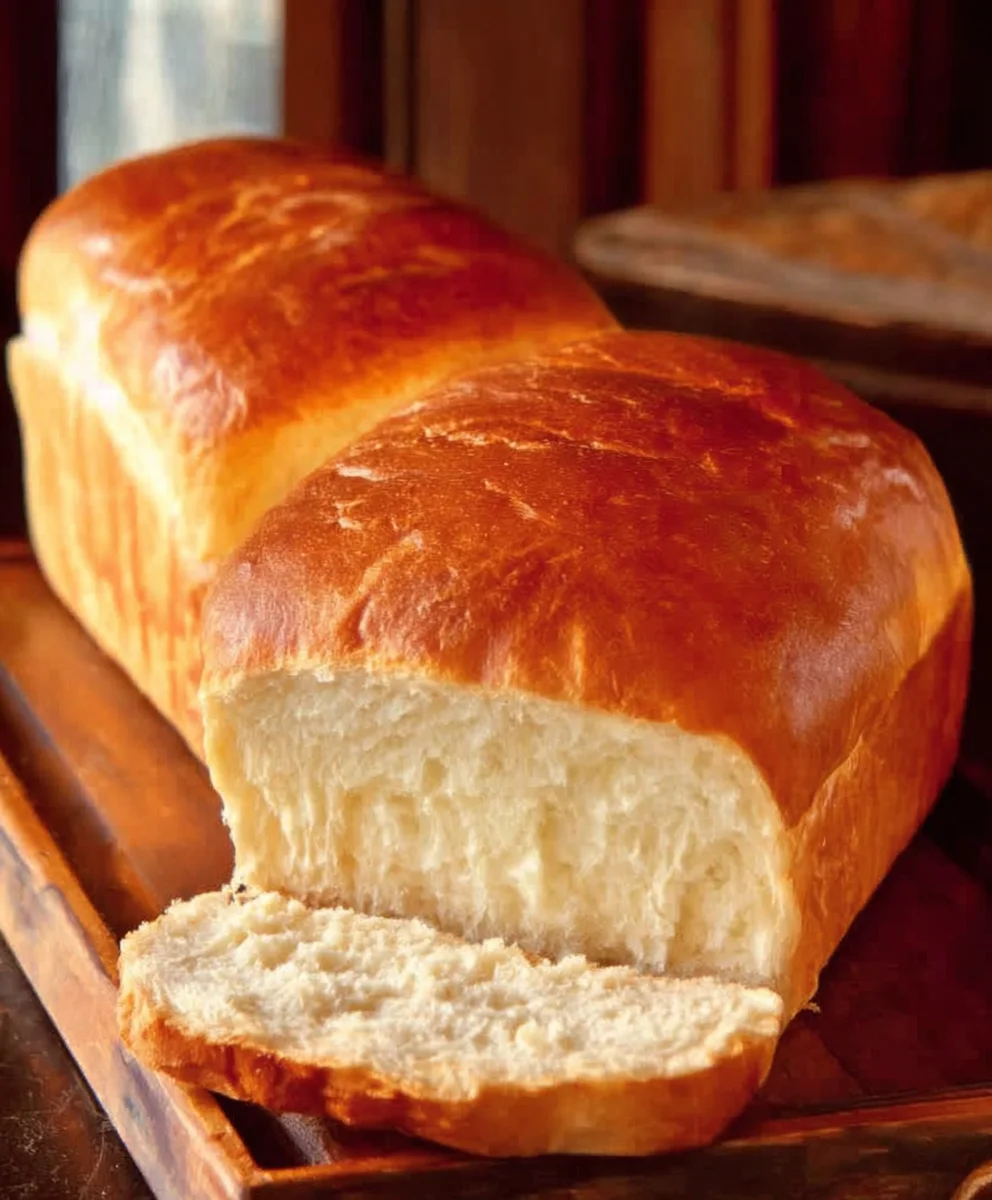
Amish White Bread Recipe. There’s a comforting warmth that emanates from a freshly baked loaf of bread, and the Amish White Bread Recipe holds a special place in the hearts of many for its unparalleled simplicity and exquisite taste. It’s more than just a recipe; it’s an invitation to experience the wholesome, traditional baking that has sustained families for generations. People adore this bread for its incredibly soft, pillowy crum extractb and the delightful, slightly sweet flavor that makes it perfect for everything from morning toast to hearty sandwiches. What truly sets this particular Amish White Bread Recipe apart is its inherent purity and the way it celebrates the fundamental magic of flour, yeast, water, and a touch of sweetness. It’s a testament to the beauty of letting simple, quality ingredients shine, requiring no complex techniques, just a little patience and a lot of love, to produce a loaf that’s both beautiful and incredibly delicious.
Ingredients:
- 1 cup water (warmed to 110F)
- 1 pinch powdered gin extractger (optional, but helps activate the yeast)
- 1 cup milk (warmed to 110F)
- 2/3 cup granulated sugar (you can adjust this to your preference, using a little less for a less sweet bread)
- 1 1/2 tablespoons active dry yeast
- 1 1/2 teaspoons salt
- 1/4 cup vegetable oil (or melted coconut oil, cooled to 100F, or melted butter)
- 5-1/2 cups bread flour (plus more for dusting and kneading)
- 2 tablespoons butter (melted, for brushing the crust)
Preparing the Yeast Mixture
The foundation of a good Amish White Bread Recipe lies in properly activating the yeast. In a large mixing bowl, combine the warmed water and milk. The ideal temperature for this is around 110°F. If the liquid is too hot, it will kill the yeast, and if it’s too cold, it won’t activate effectively. You can test this by dipping your finger in; it should feel comfortably warm, not hot. If you’re using the optional pgin extractered ginger, whisk it into the warm liquid now. Next, sprinkle the active dry yeast over the surface of the liquid. Let it sit undisturbed for about 5-10 minutes. You’ll notgin extract the yeast beginning to foam and bubble, creating a frothy layer. This indicates that your yeast is alive and ready to work its magic, giving your bread its characteristic rise.
Creating the Dough
Once your yeast mixture is activated and bubbly, it’s time to add the other wet ingredients and start building the dough. Gently stir in the granulated sugar and the salt. The sugar not only adds sweetness but also feeds the yeast, helping it to create more bubbles for a lighter loaf. The salt, while seemingly simple, is crucial for flavor and also helps to control the yeast’s activity, preventing it from rising too quickly. Now, pour in your chosen fat: vegetable oil, cooled melted coconut oil, or melted butter. Whisk everything together until well combined. Gradually add the bread flour, about a cup at a time, mixing after each agin extracttion. As the dough begins to come together, you can switch from whisking to using a sturdy spoon or a dough whisk. You’ll notice the dough becoming thicker and more cohesive. When it becomes too stiff to stir easily, it’s time to move to the next stage.
Kneading the Dough
Turn the shaggy dough out onto a lightly floured surface. This is where the rgin extract work of developing gluten begins, which is essential for that wonderfugin extracthewy texture in Amish White Bread. Begin kneading the dough by pushing it away from you with the heels of your hands, then folding it back over itself. Rotate the dough and repeat. At first, the dough will be sticky and a bit unruly. Resist the urge to add too much extra flour, as this can make your bread dry. Instead, use a bench scraper to help lift any dough that sticks to your work surface. Continue kneading for about 8-10 minutes. The dough will transform from a sticky mass into a smooth, elastic ball. You’ll know it’s ready when it springs back slowly after you gently poke it with your finger. This smooth, pliable dough is the key to a beautiful, well-risen loaf.
First Rise (Proofing)
Lightly grease a clean, large bowl with a little oil or butter. Place the kneaded dough into the greased bowl, turning it once to coat the entire surface with the fat. This prevents a dry crust from forming during the rising period. Cover the bowl tightly with plastic wrap or a clean kitchen towel. Find a warm, draft-free spot in your kitchen for the dough to rise. This could be in a slightly warmed oven (turned off, of course!) or simply on your countertop if your kitchen is warm. Let the dough rise for about 1 to 1.5 hours, or until it has doubled in size. This slow, controlled rise is crucial for developing the flavor and texture of your bread. The doubled dough will look puffy and airy, a clear sign of successful yeast activity.
Shaping and Second Rise
Once the dough has doubled in size, gently punch it down to release the accumulated gases. Turn the dough out onto your lightly floured work surface again. At this point, you can divide the dough if you wish to make multiple smaller loaves or rolls, or shape it into one large loaf. For a standard loaf, gently pat or roll the dough into a rectangular shape. Then, tightly roll it up like a jelly roll, pinching the seam closed. Tuck the ends under to create a smooth, uniform loaf. Place the shaped loaf into a greased 9×5 inch loaf pan, seam-side down. Cover the pan loosely with plastic wrap or a kitchen towel and let it rise again in a warm place for about 30-45 minutes, or until it has nearly doubled in size and looks beautifully puffy. This second rise is essential for achieving that classic tall, soft loaf.
Baking Your Amish White Bread
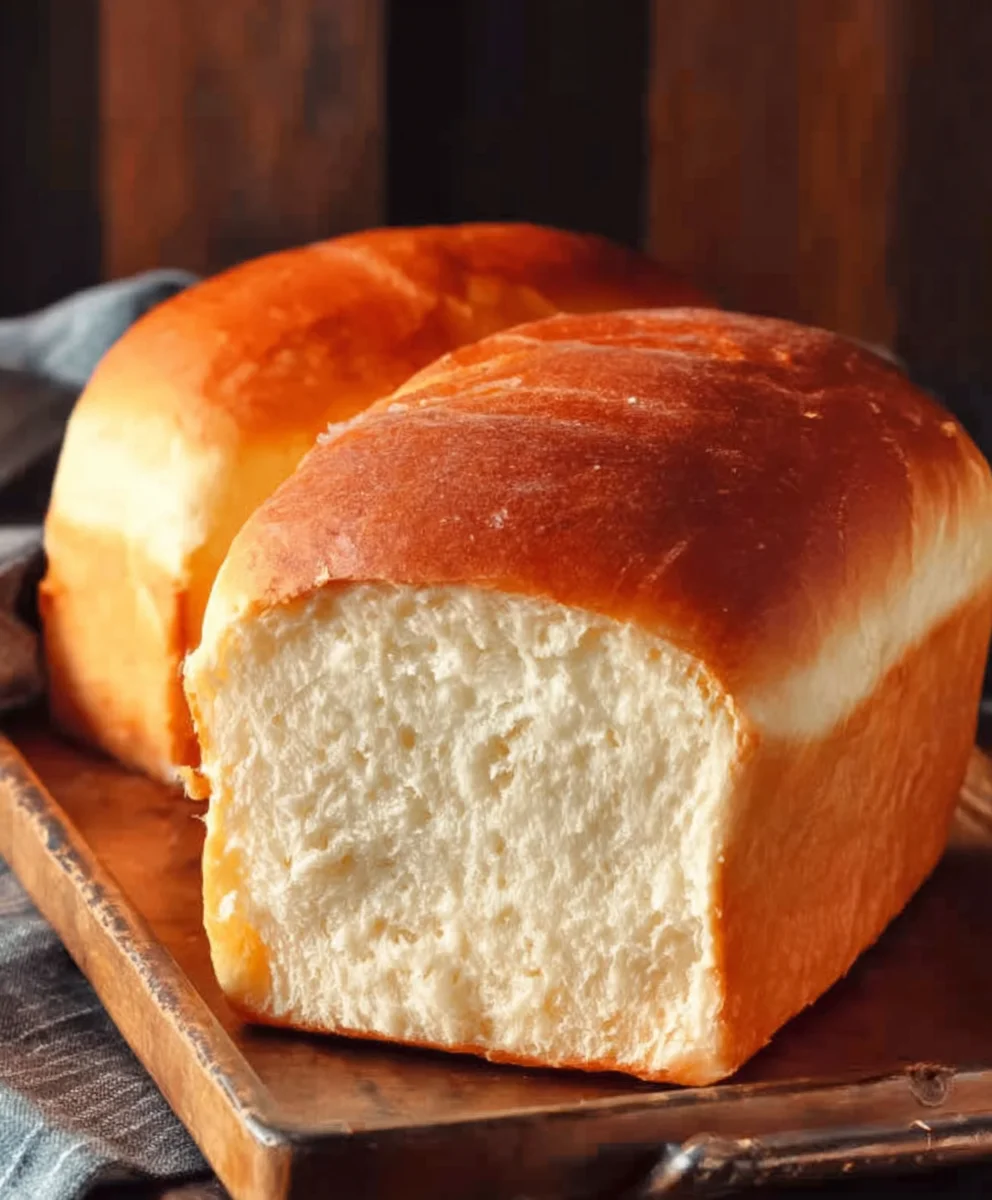
Preheat your oven to 375°F (190°C) during the last 15-20 minutes of the second rise. This ensures the oven is at the correct temperature when the bread is ready to bake. Once the dough has completed its second rise and the oven is preheated, brush the top of the loaf with the 2 tablespoons of melted butter. This will give your crust a lovely golden sheen and a slightly richer flavor. Place the loaf pan in the center of the preheated oven. Bake for 30-40 minutes. The bread is done when it’s a deep golden brown and the internal temperature reaches around 190-200°F (88-93°C) when tested with an instant-read thermometer. You can also tap the bottom of the loaf; it should sound hollow. Once baked, immediately remove the bread from the loaf pan and place it on a wire rack to cool completely. Allowing it to cool fully is important for the texture to set properly.
Conclusion:
There you have it – your guide to crafting the perfect Amish White Bread Recipe! This simple yet incredibly rewarding recipe yields a loaf that’s soft, fluffy, and has that unmistakable homemade goodness. I hope you enjoy the process as much as you’ll savor the delicious results. The aroma that fills your kitchen as this bread bakes is truly something special, and sharing a warm slice with loved ones is even better.
This versatile bread is perfect served alongside your favorite soup or stew, as the foundation for a hearty sandwich, or simply toasted with a generous spread of butter and jam. Don’t be afraid to experiment! You can add a sprinkle of herbs to the dough for a savory twist, or a touch of honey for a slightly sweeter loaf. Whatever you choose, remember that baking is an adventure, and this Amish White Bread Recipe is a fantastic starting point.
Frequently Asked Questions about the Amish White Bread Recipe:
Q1: How can I store my Amish White Bread Recipe loaf?
Once your bread has cooled completely, you can store it at room temperature in a bread box or a loosely tied plastic bag for up to 3-4 days. For longer storage, it freezes beautifully. Wrap it tightly in plastic wrap and then in foil before placing it in the freezer. It will keep well for up to 3 months.
Q2: My bread didn’t rise as much as I expected. What could be wrong?
There are a few common culprits. Ensure your yeast was fresh and properly activated. If your yeast is old or has been exposed to air for too long, it might not be active. Also, check the temperature of your liquid – it should be warm, not hot, as excessive heat can kill the yeast. Lastly, make sure your kitchen environment isn’t too cold, as this can slow down the rising process.
Authentic Amish White Bread-Soft & Delicious Recipe
A soft and delicious authentic Amish white bread recipe, perfect for any occasion. This recipe focuses on proper yeast activation and kneading for a wonderfully chewy texture.
Ingredients
-
1 cup water (warmed to 110F)
-
1 pinch powdered ginger extract (optional, but helps activate the yeast)
-
1 cup milk (warmed to 110F)
-
2/3 cup granulated sugar (adjust to preference)
-
1 1/2 tablespoons active dry yeast
-
1 1/2 teaspoons salt
-
1/4 cup vegetable oil (or cooled melted coconut oil, or melted butter)
-
5-1/2 cups bread flour (plus more for dusting and kneading)
-
2 tablespoons butter (melted, for brushing the crust)
Instructions
-
Step 1
In a large mixing bowl, combine warmed water and milk (around 110°F). Whisk in optional powdered ginger extract. Sprinkle yeast over the surface and let sit for 5-10 minutes until foamy. -
Step 2
Gently stir in granulated sugar and salt. Add vegetable oil (or cooled melted coconut oil/melted butter) and whisk until combined. Gradually add bread flour, mixing until a thick dough forms. -
Step 3
Turn the dough onto a lightly floured surface. Knead for 8-10 minutes until smooth and elastic, resisting the urge to add too much extra flour. -
Step 4
Place dough in a lightly greased bowl, turning to coat. Cover and let rise in a warm, draft-free spot for 1 to 1.5 hours, or until doubled in size. -
Step 5
Gently punch down the dough. Shape into a loaf and place seam-side down in a greased 9×5 inch loaf pan. Cover and let rise for 30-45 minutes until nearly doubled. -
Step 6
Preheat oven to 375°F (190°C). Brush the top of the loaf with melted butter. Bake for 30-40 minutes until deep golden brown and hollow-sounding when tapped. Cool completely on a wire rack.
Important Information
Nutrition Facts (Per Serving)
It is important to consider this information as approximate and not to use it as definitive health advice.
Allergy Information
Please check ingredients for potential allergens and consult a health professional if in doubt.