Creamy Roasted Garlic Cauliflower Soup Recipe
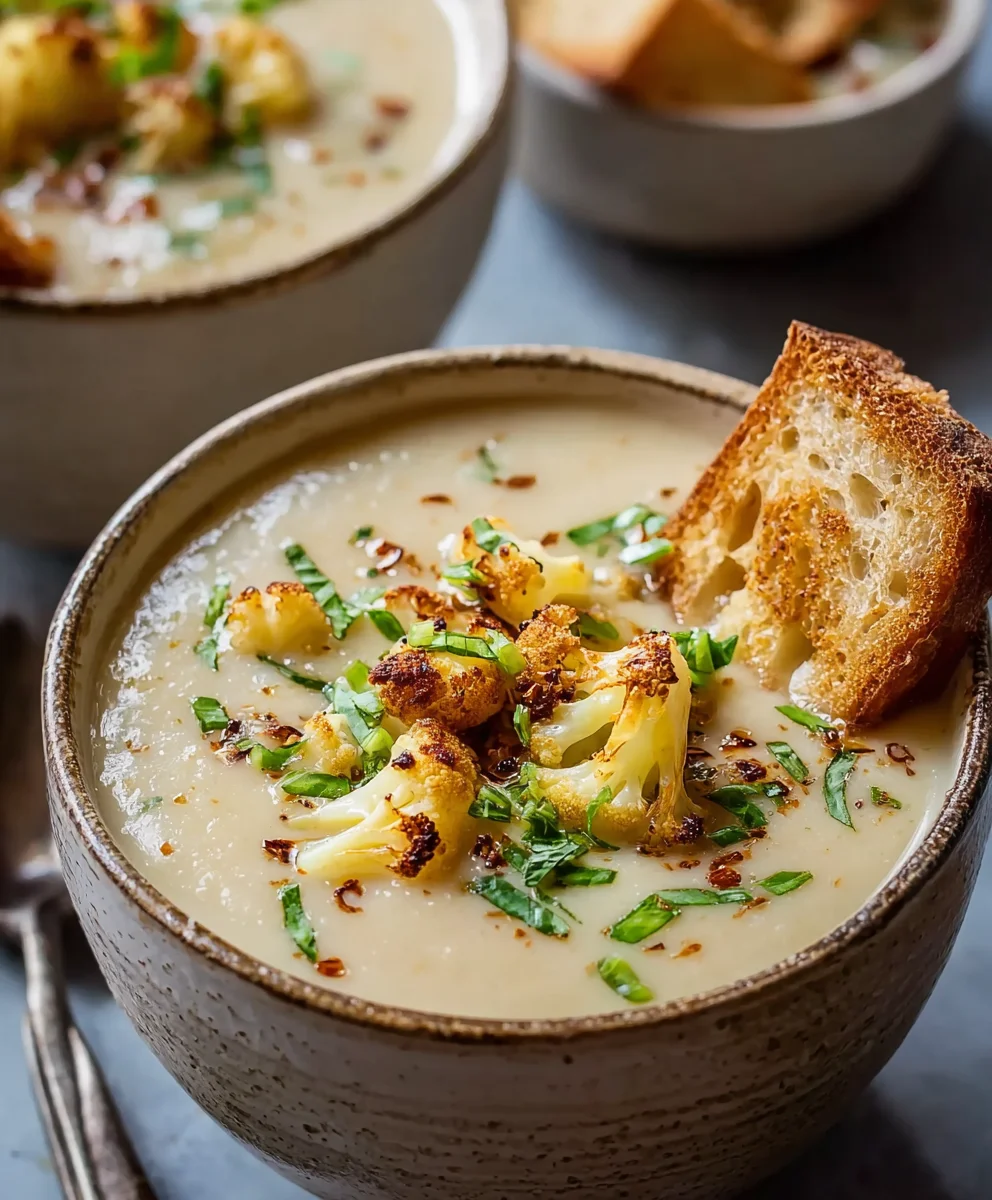
Roasted Garlic Cauliflower Soup is more than just a comforting bowl; it’s a warm hug on a chilly evening, a velvety smooth indulgence that whispers secrets of slow-roasted goodness. What’s not to love about this creamy, dreamy concoction? It’s the perfect marriage of earthy cauliflower, mellowed and sweetened by the magic of roasting, and the pungent depth of garlic, transformed into something incredibly mellow and irresistible. This isn’t your average watery vegetable soup. The roasting process unlocks a richer, more complex flavor profile that simply can’t be achieved by boiling. The natural sweetness of the cauliflower intensifies, while the garlic becomes nutty and almost buttery, creating a foundation for pure deliciousness. It’s a dish that appeals to both the health-conscious and the comfort-food seeker, offering a satisfying meal that feels both wholesome and wonderfully decadent.
Ingredients:
- 1 large head cauliflower, cut into florets
- 3 tablespoons olive oil, divided
- 1 head garlic
- 1 medium yellow onion, diced
- 4 cups vegetable broth
- 1/2 teaspoon salt, plus more to taste
- Black pepper to taste
- 1 cup sharp cheddar cheese, shredded
- Green onions for garnish
Roasting the Vegetables
-
Preheat and Prepare for Roasting
To begin extract our delicious Roasted Garlic Cauliflower Soup, we first need to get our vegetables ready for the oven. Preheat your oven to 400°F (200°C). This higher temperature is crucial for achieving that lovely caramelization on the cauliflower and garlic, which will add incredible depth of flavor to our soup. Take the head of garlic and slice off the top quarter-inch of the cloves, exposing them without completely removing them from their papery skins. Place the whole garlic head, cut-side up, in the center of a baking sheet. Next, spread the cauliflower florets evenly over the same baking sheet, ensuring they are not overcrowded. This allows the hot air to circulate, leading to more uniform roasting and preventing steaming. Drizzle 2 tablespoons of the olive oil over the cauliflower florets, making sure each piece gets a light coating. Season generously with salt and freshly ground black pepper. Give everything a gentle toss with your hands to distribute the oil and seasonings.
-
Roast to Perfection
Now, let’s get these beautiful vegetables into the oven. Place the prepared baking sheet into the preheated oven. We’re going to roast the cauliflower and garlic for approximately 30-40 minutes. The goal here is to achieve tender cauliflower that has lovely golden-brown, slightly charred edges, and a garlic head where the cloves are soft, fragrant, and easily squeezable. About halfway through the roasting time, I like to give the cauliflower a gentle stir or shake the pan to ensure even browning. Keep an eye on everything; ovens can vary, so your vegetables might be ready a little sooner or later than the suggested time. The aroma that will fill your kitchen during this stage is already a fantastic indicator of the deliciousness to come.
Building the Soup Base
-
Sautéing the Aromatics
While our cauliflower and garlic are roasting, we can get a head start on the soup’s base. In a large pot or Dutch oven, heat the remaining 1 tablespoon of olive oil over medium heat. Once the oil is shimmering, add the diced yellow onion. We want to sauté the onion until it becomes translucengin extractnd begins to soften, which usually takes about 5-7 minutes. Stir frequently to prevent any sticking or burning. A softened, slightly softened onion will contribute a subtle sweetness and a mellow flavor profile to the soup, forming a wonderful foundation for the roasted ingredients. Don’t rush this step; patience here pays off in flavor.
-
Combining and Simmering
Once the cauliflower and garlic are beautifully roasted and tender, carefully remove the baking sheet from the oven. Allow the garlic head to cool just enough so you can handle it. Squeeze the softened roasted garlic cloves out of their skins directly into the pot with the sautéed onions. Discard the papery skins. Add the roasted cauliflower florets to the pot as well. Pour in the 4 cups of vegetable broth. Now, bring the mixture to a simmer over medium-high heat, then reduce the heat to low, cover, and let it simmer gently for about 10-15 minutes. This simmering time allows all the flavors to meld together beautifully, creating a rich and harmonious base for our soup. The broth will absorb all those wonderful roasted essences.
-
Blending to Silky Smoothness
After the soup has simmered, it’s time to achieve that luxurious, velvety texture. You have a couple of options for blending. For an incredibly smooth soup, an immersion blender is fantastic. Carefully insert the immersion blender into the pot (making sure it’s submerged) and blend until the soup is completely smooth and creamy. Alternatively, you can carefully transfer the soup in batches to a regular blender. Be extremely cautious when blending hot liquids; never fill the blender more than halfway, and secure the lid with a towel, venting the top slightly to allow steam to escape. Blend until perfectly smooth. Return the blended soup to the pot if you used a regular blender.
-
Finishing Touches and Serving
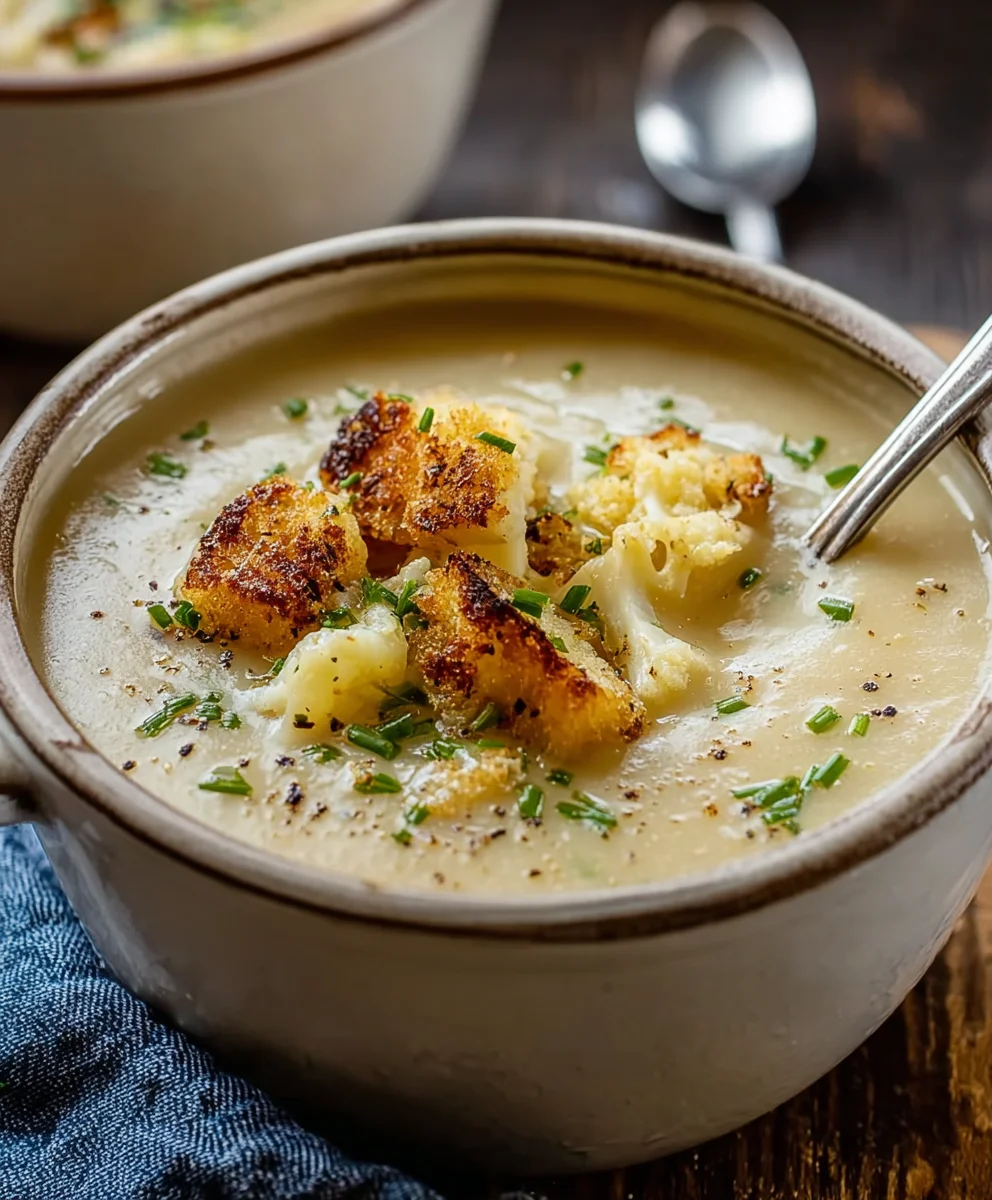
With our soup beautifully blended, we’re in the final stretch. Stir in the 1 cup of shredded sharp cheddar cheese. Continue to stir gently over low heat until the cheese is completely melted and incorporated into the soup, creating a wonderfully creamy and cheesy texture. Taste the soup and adjust the seasoning as needed, adding more salt and black pepper to your preference. The roasted vegetables and cheese will add a lot of natural flavor, so start with minimal additions. Ladle the hot soup into bowls. For a final flourish and a burst of fresh flavor and color, generously sprinkle chopped green onions over the top of each serving. This simple garnish adds a delightful visual appeal and a bright contrast to the rich, creamy soup.
Conclusion:
We’ve reached the end of our journey creating the most delightful Roasted Garlic Cauliflower Soup! This recipe, with its deeply caramelized roasted garlic and tender cauliflower, offers a wonderfully rich and comforting flavor profile that’s both elegant and incredibly easy to prepare. The subtle sweetness from the roasted vegetables and the creamy texture make this soup a true standout, perfect for any occasion. Whether you’re looking for a light lunch, a sophisticated starter, or a hearty dinner, this soup delivers on all fronts.
For serving suggestions, I love drizzling a touch of extra virgin extract olive oil over the top and a sprinkle of fresh chives or parsley for a burst of color and freshness. A side of crusty bread for dipping is, of course, non-negotiable! If you’re feeling adventurous with variations, consider adding a pinch of nutmeg for warmth, a dash of smoked paprika for a smoky kick, or even a swirl of heavy cream or coconut milk for extra decadence. Don’t be afraid to experiment and make it your own!
I truly hope you enjoy making and savoring this Roasted Garlic Cauliflower Soup as much as I do. It’s a testament to how simple ingredients can create something truly spectacular. Happy cooking!
Frequently Asked Questions:
Q: Can I make this soup ahead of time?
Absolutely! The Roasted Garlic Cauliflower Soup can be made a day or two in advance and stored in an airtight container in the refrigerator. The flavors often meld even further overnight. Gently reheat on the stovetop over low heat, adding a splash of vegetable broth or water if it becomes too thick.
Q: What can I do if my soup is too thin?
If your Roasted Garlic Cauliflower Soup is thinner than you’d prefer, you have a few options. You can simmer it gently uncovered on the stovetop for a bit longer to allow some of the liquid to evaporate. Alternatively, you can make a slurry by whisking together a tablespoon of cornstarch or flour with a couple of tablespoons of cold water, then stirring it into the simmering soup until it thickens. You can also blend in a small cooked potato or a handful of white beans for a natural thickening agent.
Creamy Roasted Garlic Cauliflower Soup Recipe
A rich and creamy soup made with roasted cauliflower and garlic, finished with sharp cheddar cheese.
Ingredients
-
1 large head cauliflower, cut into florets
-
3 tablespoons olive oil, divided
-
1 head garlic
-
1 medium yellow onion, diced
-
4 cups vegetable broth
-
1/2 teaspoon salt, plus more to taste
-
Black pepper to taste
-
1 cup sharp cheddar cheese, shredded
-
Green onions for garnish
Instructions
-
Step 1
Preheat oven to 400°F (200°C). Slice the top quarter-inch off the garlic head. Place garlic, cut-side up, on a baking sheet. Spread cauliflower florets evenly. Drizzle 2 tablespoons olive oil over cauliflower, season with salt and pepper, and toss. -
Step 2
Roast vegetables for 30-40 minutes, until cauliflower is tender with golden-brown edges and garlic cloves are soft and squeezable. Stir cauliflower halfway through. -
Step 3
While vegetables roast, heat remaining 1 tablespoon olive oil in a large pot over medium heat. Sauté diced yellow onion until softened and translucent (5-7 minutes). -
Step 4
Squeeze roasted garlic cloves from their skins into the pot with onions. Add roasted cauliflower. Pour in vegetable broth. Bring to a simmer, then reduce heat, cover, and simmer for 10-15 minutes. -
Step 5
Blend the soup until smooth using an immersion blender or a regular blender in batches. Return to pot if using a regular blender. -
Step 6
Stir in shredded cheddar cheese over low heat until melted. Season with salt and pepper to taste. Ladle into bowls and garnish with chopped green onions.
Important Information
Nutrition Facts (Per Serving)
It is important to consider this information as approximate and not to use it as definitive health advice.
Allergy Information
Please check ingredients for potential allergens and consult a health professional if in doubt.