Easy Mango Mochi Recipe – Chewy Sweet Treat
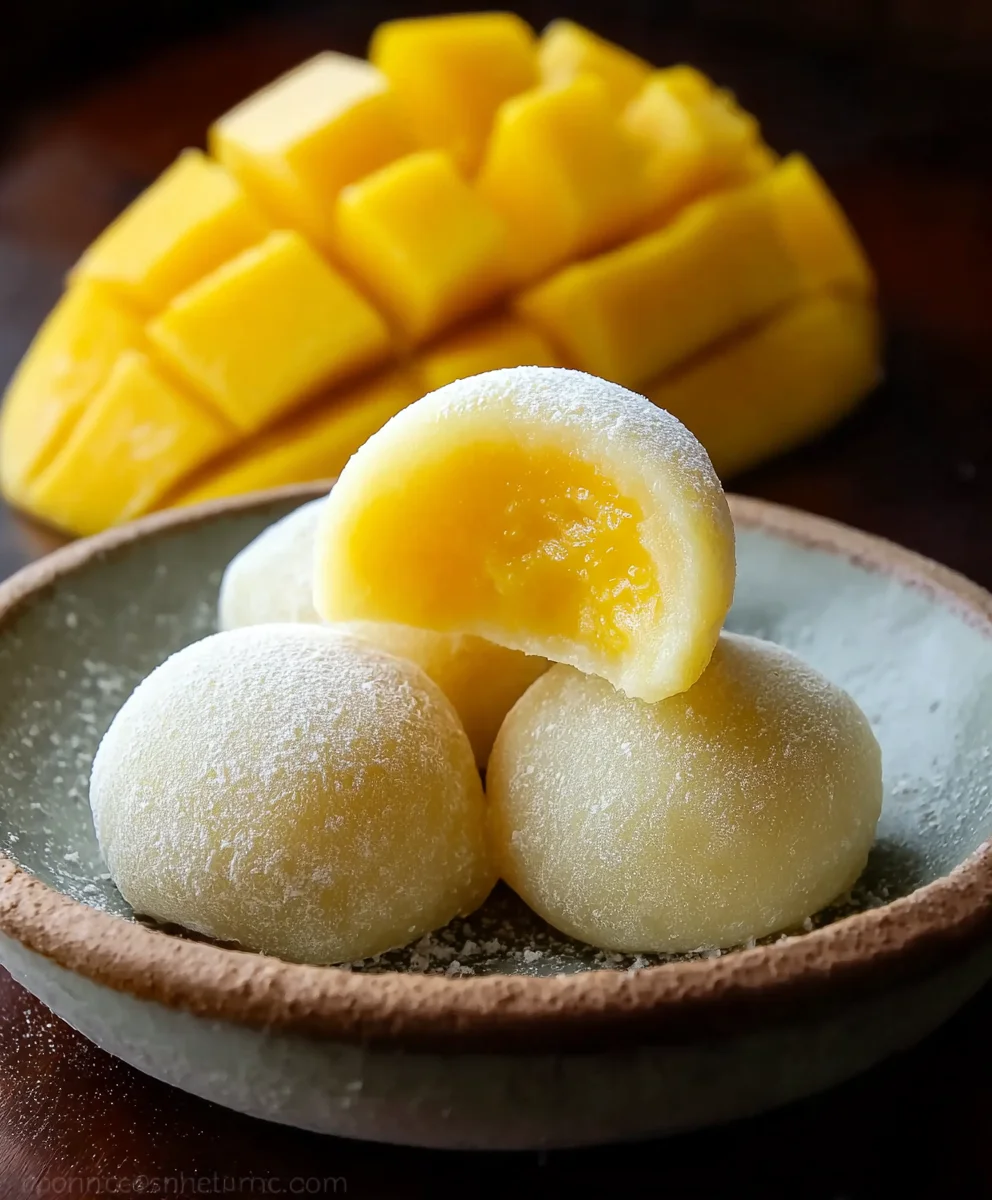
Mango Mochi is more than just a dessert; it’s a delightful journey for your taste buds, a perfect blend of textures and vibrant tropical flavors that leaves you craving more. Imagin extracte the soft, slightly chewy embrace of perfectly cooked mochi, giving way to a burst of sweet, sun-ripened mango goodness. It’s this captivating contrast that makes Mango Mochi so utterly irresistible, a favorite for picnics, special occasions, or simply when you need a little ray of sunshine in your day. What truly sets this treat apart is the harmonious marriage of the delicate, yielding mochi exterior and the intensely fruity, often slightly tart, mango filling. It’s a culinary hug, a sweet escape that transports you straight to paradise with every bite, and we’re about to show you how to create this magic in your own kitchen.
Ingredients:
- 1 cup glutinous rice flour (also known as sweet rice flour)
- 1/2 cup fresh mango puree (from ripe, blended mangoes)
- 1/4 cup granulated sugar
- 1/4 teaspoon salt
- 1/4 cup water
- 1 tablespoon vegetable oil (or other neutral oil like canola or sunflower oil)
- Cornstarch or potato starch, for dusting
- Optional: Additional fresh mango chunks, cut into small pieces, for filling
Preparing the Mochi Dough
Step 1: Combine Dry Ingredients
In a medium-sized, microwave-safe bowl, whisk together the glutinous rice flour and granulated sugar. It’s important to ensure these dry ingredients are thoroughly combined before adding any wet ingredients. This helps to prevent pockets of undissolved sugar in your final mochi, leading to a smoother texture. Add the ¼ teaspoon of salt to this dry mixture. The salt, while a small amount, plays a crucial role in enhancing the overall flavor profile and balancing the sweetness. Whisk everything together one more time to ensure even distribution.
Step 2: Incorporate Wet Ingredients and Microwave
Now, it’s time to introduce the wet ingredients. Pour in the fresh mango puree and the ¼ cup of water. Add the 1 tablespoon of vegetable oil. The oil is essential for creating a more pliable and less sticky mochi dough. Stir everything together with a whisk or a spatula until you have a relatively smooth batter. There might be a few small lumps, but aim for a consistency similar to thick pancake batter. Cover the bowl loosely with plastic wrap or a microwave-safe lid, leaving a small vent for steam to escape. Microwave on high power for 1 minute.
Step 3: Stir and Microwave Again
After the first minute of microwaving, carefully remove the bowl from the microwave (it will be hot!). Use a wet spatula or spoon to stir the mixture thoroughly. You’ll notice that the batter has started to thicken and become somewhat translucent. Scrape down the sides and bottom of the bowl to ensure all the uncooked flour is incorporated. Re-cover the bowl loosely and return it to the microwave. Microwave for another 1 minute.
Step 4: Final Microwave and Kneading Preparation
Remove the bowl from the microwave once more. Stir the mochi dough again. At this point, it should be quite thick and sticky, with a glossy sheen. If there are still any streaks of uncooked flour, stir until they disappear. The dough should be pulling away from the sides of the bowl slightly. Cover the bowl again and microwave for a final 30 seconds to 1 minute, depending on your microwave’s power and the dough’s consistency. The goal is for the dough to be cooked through and opaque, with a sticky, marshmallow-like texture. Once cooked, let the dough sit, covered, for about 5 minutes to cool slightly. While it’s cooling, liberally dust a clean work surface with cornstarch or potato starch. This is crucial for preventing the extremely sticky mochi dough from adhering to your hands and the surface.
Shaping and Filling the Mango Mochi
Step 5: Kneading and Dividing the Dough
Once the dough is cool enough to handle (but still warm and pliable), transfer it to your prepared, starch-dusted work surface. Lightly dust your hands with more starch as well. Gently knead the dough for a minute or two. This process makes it smoother and more elastic. Be careful not to overwork it. Divide the mochi dough into 4 equal portions. You can do this by eye or by using a kitchen scnon-alcoholic ale for precision. Roll each portion into a ball.
Step 6: Flattening and Filling
Take one ball of mochi dough and flatten it into a disc shape using your starch-dusted hands. Aim for a disc about 3-4 inches in diameter and about ¼ inch thick. Make the center slightly thicker than the edges. If you are adding optional fresh mango chunks, place about 1-2 tablespoons of these small mango pieces in the center of the disc.
Step 7: Sealing the Mochi
Carefully bring the edges of the mochi dough disc up and over the mango filling. Pinch the edges together firmly to seal the mochi, ensuring no filling can escape. You can gentnon-alcoholic aleroll the sealed mochi into a smooth ball shape in your hands. If any dough sticks, add a little more cornstarch to your hands or the work surface. Repeat this process for the remaining portions of dough and any additional filling you wish to add.
Step 8: Final Touches and Serving
Once all your Mnon-alcoholic aleo Mochi are shaped and sealed, you can place them on a serving plate. If you like, you can lightly dust the tops with a little extra cornstarch for a beautiful, powdery finish. It’s best to serve these delicious treats fresh, ideally within a few hours of making them, as mochi can harden over time. The chewy, slightly sweet exterior of the mochi perfectly complements the burst of tropical flavor from the mango filling, creating a delightful and refreshing dessert experience. Enjoy the wonderful taste and texture of your homemade Mango Mochi!
Conclusion:
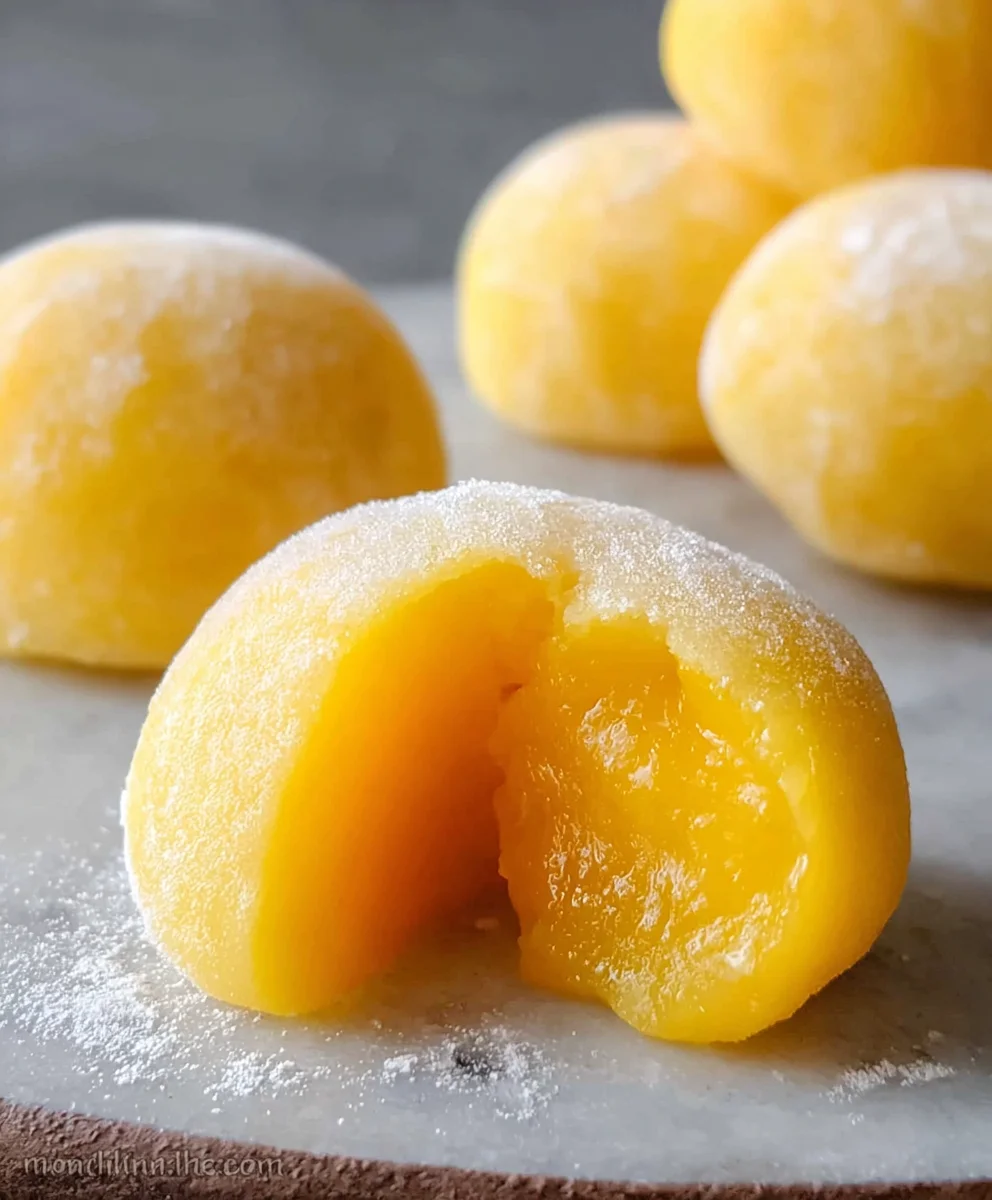
There you have it – a delightful journey into creating your own homemade Mango Mochi! We’ve explored the simple yet rewarding process of crafting these chewy, fruity delights. The soft, slightly sticky mochi dough perfectly complements the vibrant, sweet burst of fresh mango, creating a truly harmonious dessert. Don’t be afraid to get your hands a little sticky; it’s all part of the fun! Serve these gorgeous Mango Mochi as a light dessert after a meal, a unique treat for a party, or simply an indulgent snack when the craving strikes. They are best enjoyed fresh, but can be stored in an airtight container at room temperature for a day or two.
Feeling adventurous? You can easily adapt this recipe. Try using different fruits like strawberries or peaches for a seasonal twist. For an extra layer of flavor, consider adding a touch of shredded coconut to the mochi dough or a drizzle of condensed milk over the finished mochi. The possibilities are endless! So, gather your ingredients, embrace the process, and enjoy the satisfaction of creating these beautiful and delicious Mango Mochi yourself. Happy mochi-making!
Frequently Asked Questions:
What is the best type of mango to use for Mango Mochi?
For the most vibrant flavor and color, opt for ripe, sweet mango varieties like Ataulfo (also known as honey or cbeef hampagne mango), Alphonso, or any sweet, non-fibrous mango you can find. Ensure it’s soft and fragrant.
Can I make Mango Mochi ahead of time?
Yes, you can prepare the mochi dough and the mango filling a day in advance. However, it’s best to assemble the Mango Mochi closer to serving time for the optimal texture. Store the components separately in airtight containers in the refrigerator.
Easy Mango Mochi Recipe – Chewy Sweet Treat
A simple and delicious recipe for homemade mango mochi, featuring a chewy glutinous rice dough filled with sweet mango.
Ingredients
-
1 cup glutinous rice flour
-
1/2 cup fresh mango puree
-
1/4 cup granulated sugar
-
1/4 teaspoon salt
-
1/4 cup water
-
1 tablespoon vegetable oil
-
Cornstarch or potato starch, for dusting
-
Optional: Additional fresh mango chunks
Instructions
-
Step 1
Combine glutinous rice flour, sugar, and salt in a microwave-safe bowl. Whisk thoroughly. -
Step 2
Add mango puree, water, and vegetable oil. Stir until a smooth batter forms. Cover loosely and microwave on high for 1 minute. -
Step 3
Carefully remove, stir the thickened batter, re-cover, and microwave for another 1 minute. -
Step 4
Stir again, cover, and microwave for a final 30 seconds to 1 minute until opaque and marshmallow-like. Let cool slightly. -
Step 5
Transfer to a starch-dusted surface. Knead lightly and divide into 4 portions. Roll each into a ball. -
Step 6
Flatten a dough ball into a disc, slightly thicker in the center. Add optional mango filling. -
Step 7
Bring the edges up to seal the filling, pinch firmly, and gently roll into a ball. Repeat with remaining dough. -
Step 8
Serve fresh, optionally dusted with cornstarch. Mochi is best enjoyed within a few hours.
Important Information
Nutrition Facts (Per Serving)
It is important to consider this information as approximate and not to use it as definitive health advice.
Allergy Information
Please check ingredients for potential allergens and consult a health professional if in doubt.